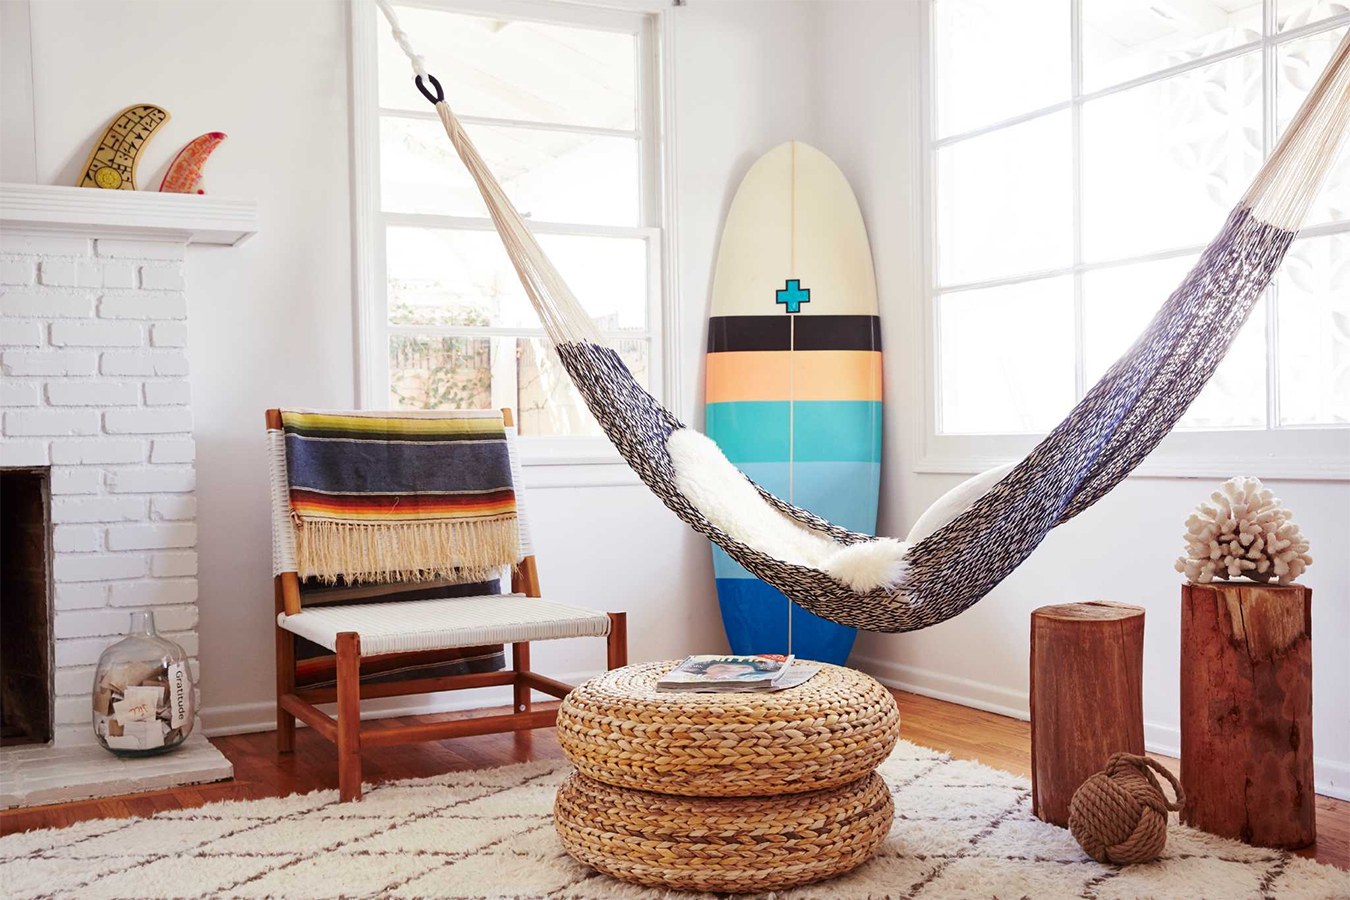
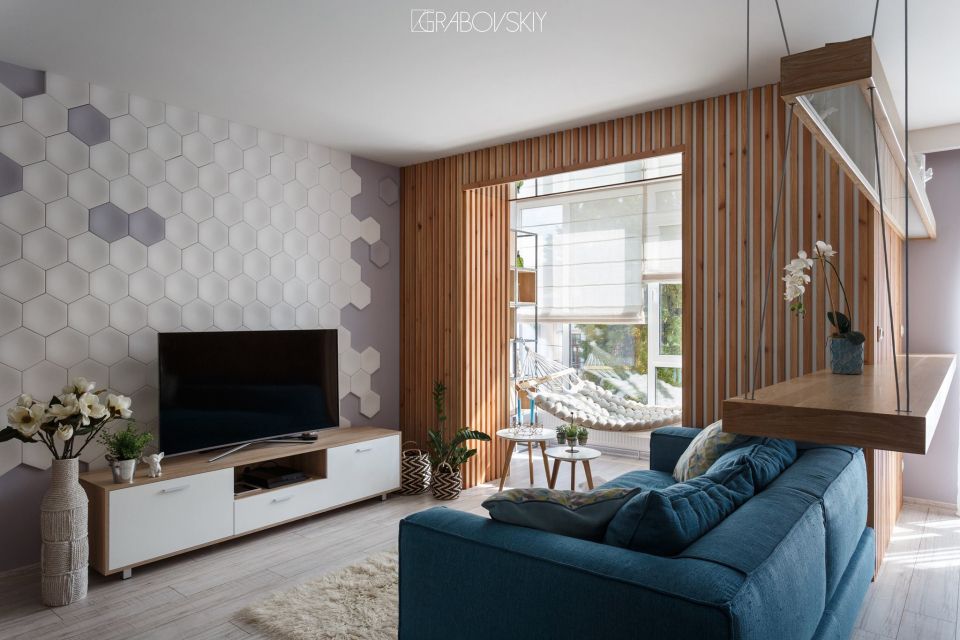
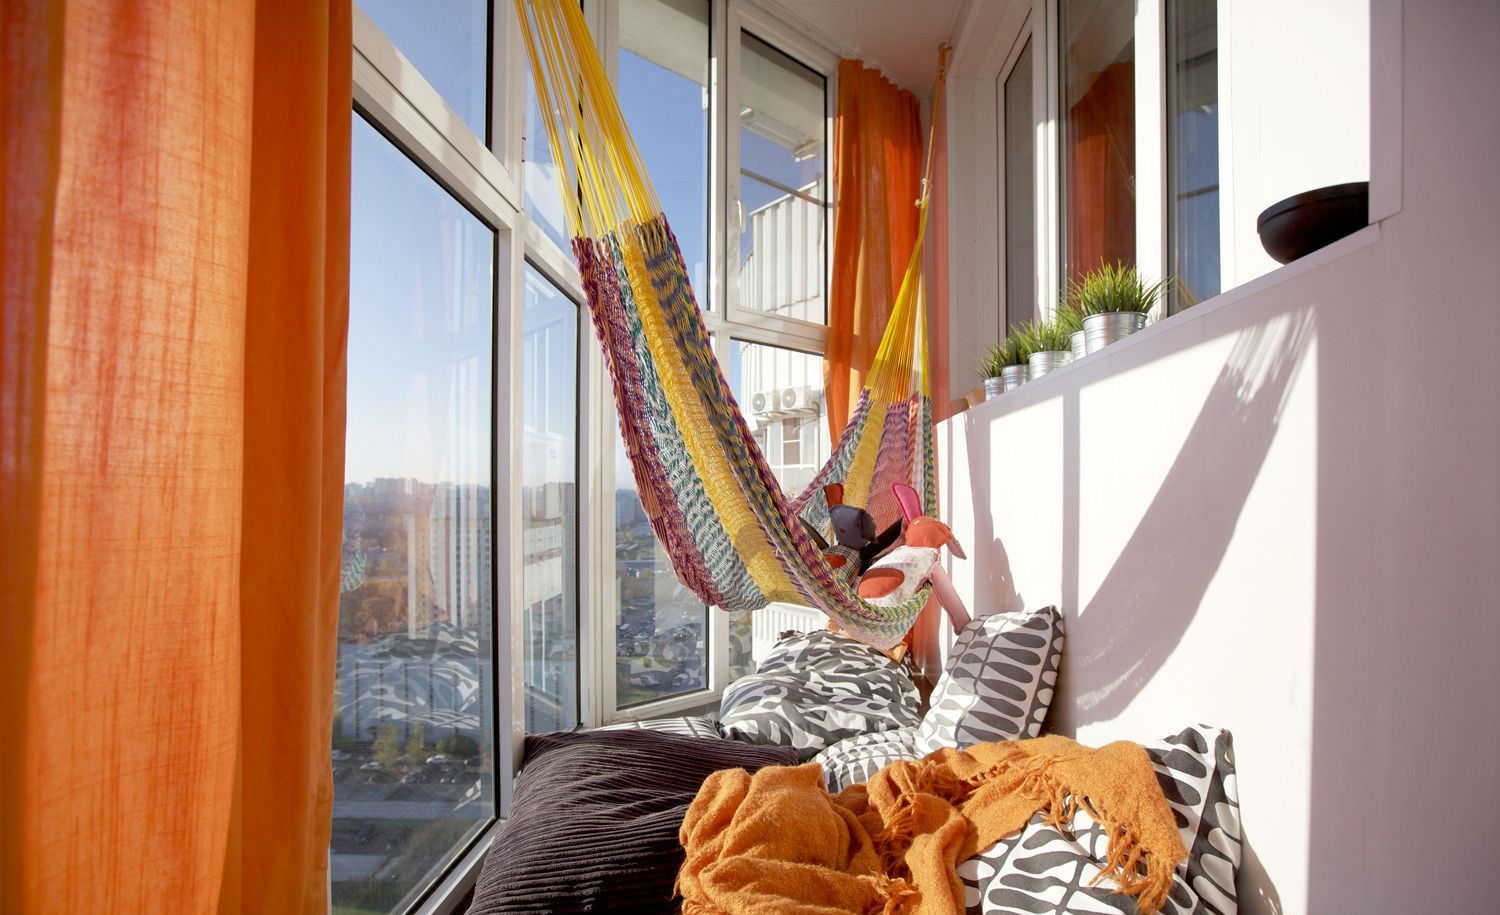
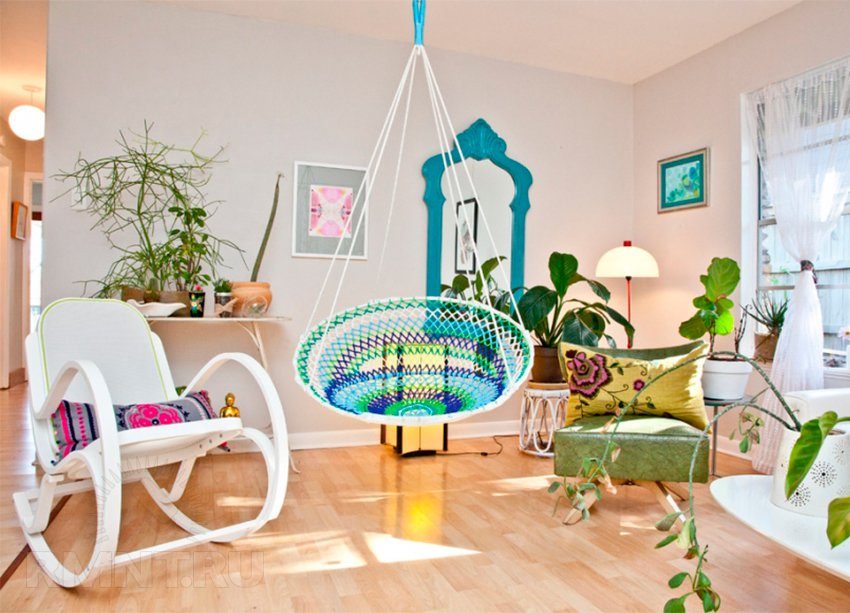
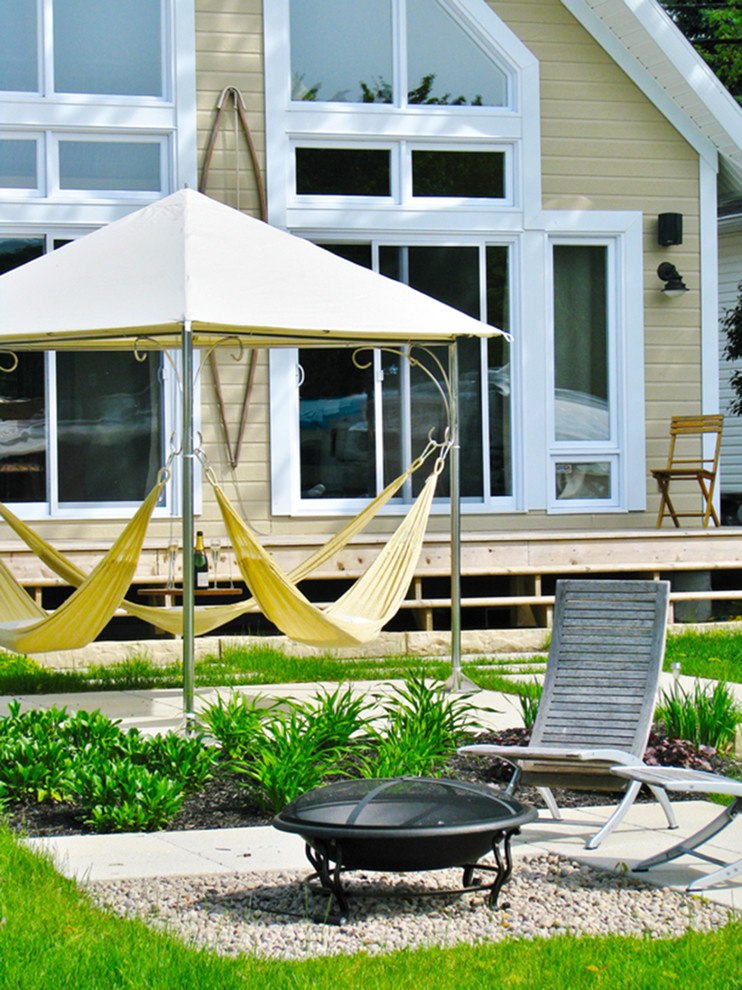
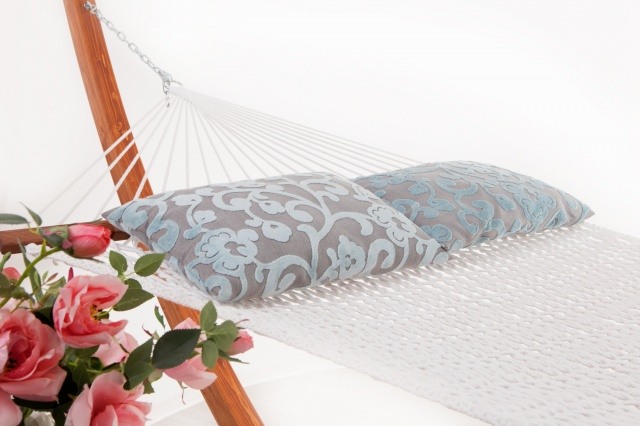
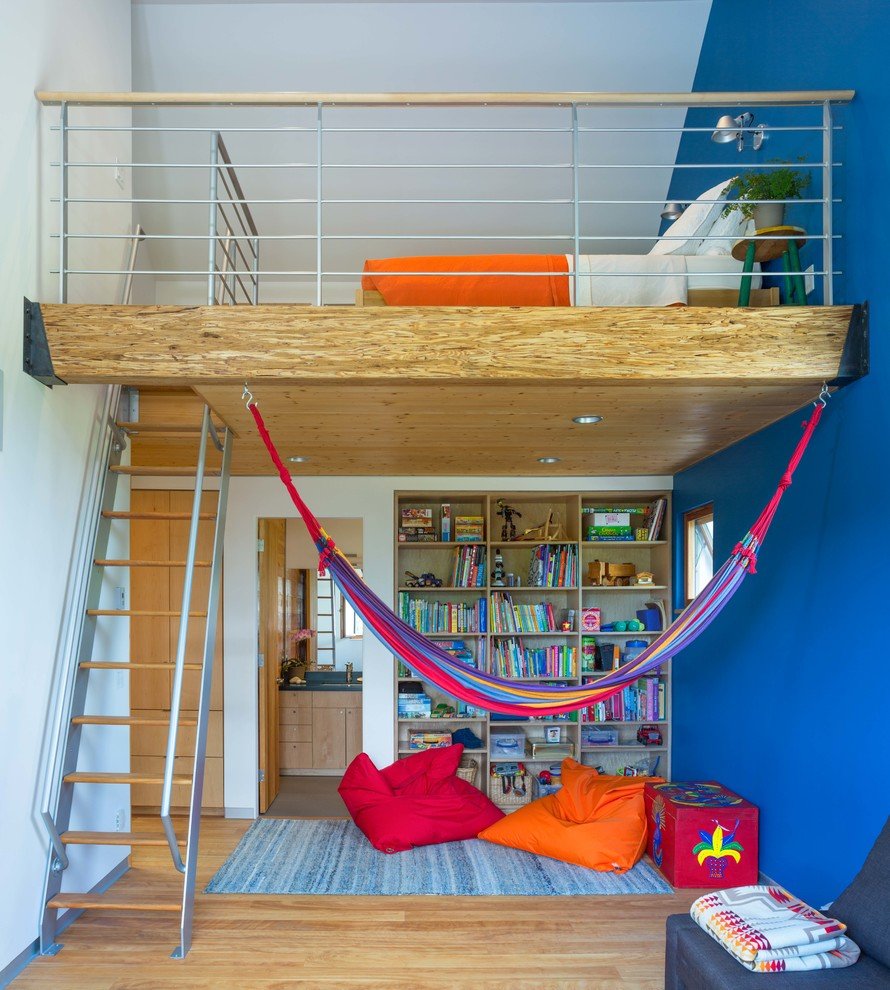
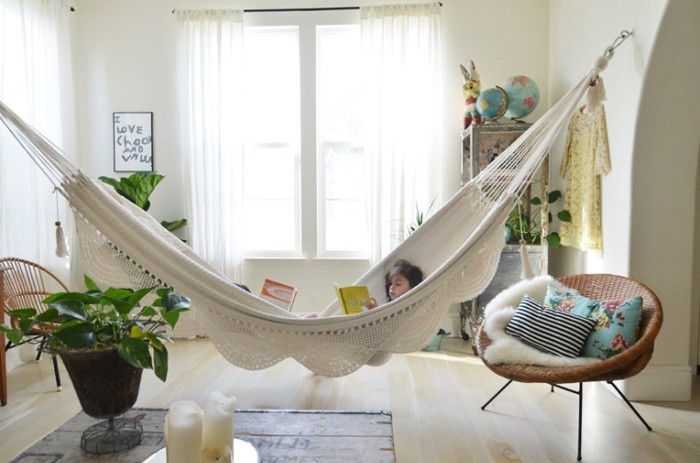
Probably, each person associates hammock with rest on the sea, warm sunshine, and carefree days. However, few people imagine that a hammock can be made right at home. This design is ideal for the village house. But if you want, you can install it even in a house or apartment. This is especially true for the children’s room. Today we are going to discuss all the nuances of DIY hammock: instruction on how to make your home comfortable and more functional.
Contents:
Of course, in the modern world, there is quite a large variety of such structures. You can buy them in almost every building supermarket. But still, it is much more pleasant to rest in a hammock made with your own hands. In addition, this does not require special knowledge or too expensive materials. That is why we have prepared several masterclasses, with the help of which it will be possible to realize your ideas.
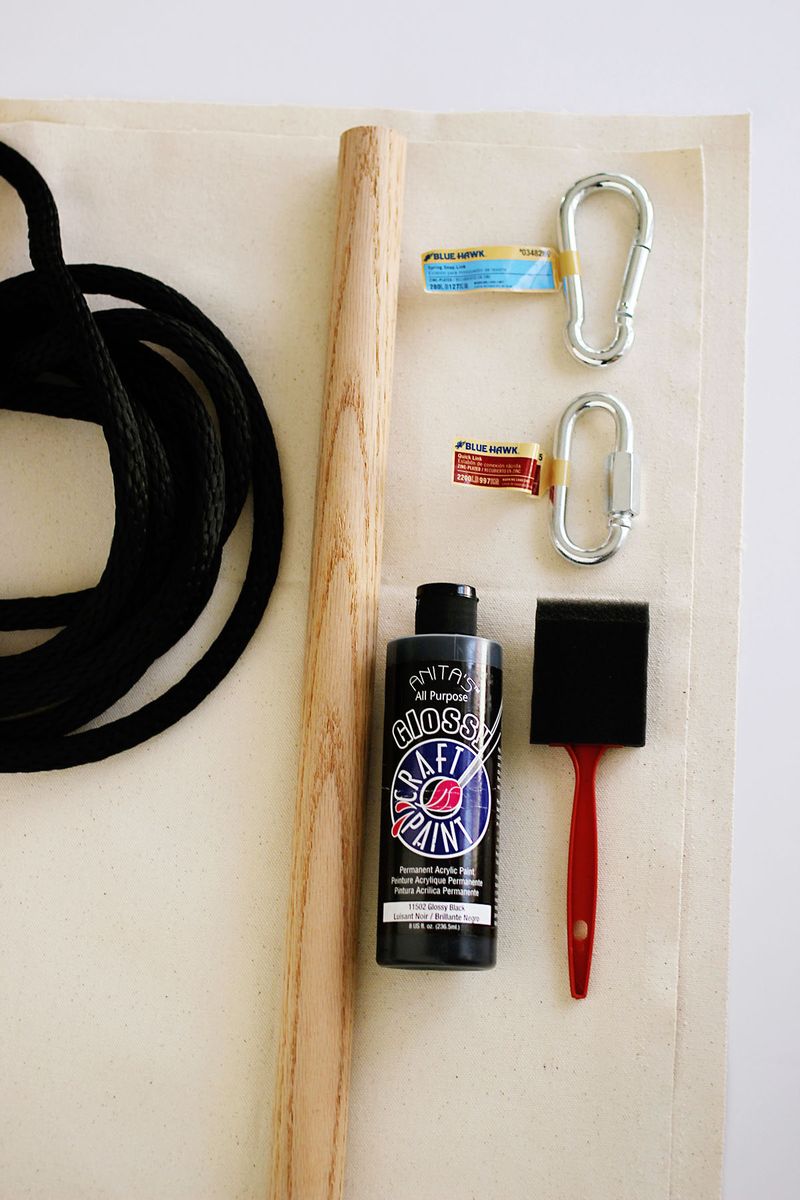
Necessary materials:
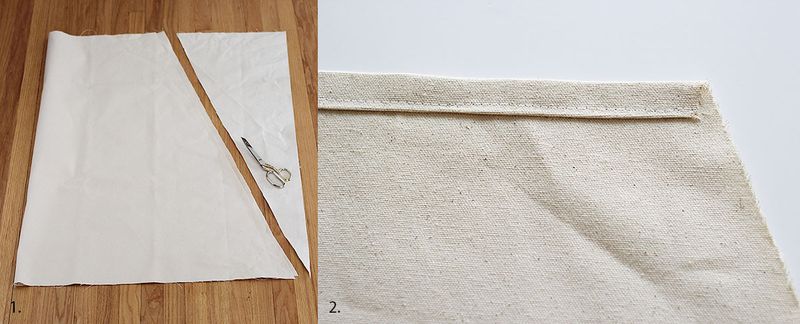
Cut off the required size of a piece of fabric in the form of a rectangle. On the long sides, we twist the fabric about 5 cm and sew it with a sewing machine.
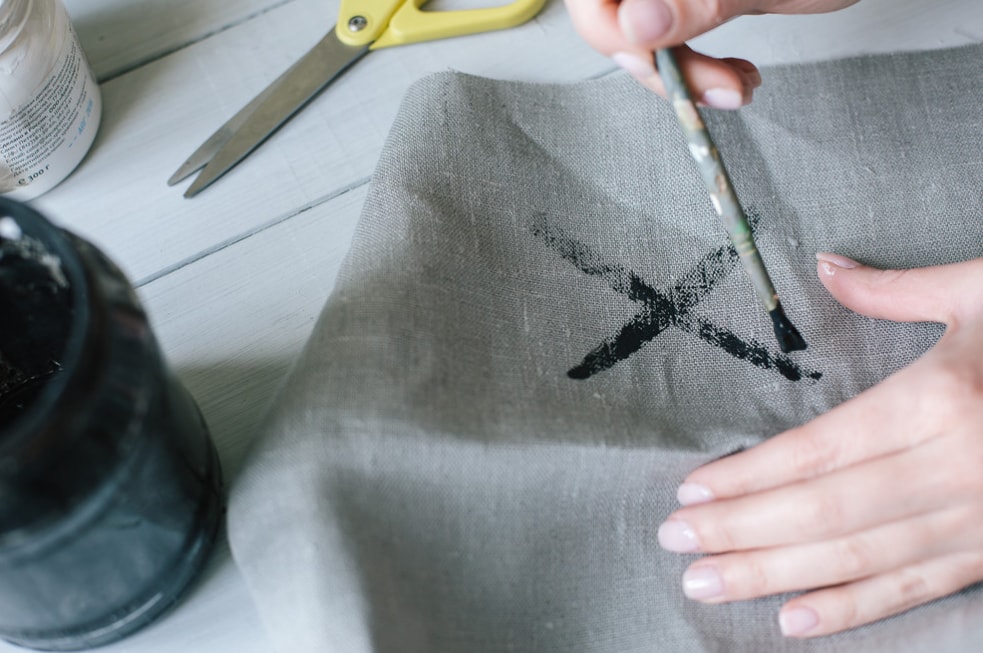
To make the hammock look a bit more original, we suggest decorating it a bit. It can be large patterns or light motifs. In any case, use for this paint on the fabric.
Cut the rope into three parts of the same size. Then pass two pieces in the previously obtained pockets on the fabric.
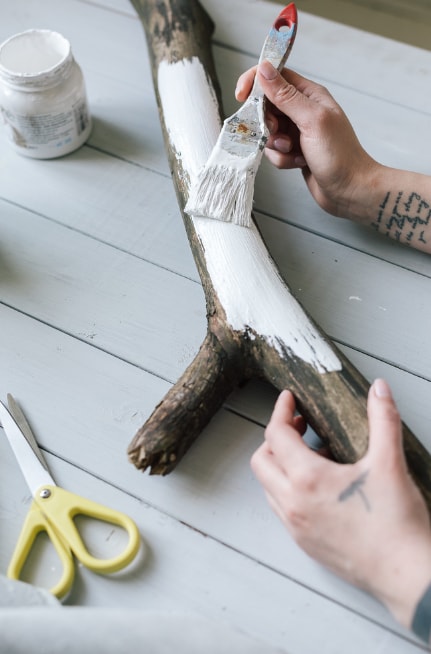
The surface of the snag should be treated with sandpaper to remove all irregularities. Only after that we coat it with white acrylic paint and leave it to dry completely.
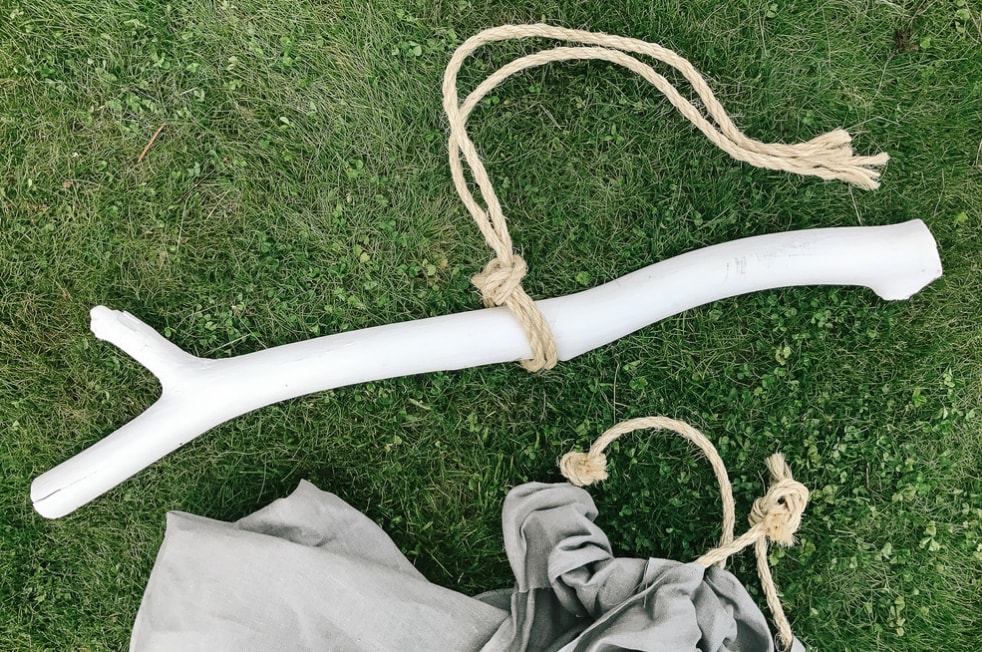
We tie the last piece of rope to the central part of the snag.
On the sides of the snag, we bind the workpiece with a cloth and hang it on a tree. Try to fix the construction as securely as possible.
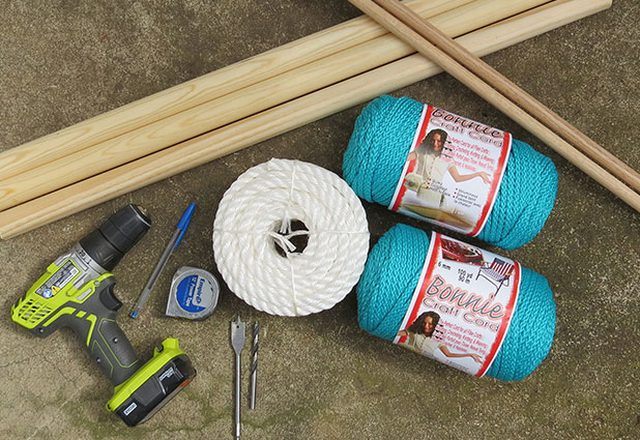
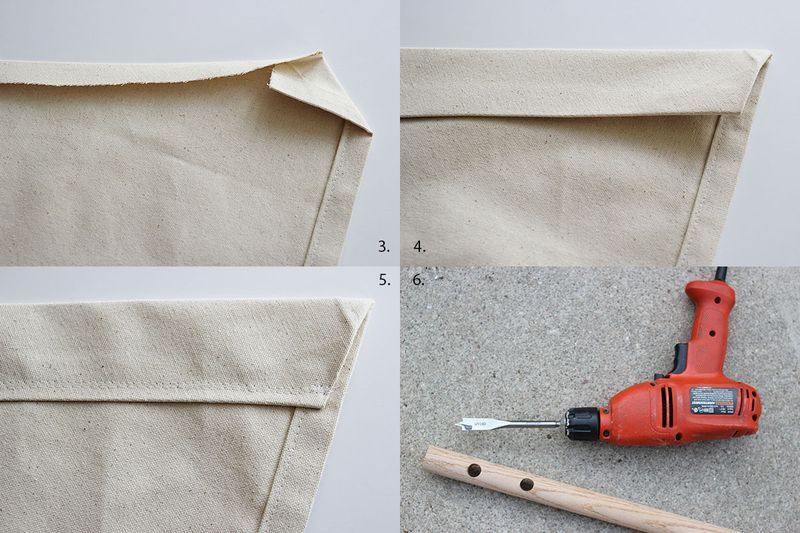
In the work we need:
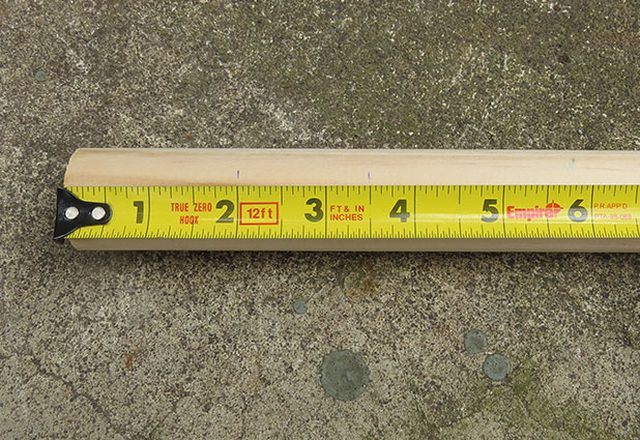
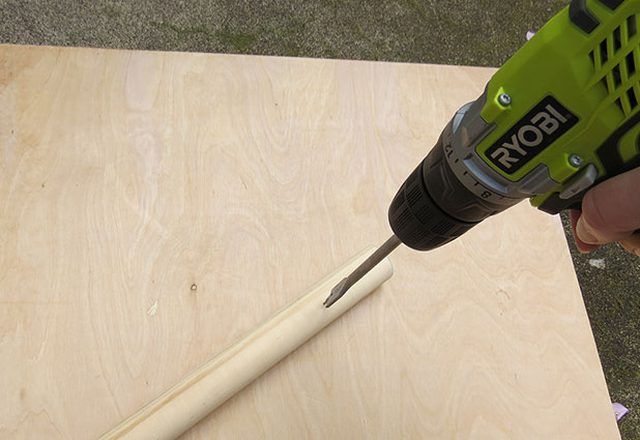
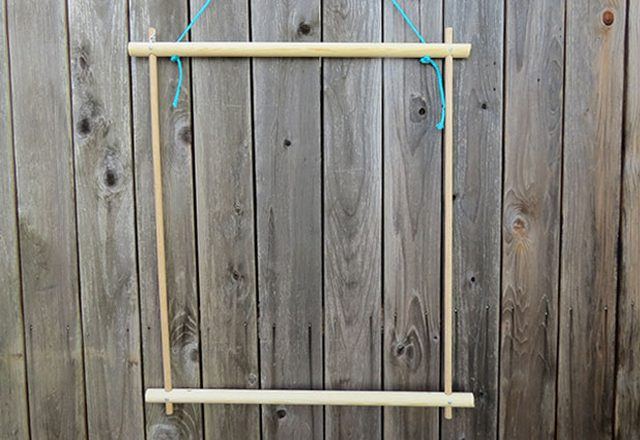
On wooden blanks we make markup for future construction. It is very important that the hammock is perfectly level.
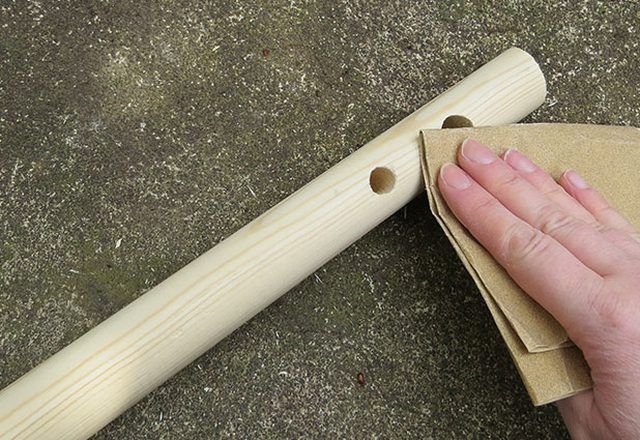
Make holes on each piece and we process them with emery paper.
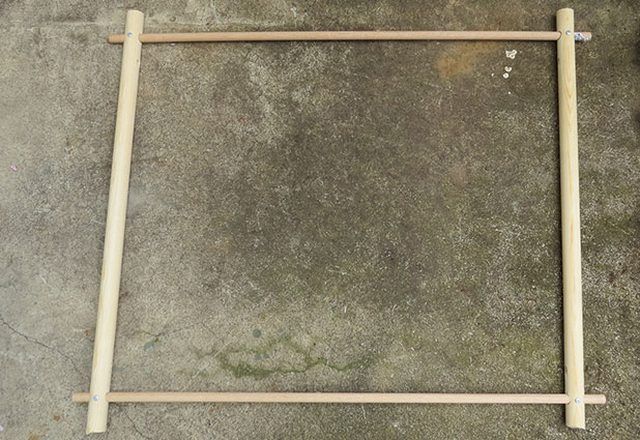
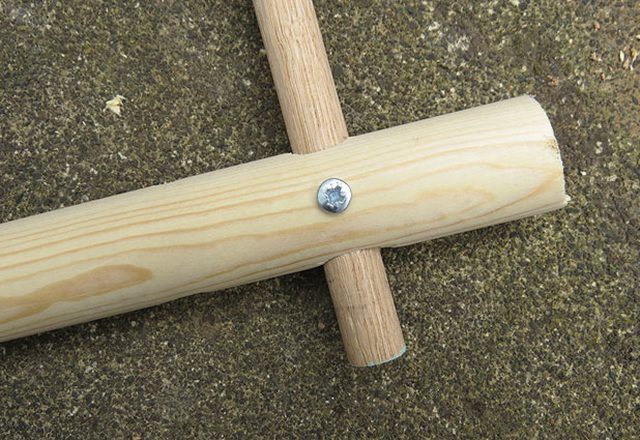
We connect four parts together and fix them with dowels.
We hang the workpiece so that it is convenient to weave a hammock.
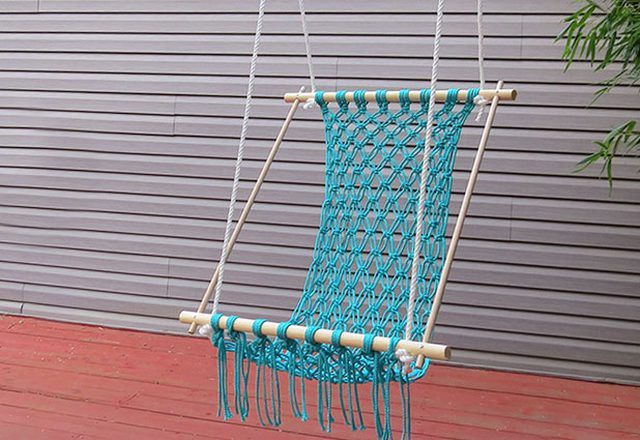
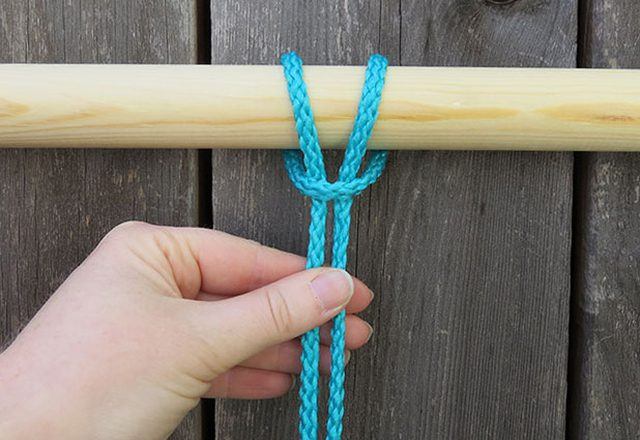
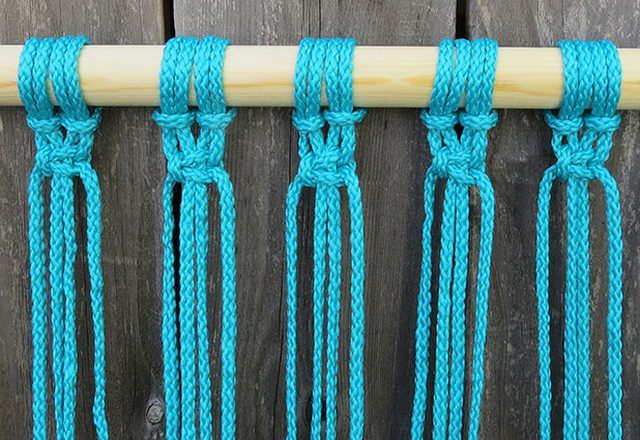
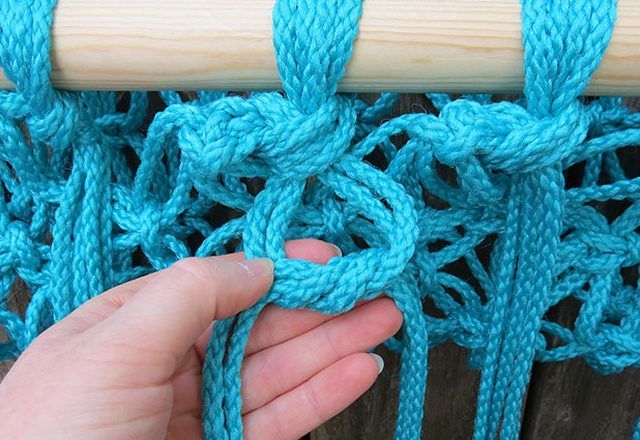
Cut the rope into 16 parts of the same size. We take the first of them and tie, as shown in the photo.
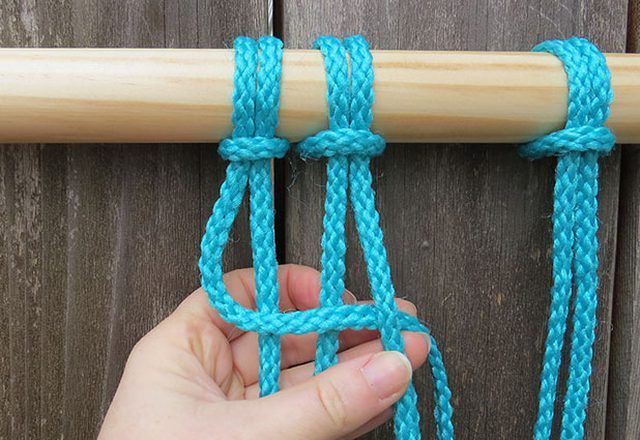
Repeat the same with each piece. Then we start weaving. To do this, take the rope on the left side, lead it over the second and third, and then pass it under the fourth. We do the same with the fourth rope, but in the reverse order. Thus, the first node is obtained.
We make one more same knot and repeat the same with the rest of the ropes.
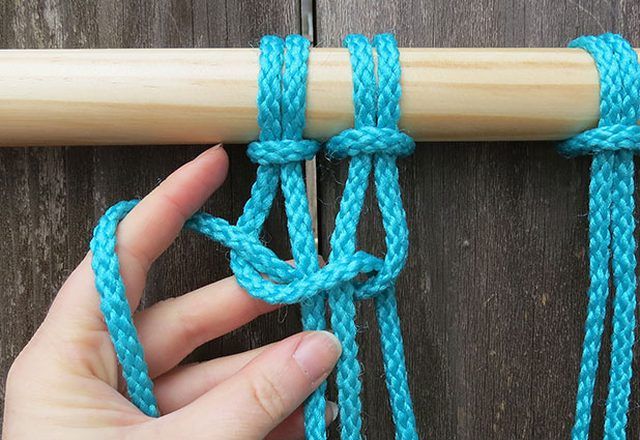
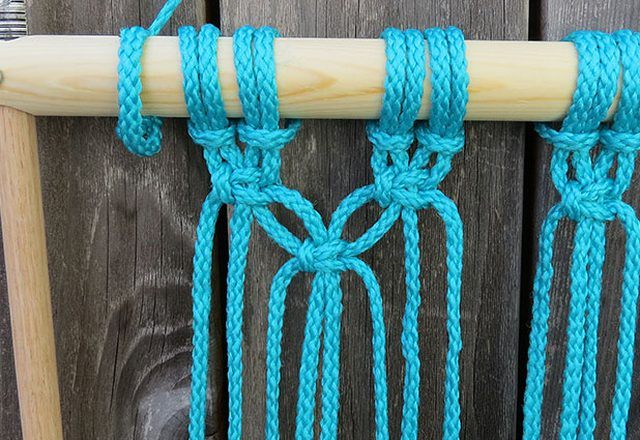
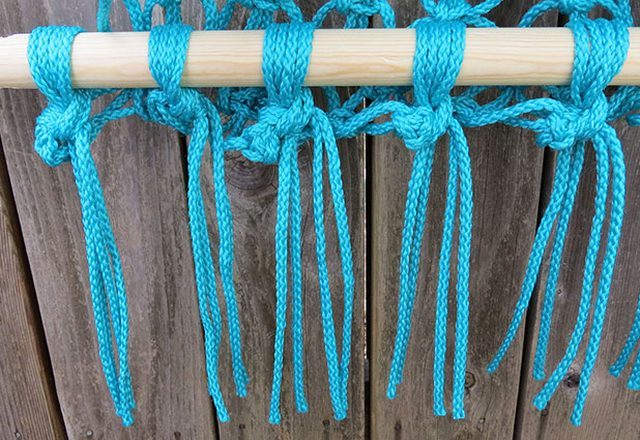
Alternately, we connect the blanks together in the same way.
After the whole row is ready, proceed to the next one.
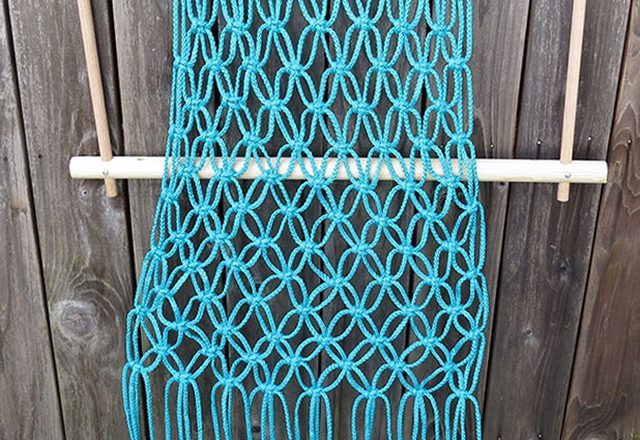
By the same principle, we weave a hammock to the end, given the size that is needed.
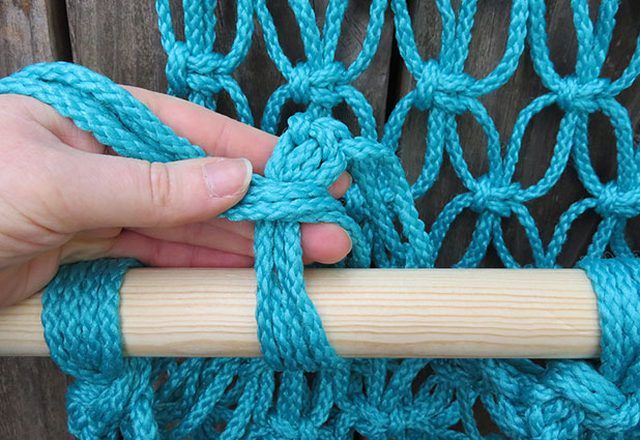
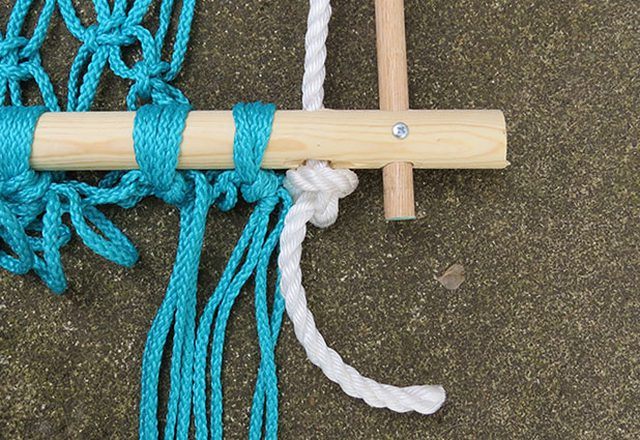
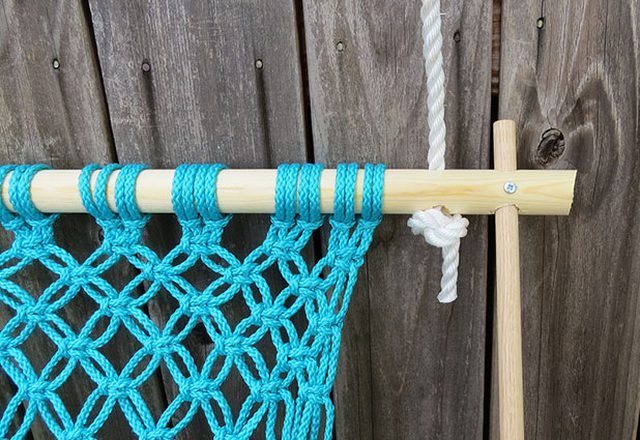
To fix the hammock, simply tie each part around the wooden blank.
We make a few more nodes for more reliable fixation.
Cut the ends of the rope if they are too long.
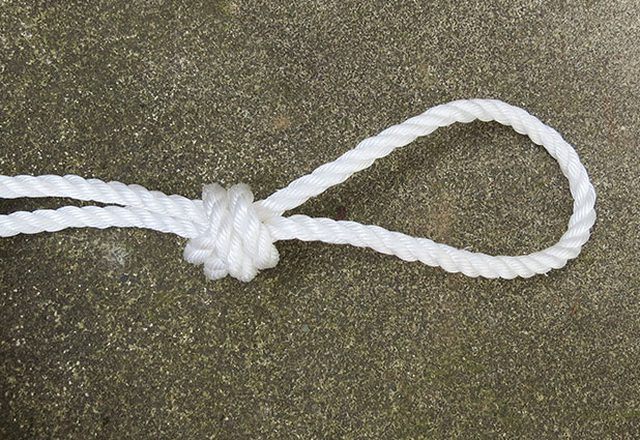
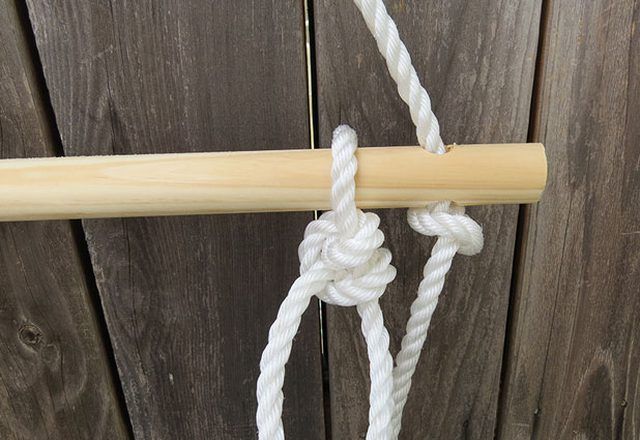
Take a long piece of rope, fold it in half and tie a knot.
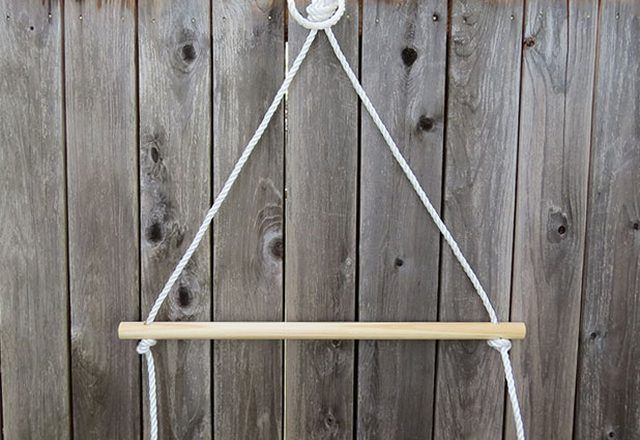
Pass each edge into a wooden blank and tie a strong knot on both sides.
Connect the parts together with strong knots.
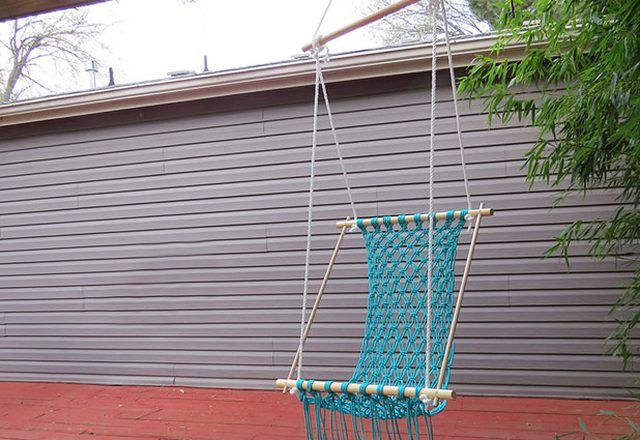
Hang a hammock at a suitable place.
Required materials:
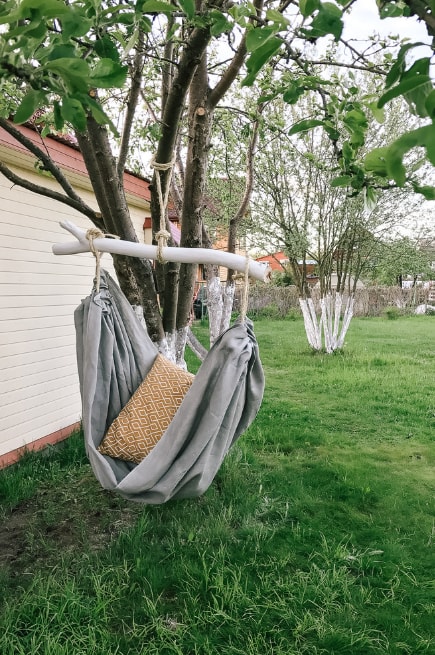
Fold the fabric of the required size in half and cut the corner, as shown in the photo. Tuck the edges and stitch them with the help of a sewing machine.
Bend the other side, as in the photo, and sew it on a sewing machine either. In the wooden blank we make holes for fastening.
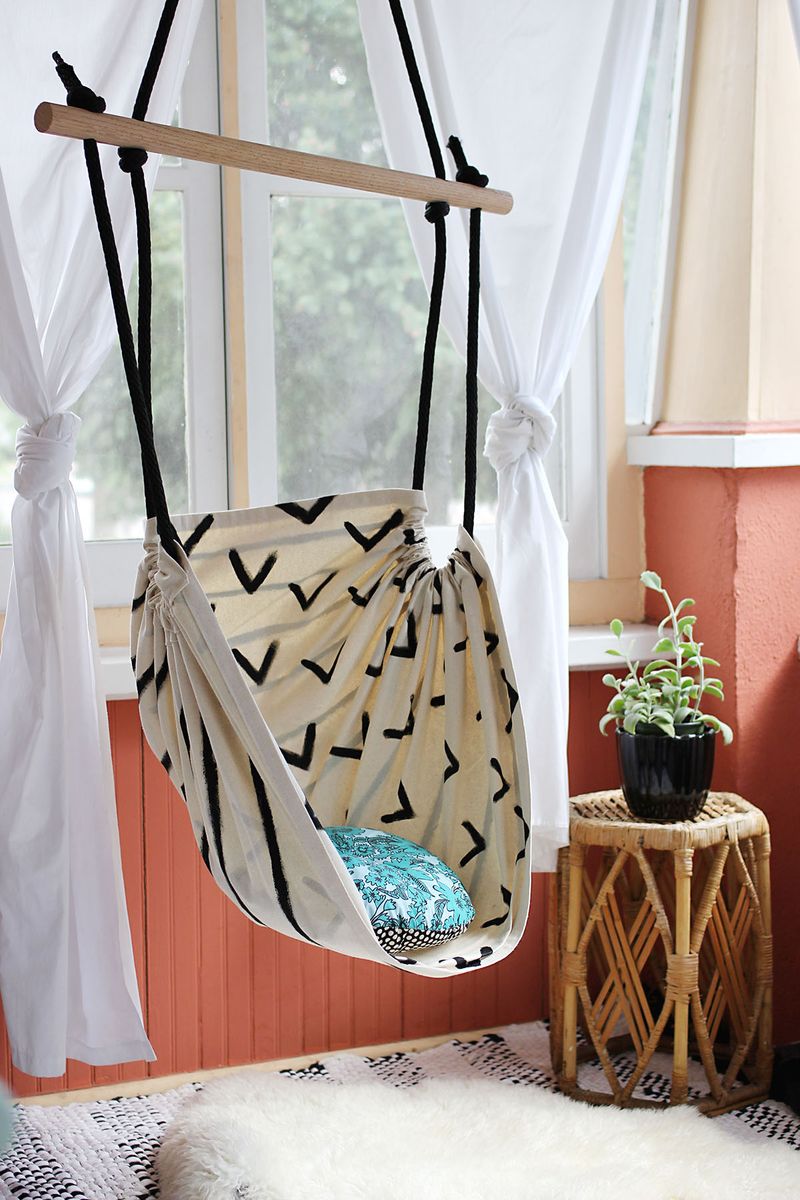
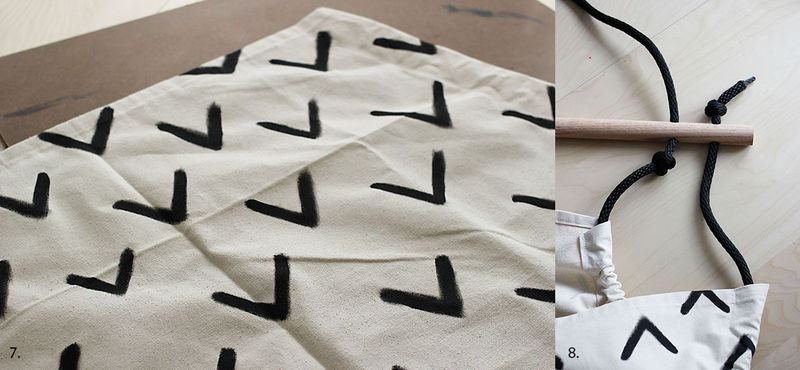
If desired, you can draw a simple, unobtrusive pattern on the fabric. Then pass the rope through the pockets, as well as through the wooden billet, and tie strong knots.
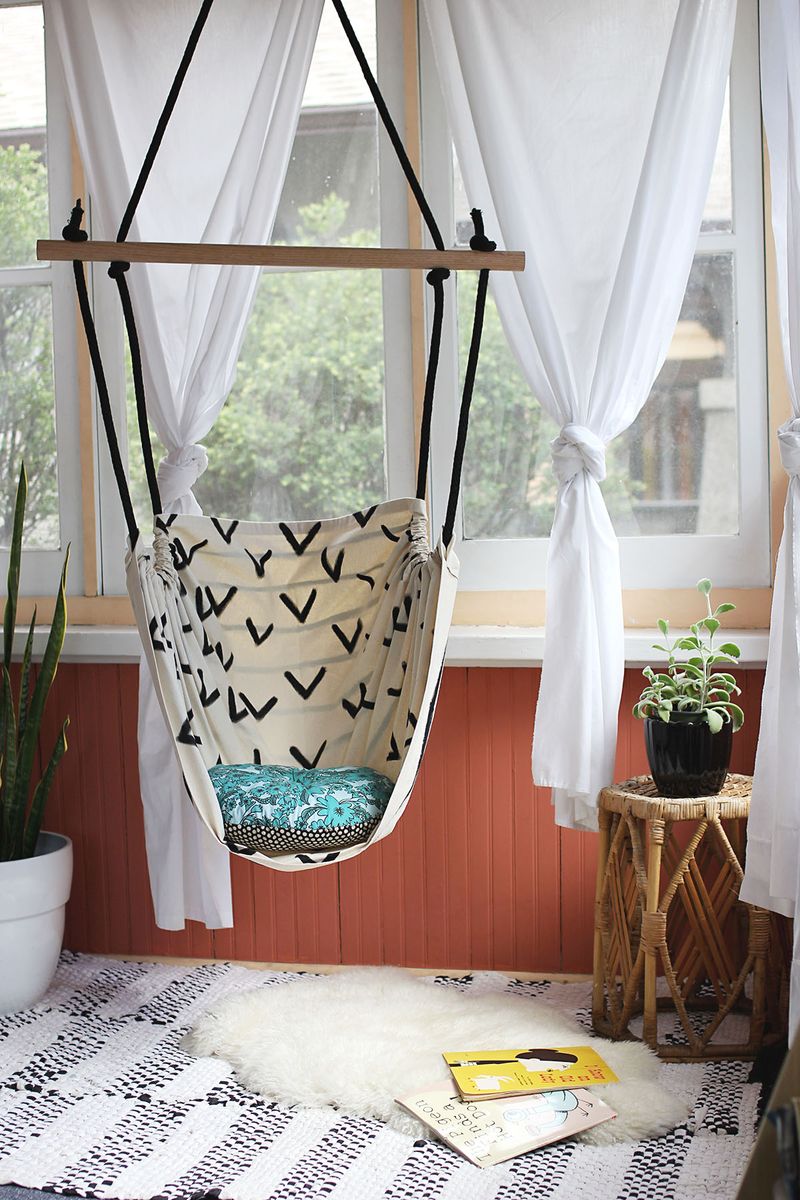
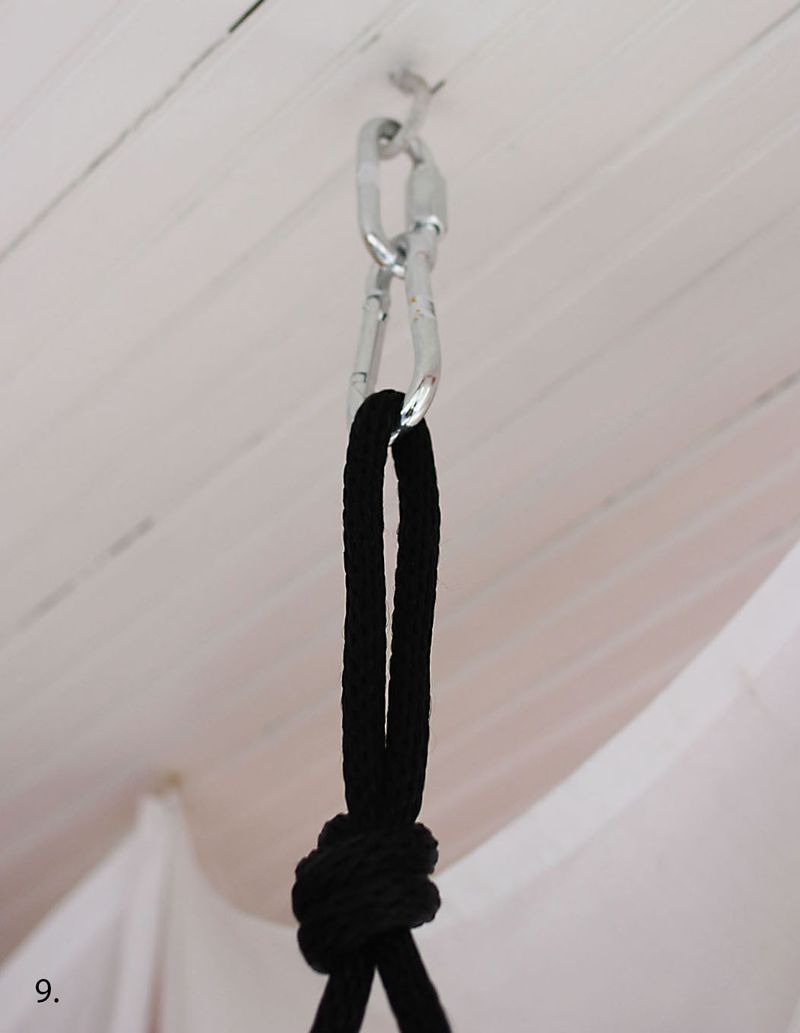
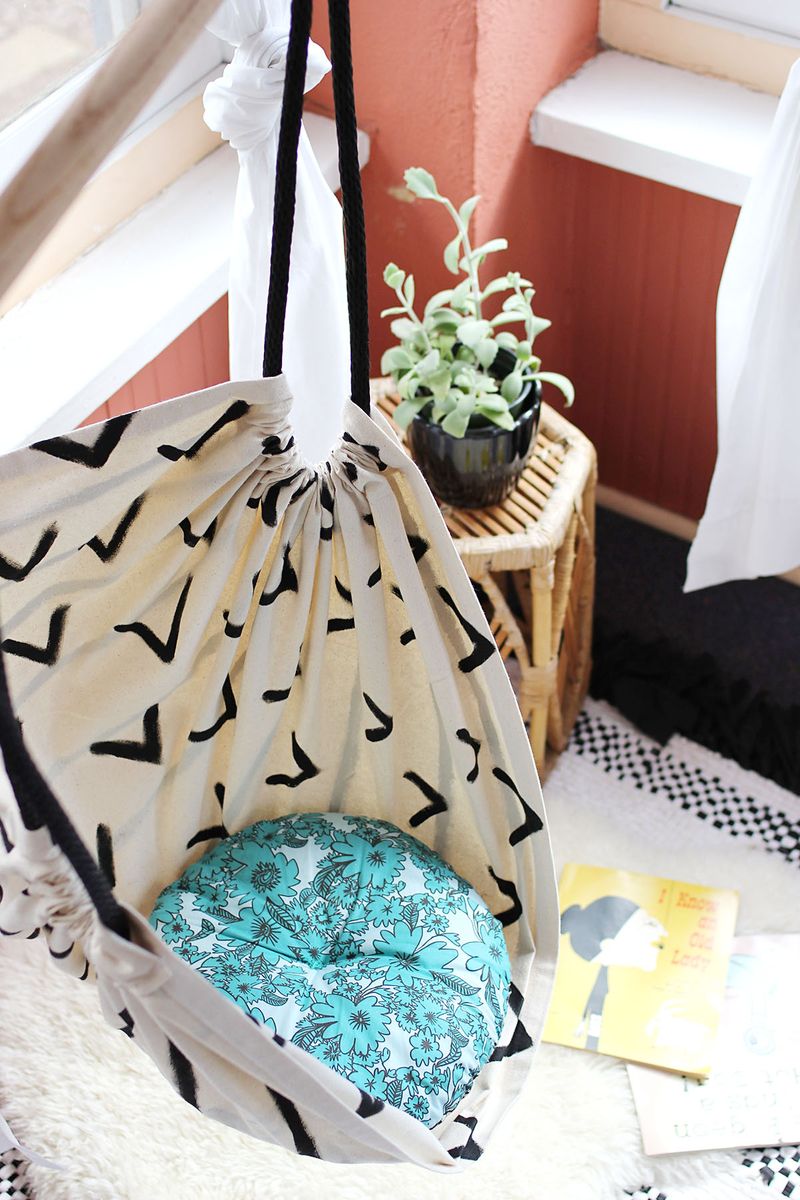
Hang a hammock in the room with a secure mount.
Making a hammock is really not difficult. Of course, you need a few free hours and a great desire. But the result is really worth it.
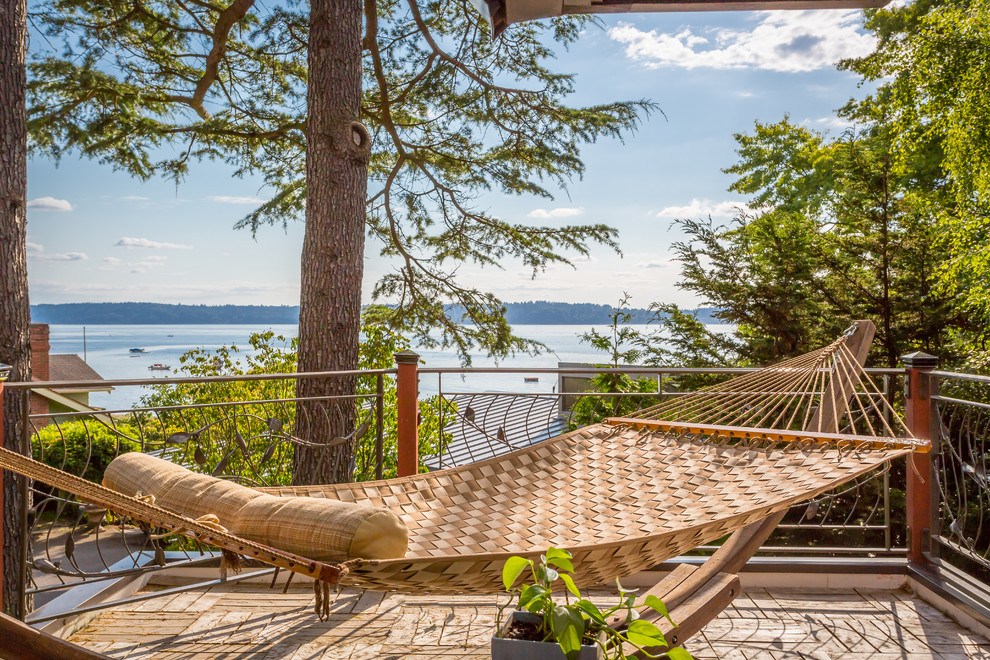
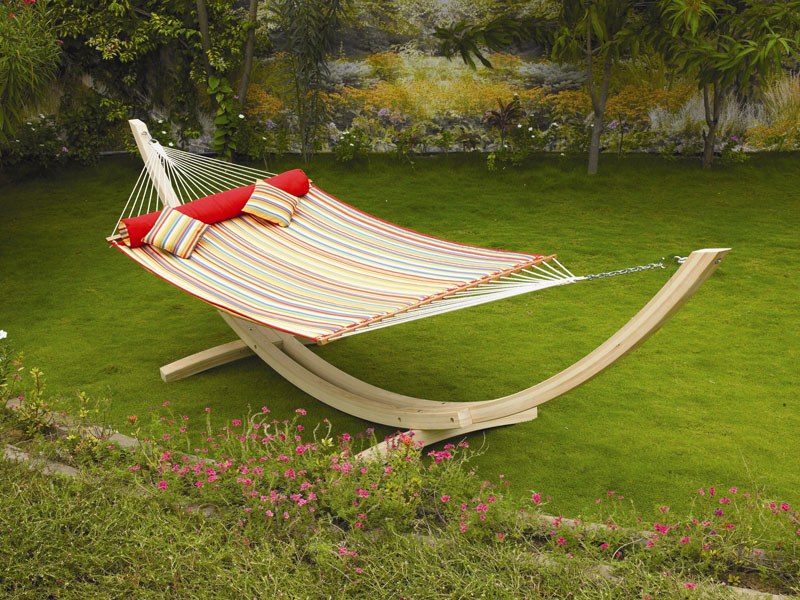
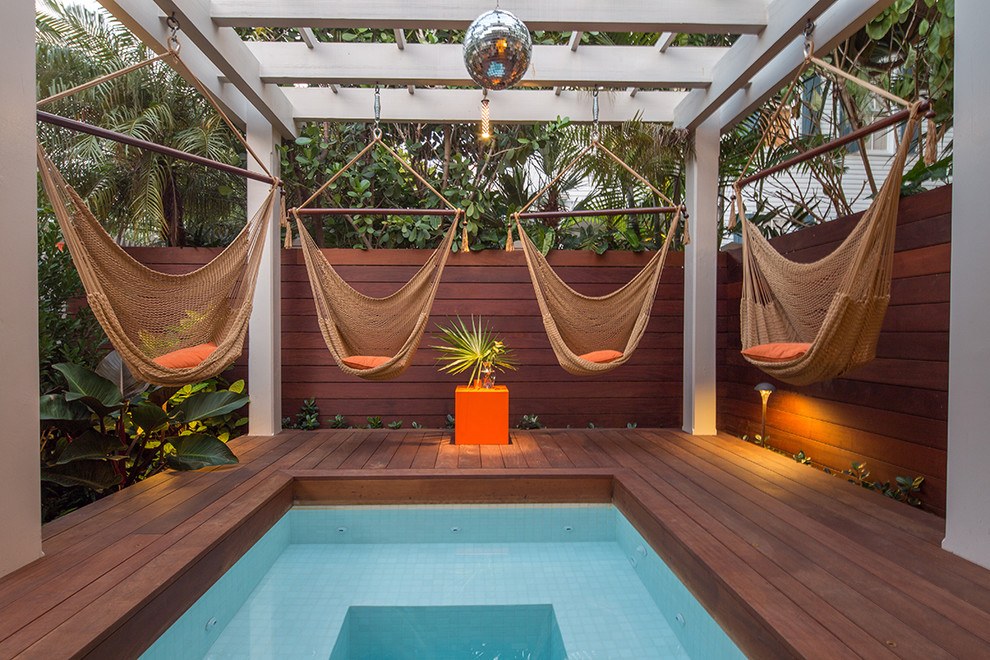
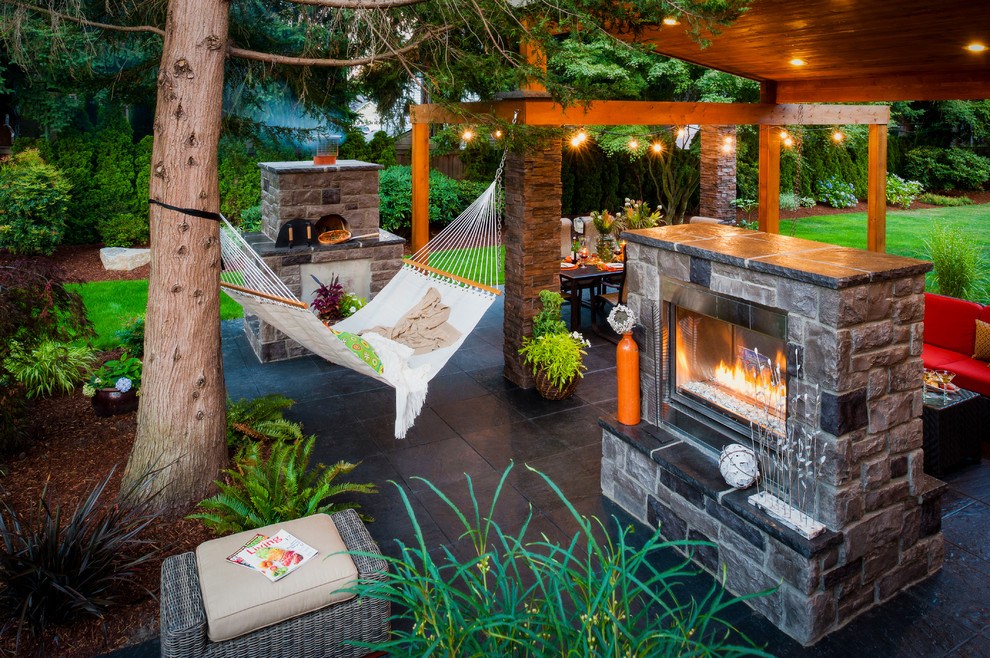
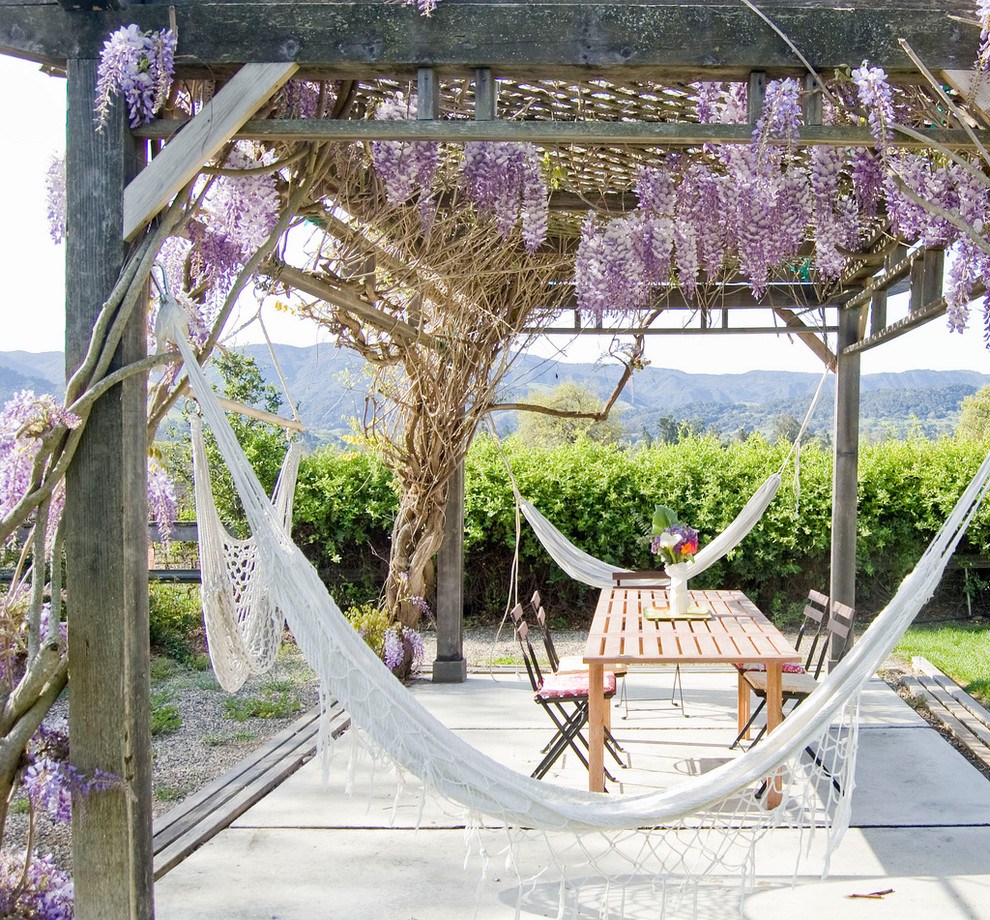
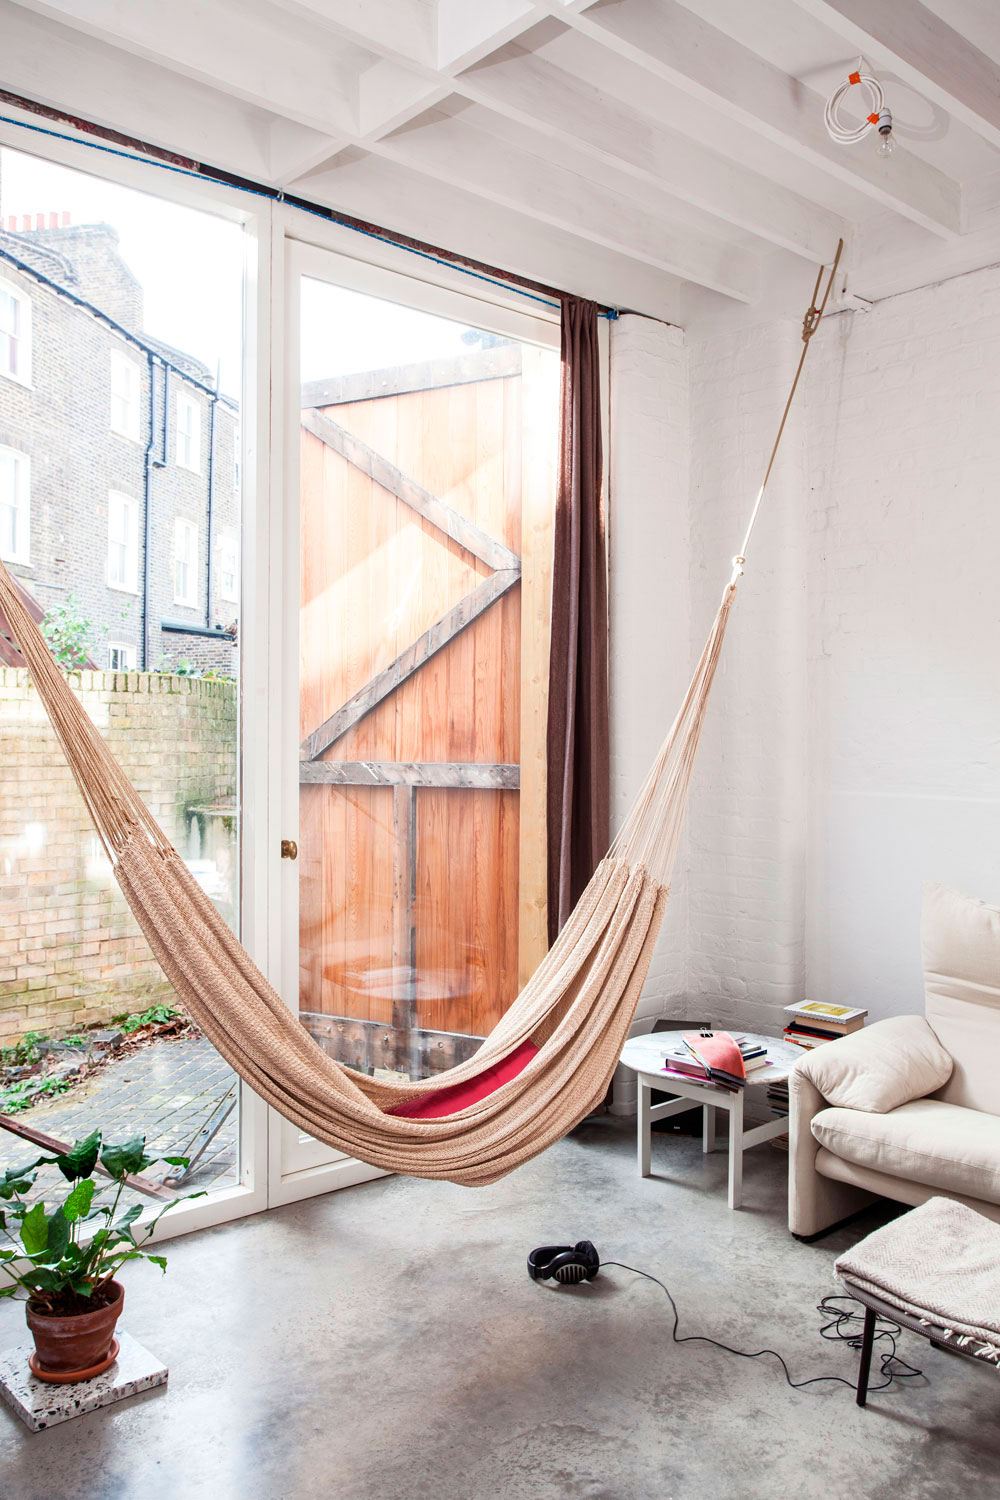
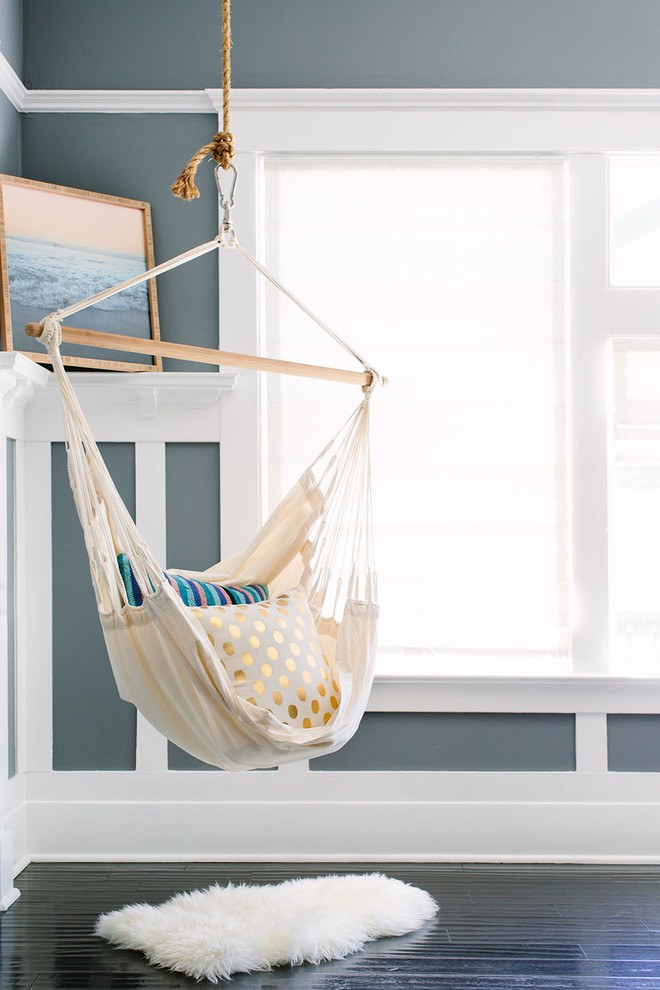
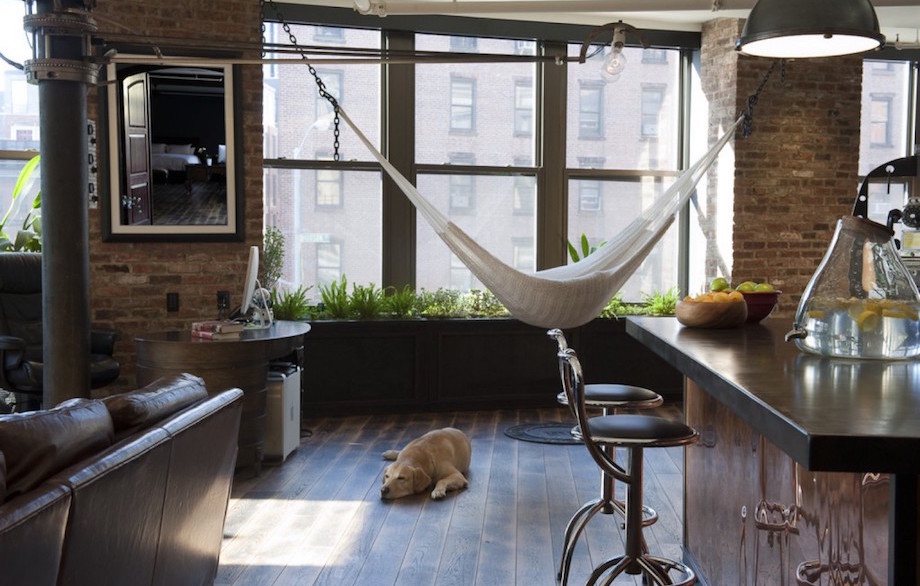
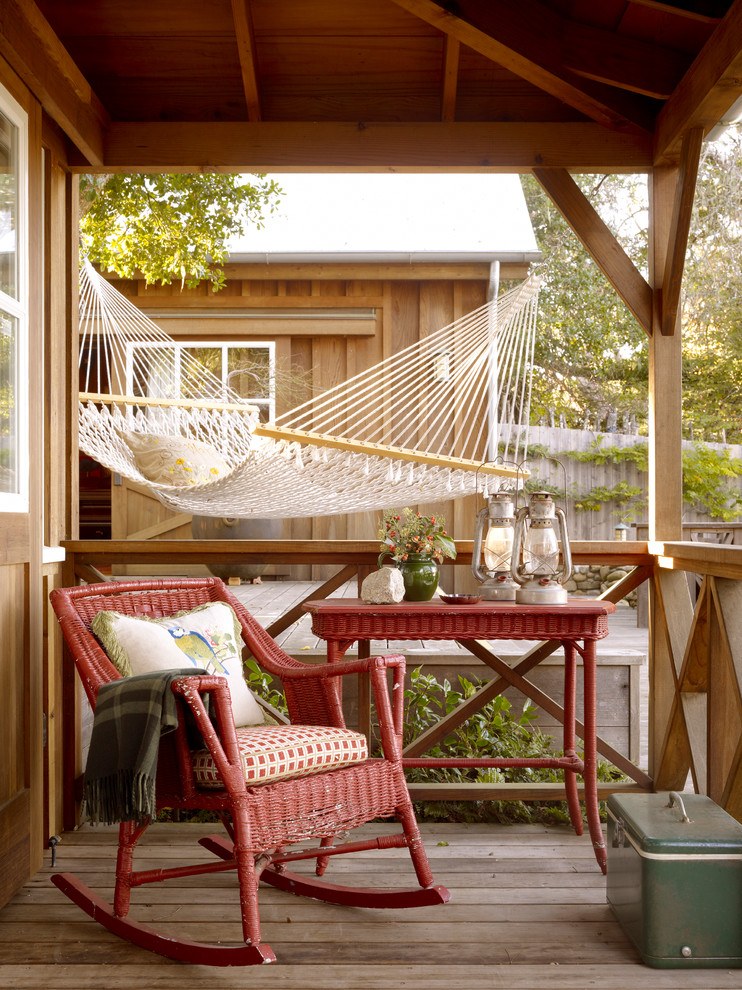
Before starting creating a hammock, we suggest reviewing their types and features. Perhaps the most popular is the suspended structure. This hammock is quite simple and affordable, so anyone can easily make it.
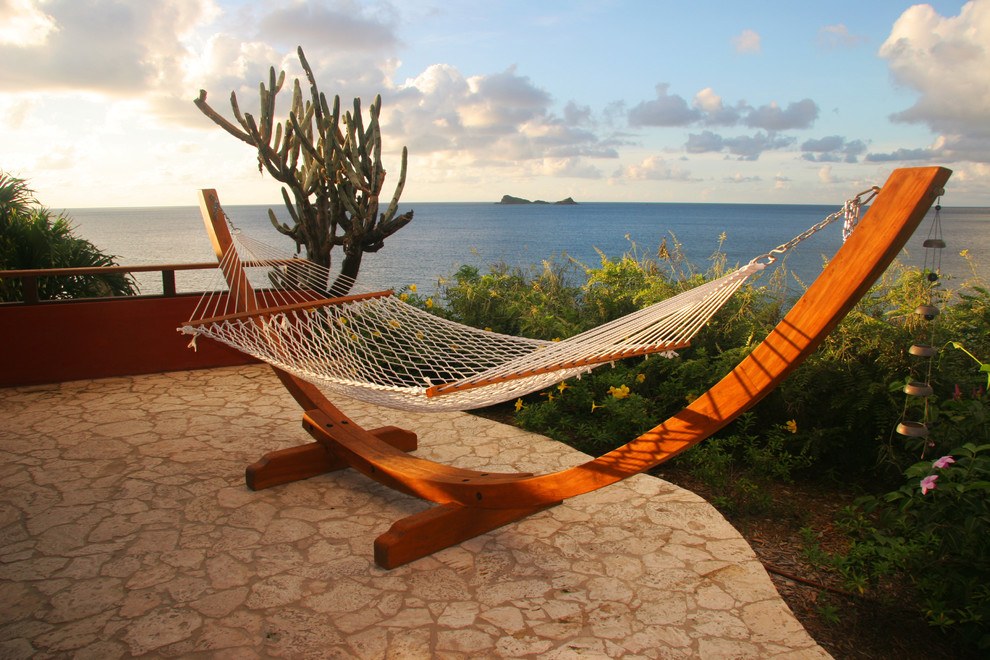
The frame hammock is more difficult to perform. This design is almost always the folding structure, so it can be easily transported or removed until next season. The main difficulty for many is its mount. The fact is that it must be separate wooden and metal details. It is very difficult to make it yourself, but the result is worth it.
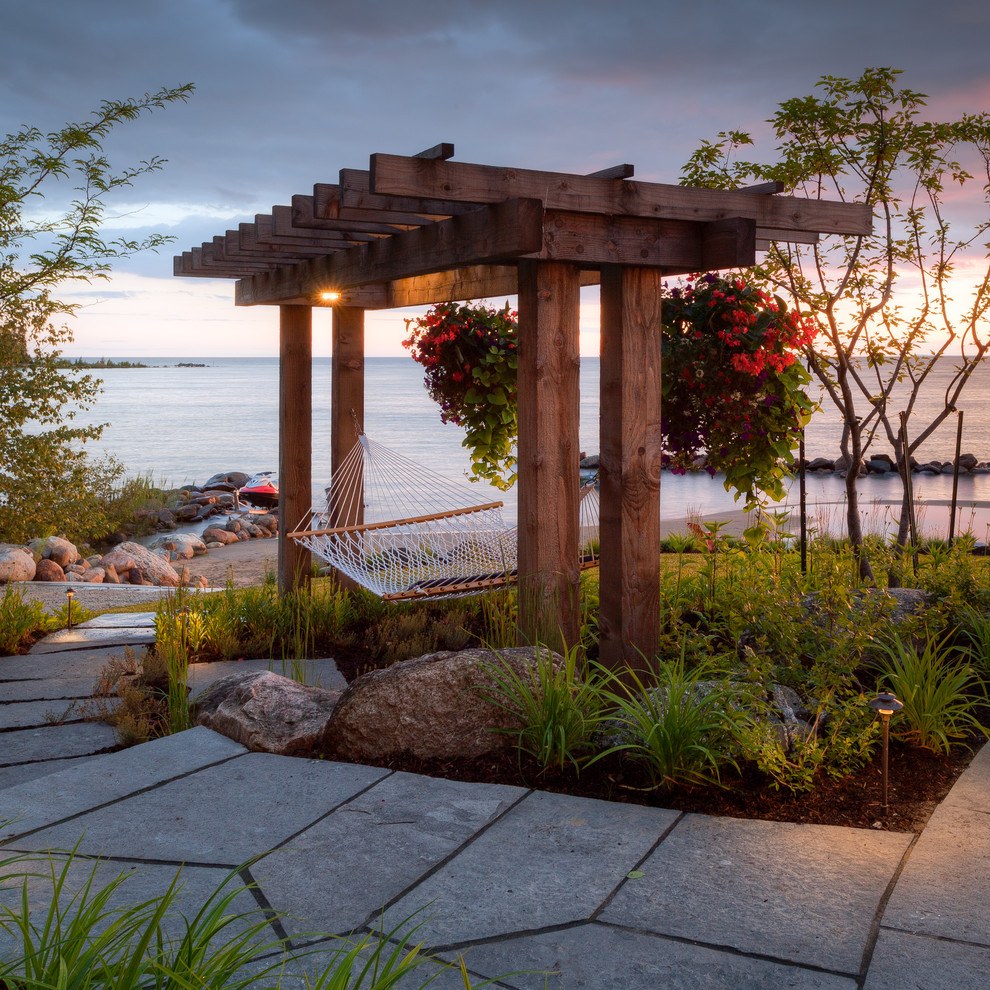
Whatever type of hammock you choose, you should take into account the general recommendations that will help make the structure more reliable. First of all, we recommend thinking about support. Two trees or pillars fit most for mounting. They must be as resilient as possible in order to maintain the weight of an adult.
Also note that the hammock should be hung at a height of at least one meter, and the distance between the supports should be up to three meters. Keep in mind that the higher it will be tied, the deeper the deflection will be. In any case, the hammock should be comfortable for rest.
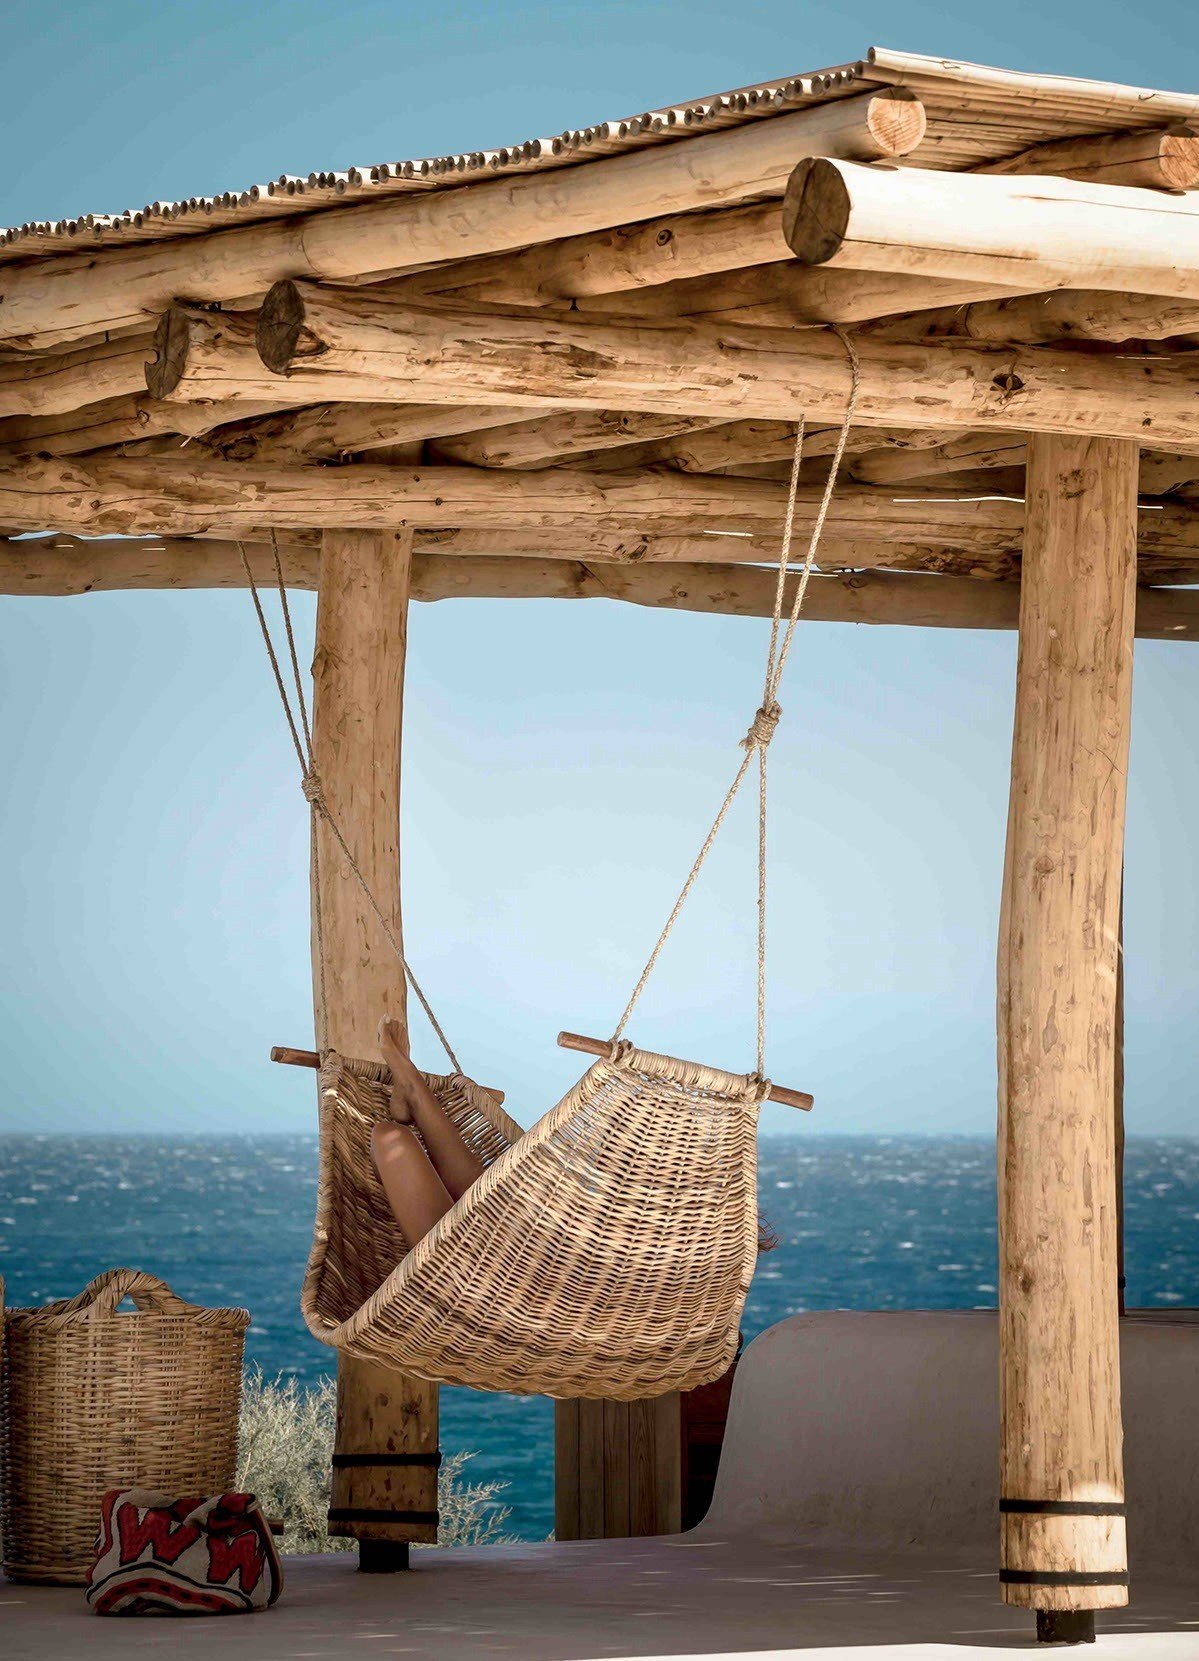
If you plan to make a fabric hammock, then try to choose natural materials. This can be a mattress tick or a tarp. Of course, synthetic fabrics are much lighter and more budget. But remember that in such a hammock the body definitely will not breathe and over time there will be a feeling of discomfort, rather than pleasant relaxation. In turn, if you choose a braided hammock, then it should be made exclusively of cotton threads. They will be the most pleasant to the body and durable.
Investing in high-end ranges may significantly impact your property's value. In addition to improving the…
Dealing with a non-responsive thermostat can be a frustrating experience for homeowners, impacting both comfort…
A mini-split heat pump is a low-maintenance heating and cooling system that is very efficient…
Are you thinking about installing a Murphy bed in your home? If yes and you're…
Are you thinking about turning to solar power for your home? Sound familiar? You may…
Electrical issues are one of the most frustrating problems you could ever experience. They can…
This website uses cookies.