If there’s one thing that homeowners can agree upon, it’s that ceramic tile adds a certain beauty to whatever space it’s added to. Having said that, few homeowners have likely given thought to where their tile has come from, or how it is even made. To feed the inquiring mind, we’ve compiled the basic steps necessary to make ceramic and porcelain tile.
Much like any coveted recipe, the components used to produce tile can vary greatly from one manufacturer to the next. There is, however, one material that typically unifies all traditional ceramic tile, and that’s dirt (or more specifically, clay). Other materials like sand, quartz, feldspar, and water – in tried and true proportions – are added to round out the materials list for the body of the tile. In simpler times, the clay would have been sourced from a riverbed or other natural location. Chances are however that the clay used to create the ceramic tile found in your local tile store was artificially produced, and can contain some unconventional materials like post-consumer glass and marble.
To the uninitiated, it might seem obvious that tiles are formed when the combined materials are wet and malleable. In reality, modern-day manufacturers use a method known as “dry-pressing” (which involves subjecting the dry material to immense pressure between two large dies) to mass-produce tiles. The amount of pressure used to form the tile is directly correlated to the tensile strength of the tile – the greater the pressure used, the greater the tensile-strength they will have. At this stage, the shaped undried tile is known as the bisque.
The next step involves glazing the tiles. For context, think of the bisque as the cake and the glaze as the icing. Like the materials used to create the tile itself, glazing can be produced in many different ways. Glazing can consist of a matte or high gloss finish, can be applied using a silk screen or spray application and can include the application of pigmentation. Though not every ceramic tile needs to be glazed to be considered a true ceramic tile, they do all need to be “cooked” or fired in a kiln. It just so happens that firing the tile is the next step.
Traditionally, tiles were fired slowly for several hours in a periodic kiln, an oven-like kiln capable of firing a finite number of tiles for the duration of the cook. Modern technology and the introduction of the continuous kiln, which bakes an exponentially greater number of tiles through the use of a continuously moving conveyor system, has made the entire process much more efficient. For example, firing tile using a continuous kiln can take less than an hour compared to the four or five hours required in a periodic kiln. Although there is no appreciable difference in the quality of the tile, the modern process has allowed manufacturers to greatly reduce the cost of the tile and pass the savings on to the consumer.
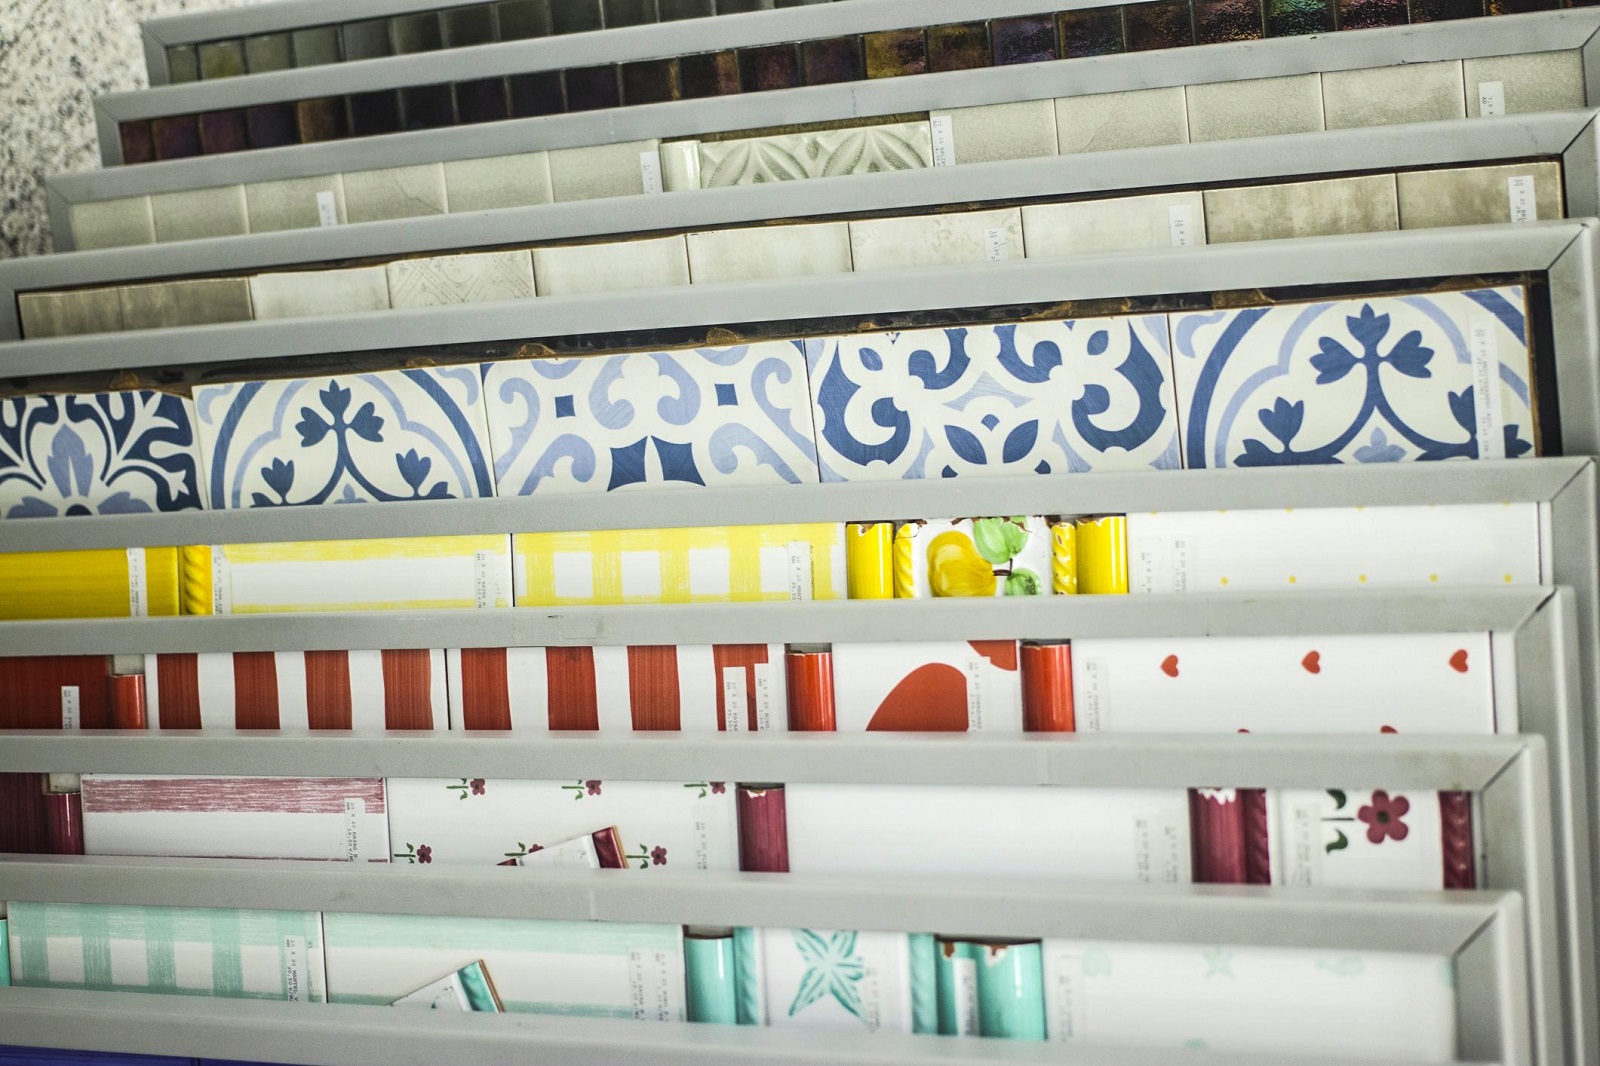
Tiles that are fired once are incredibly strong but may be lacking in the design department. Tiles that boast elaborate patterns and colors tend to be fired several times, each time requiring the application of a different colored glaze to achieve the desired result.
Don’t let the diminutive number of steps fool you; creating a beautiful ceramic tile is as much a science as it is an art. Now that you know a little bit more about how tile is produced, you can hopefully feel a little more confident choosing the tile that will add style to your home for years to come. Be sure to check out Sarana Tile for a wide selection of ceramic or porcelain tile.
Investing in high-end ranges may significantly impact your property's value. In addition to improving the…
Dealing with a non-responsive thermostat can be a frustrating experience for homeowners, impacting both comfort…
A mini-split heat pump is a low-maintenance heating and cooling system that is very efficient…
Are you thinking about installing a Murphy bed in your home? If yes and you're…
Are you thinking about turning to solar power for your home? Sound familiar? You may…
Electrical issues are one of the most frustrating problems you could ever experience. They can…
This website uses cookies.