A mirror ceiling is not so common, but certainly an unusual move in the design of a dwelling. Often it is such a bold decision that presupposes the correct arrangement of accents, a certain stylization, and laconic design of space as a whole. Consider the main advantages, varieties of mirror ceilings: effective design solution for every room, as well as spectacular photo examples of its application in the interior.
Contents:
There are 4 types of mirror ceilings:
This type has a polyvinyl chloride film that creates a reflective effect, which is close to the mirroring. The only difference from the real mirror is the slightly diffused reflection. But in the interior, it looks most calm and natural. It is a great option for a bedroom.
We don’t recommend mounting a mirror suspended ceiling independently. The professionalism of qualified masters is important here. And it is unmanageable without special equipment.
Initially, ceilings made of polystyrene panels are material in rolls. Before installing it, you can straighten it in several ways:
The polystyrene ceiling installs quite easily since a self-adhesive surface is provided on the other side. It will ensure reliable adhesion to the overlap. Installation takes place in several stages:
In the absence of an adhesive film, polystyrene panels are fixed using prepared mixtures based on PVA.
If ceilings were painted with enamel before, which exfoliates now, it must be completely removed with a spatula or trowel. As an option, you can attach drywall. Tiles are fastened to it as easily, and it does not affect the overall appearance of the interior.
Note: in a room with mirrored panels it is better to avoid strongly heated luminaires – they can deform the mirror coating.
Such ceilings definitely have a lot of advantages over the others:
To apply a mirror ceiling, you need to follow specific instructions. At the beginning of the work determine the shape and color of the panels, which will most successfully harmonize with the overall interior. Tiles are adjusted to the desired size and cut then. But it is not worth doing it yourself, because, in order to qualitatively and without scratches cut the panels of glass, you need the mirror cut to size with recommended equipment. Further, level the ceiling overlapping by attaching drywall or plywood to them. Only in this way, glass tiles will be able to fully reveal their best qualities.
The panels are fastened with glue or screws. If the glue is used, the inner side is carefully coated with a compound and pressed against the ceiling. It is very important to wait for a little while until the panel is attached. If you release it at once, the glass will fall off and break. In the second case, the tile is drilled in four corners for the diameter of the screws. Rubber gaskets are put on the tips to avoid scratches on the glass. After all the work is done, the screw heads are masked in chrome or aluminum caps.
All steps need to be performed with extreme caution, because the glass is very easy to damage, and then it will lose all its attractiveness, and will not look so spectacular in the interior of the room.
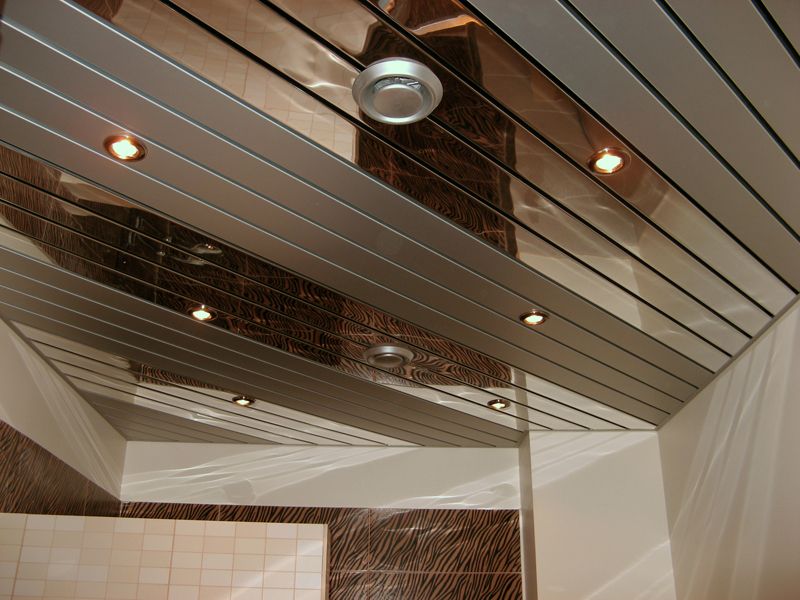
It is composed of aluminum long strips with a beautiful mirror coating. Presented in different colors, but it is important to understand that the color of the slats should not contrast with the slabs.
Cassette lath ceilings are easy to install, effective in operation, and easy to care for. That’s why they are so popular.
Ceilings with a reflective and mirrored surface are an effective solution, which is often used in the design of different rooms. See photos and be inspired by ideas for creating your unique interior.
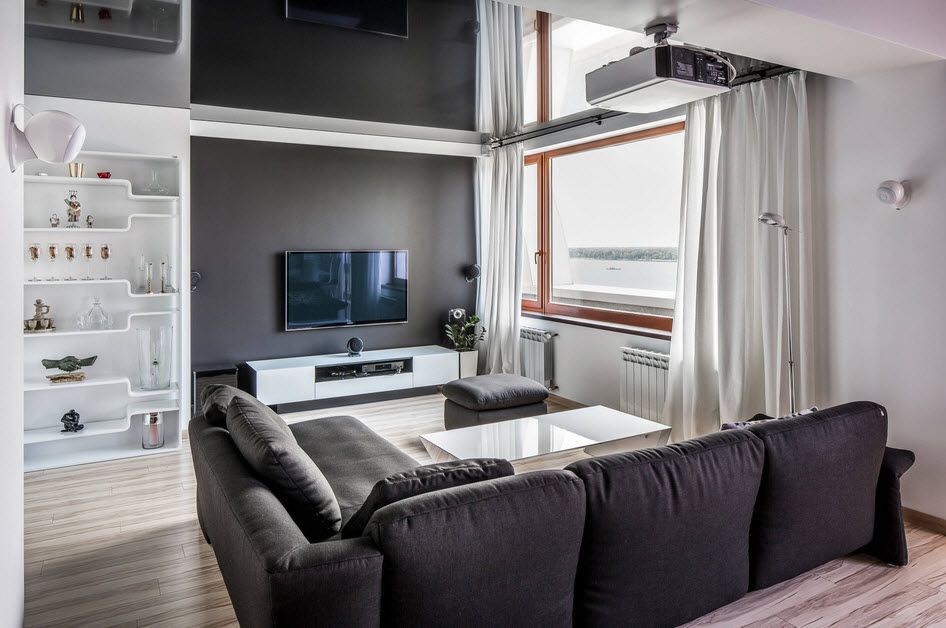
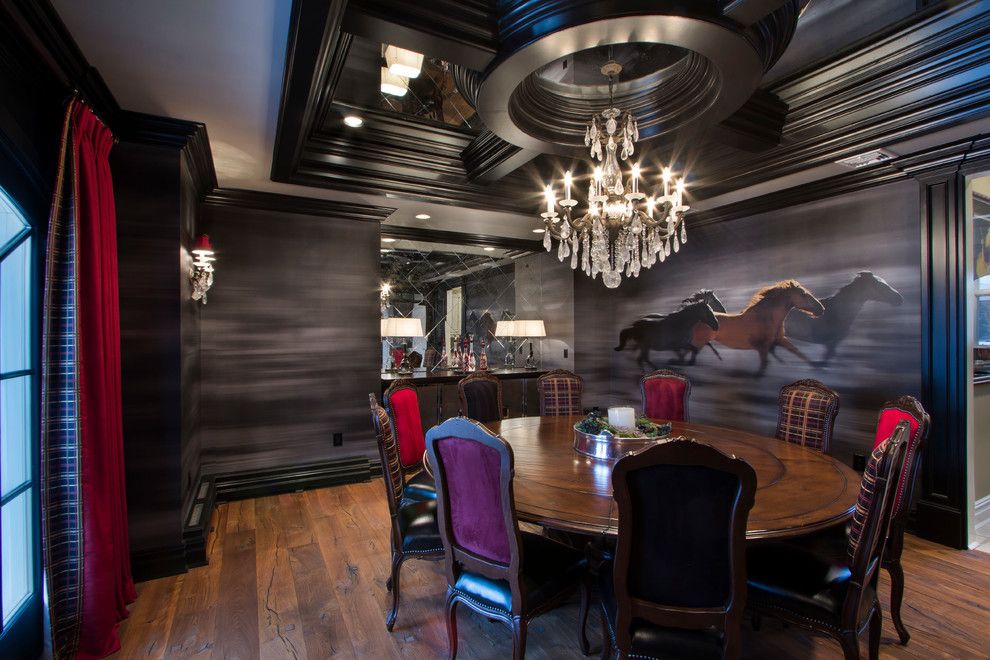
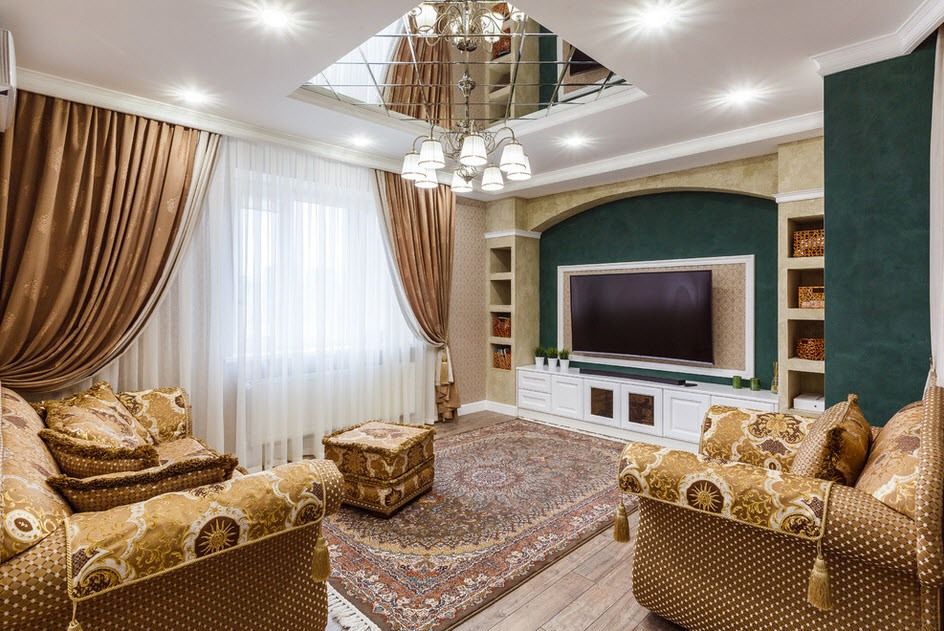
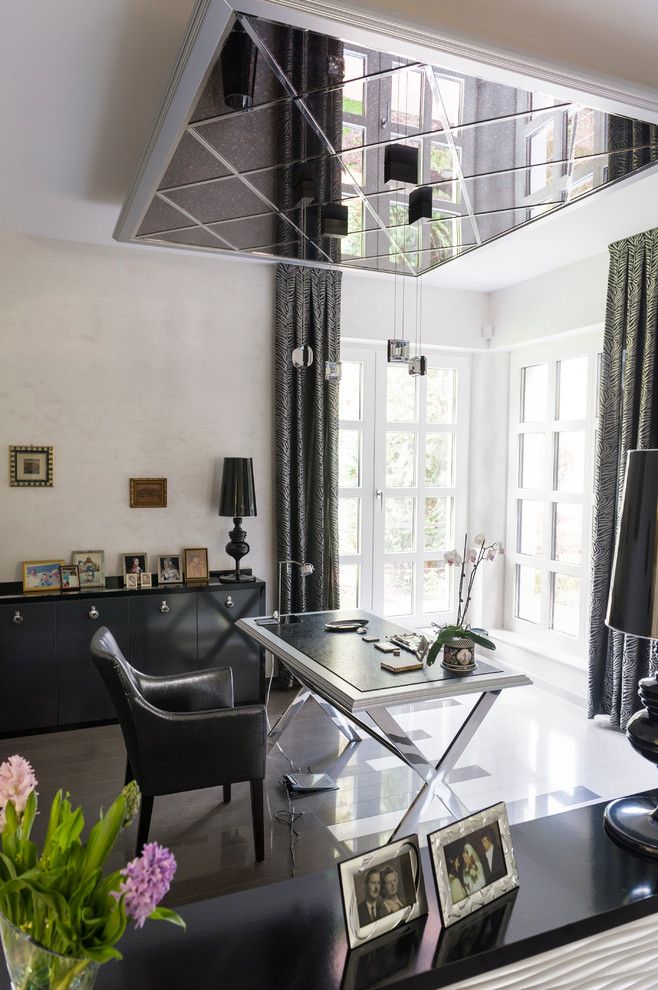
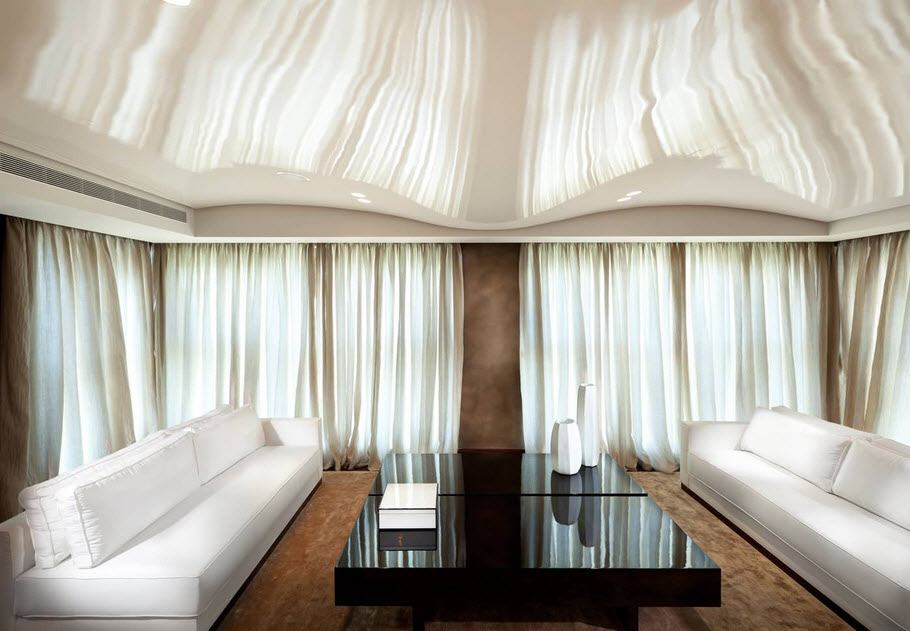
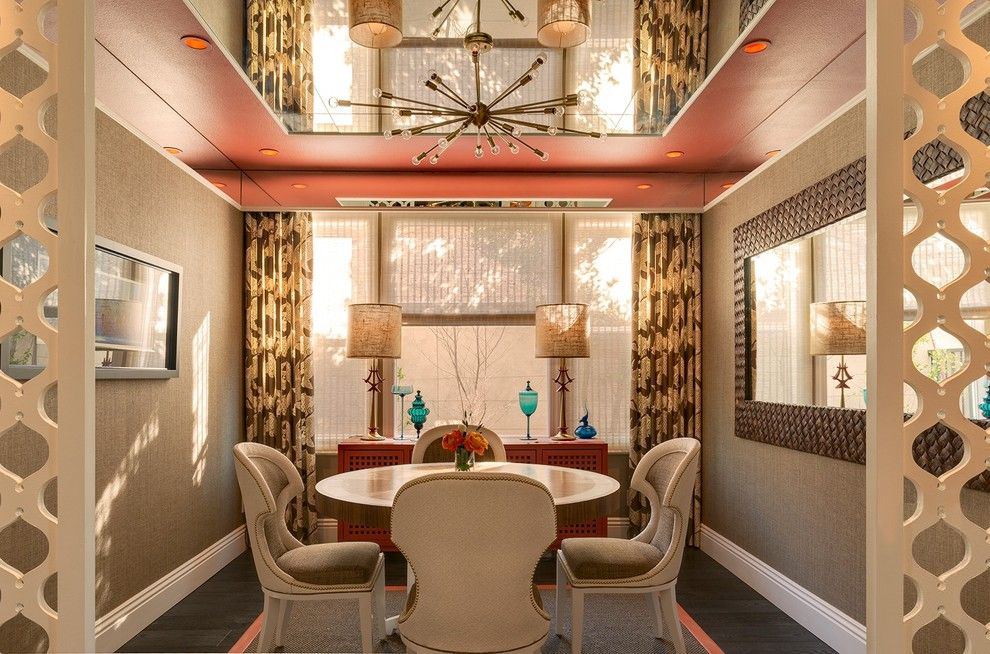
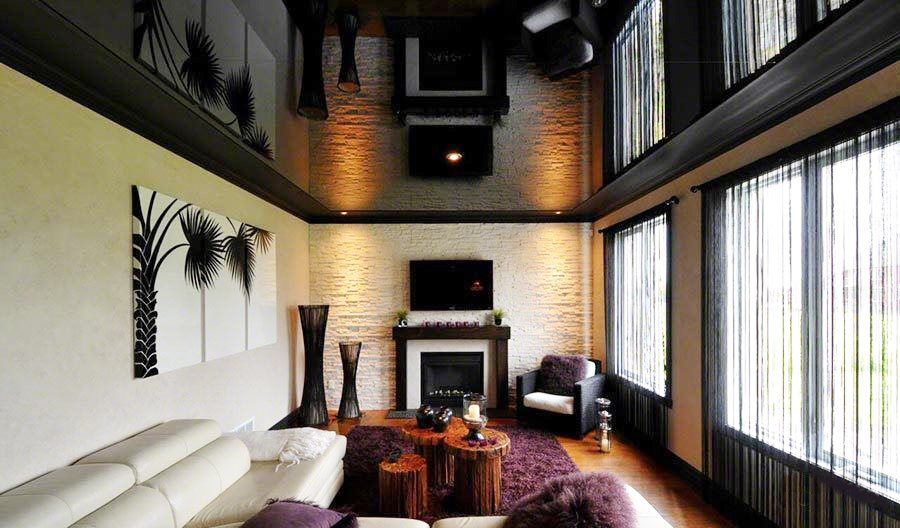
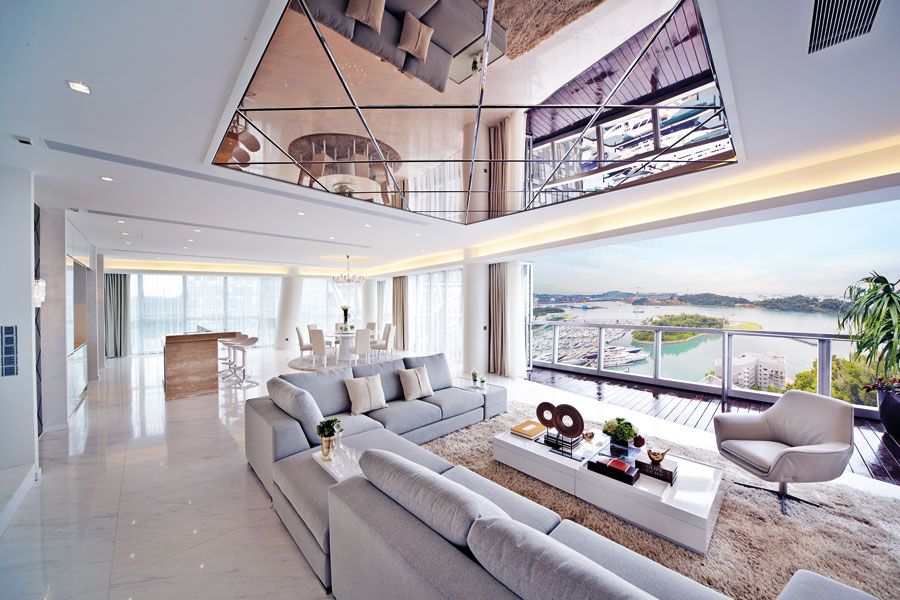
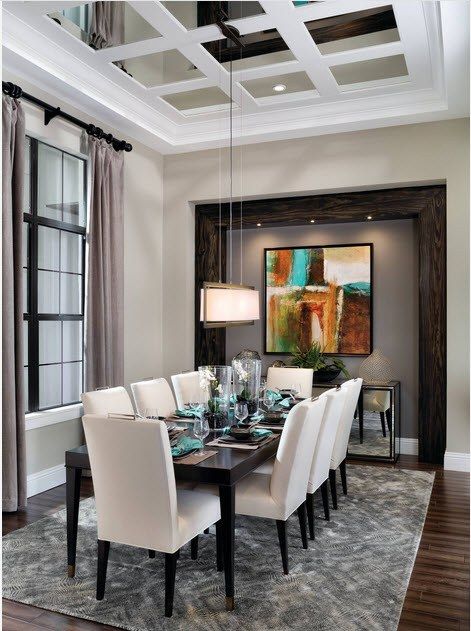
Mirror ceiling in the living room
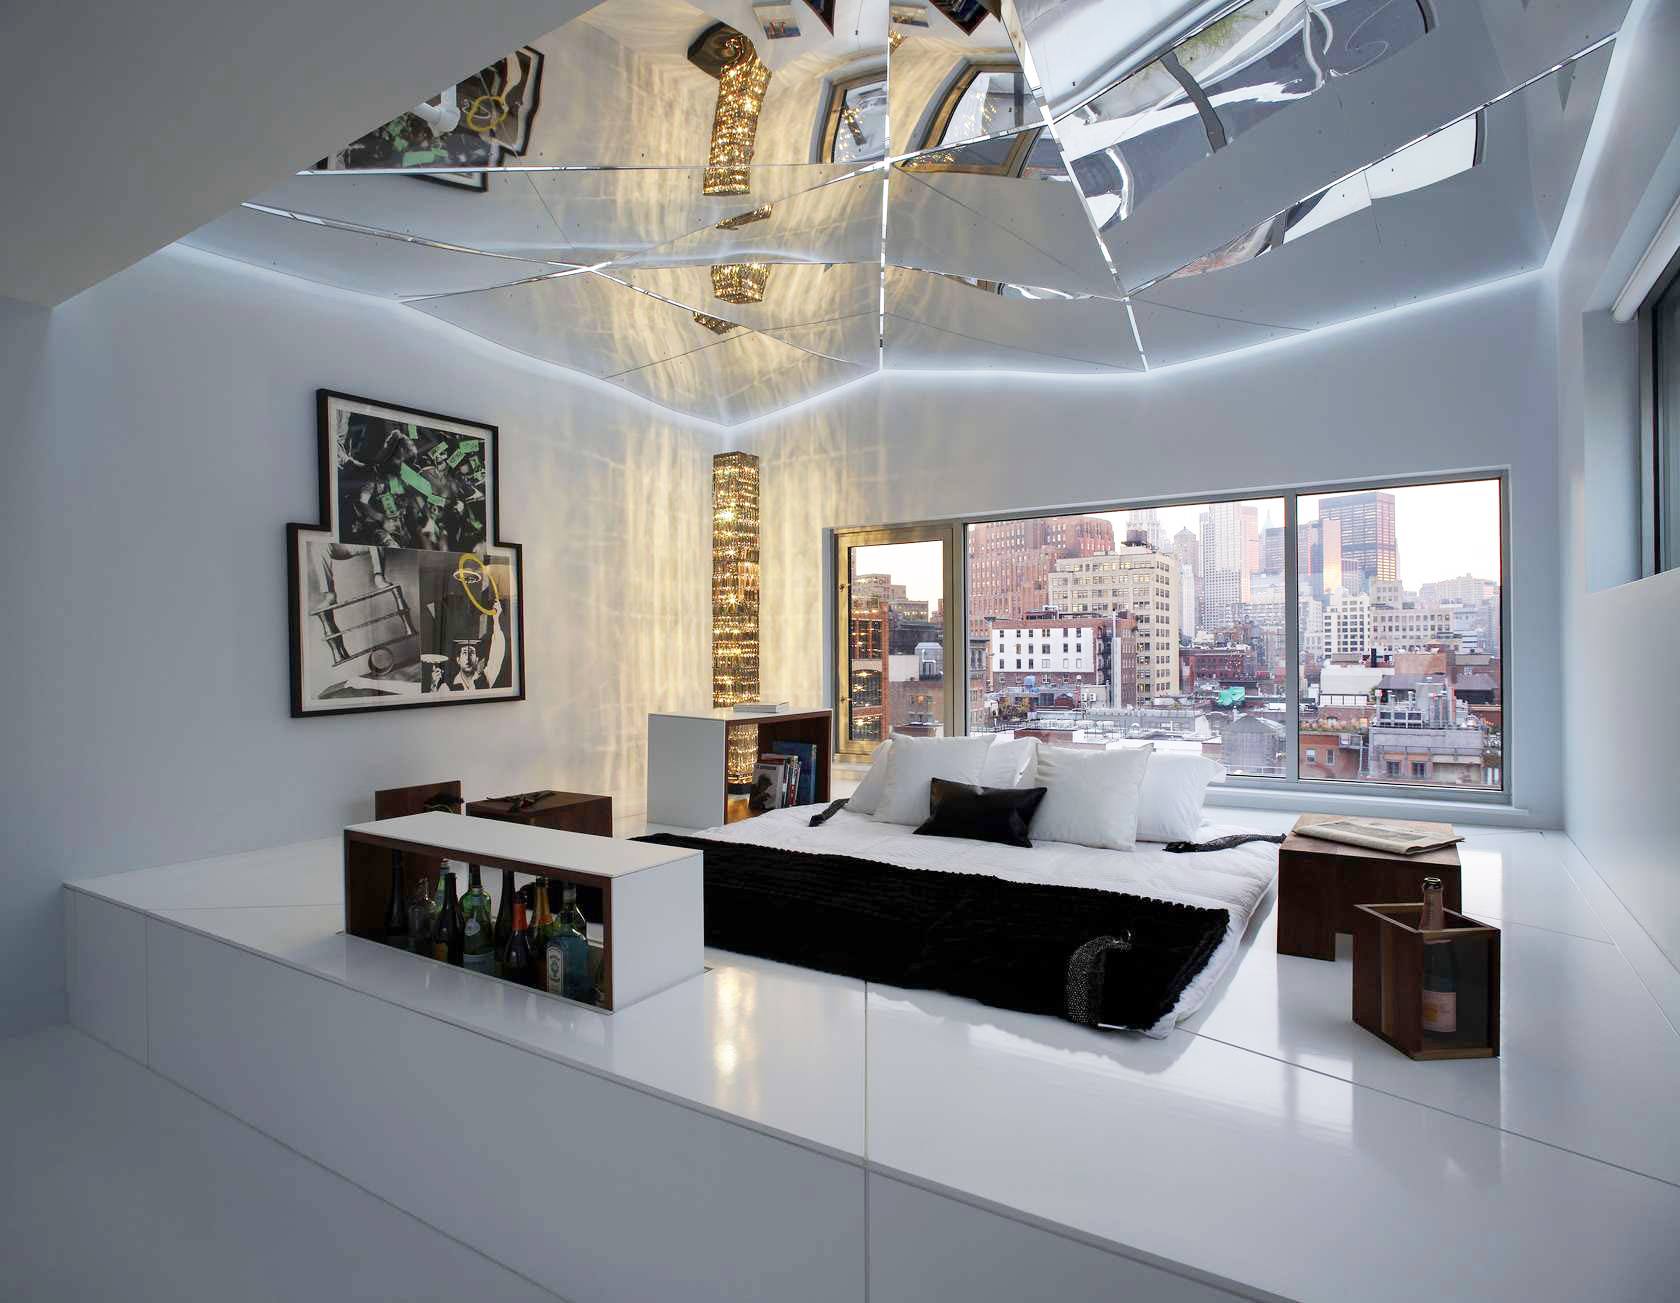
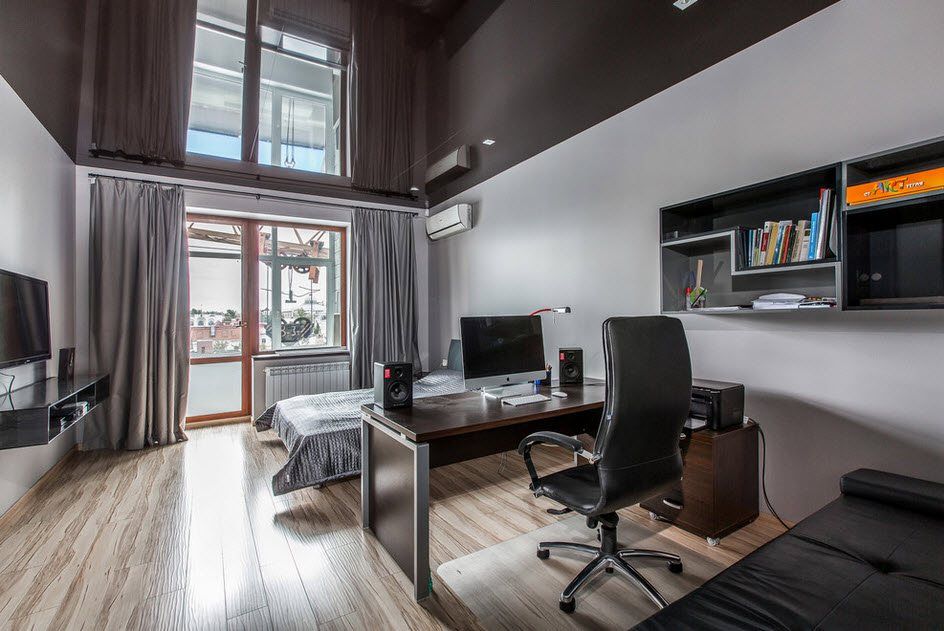
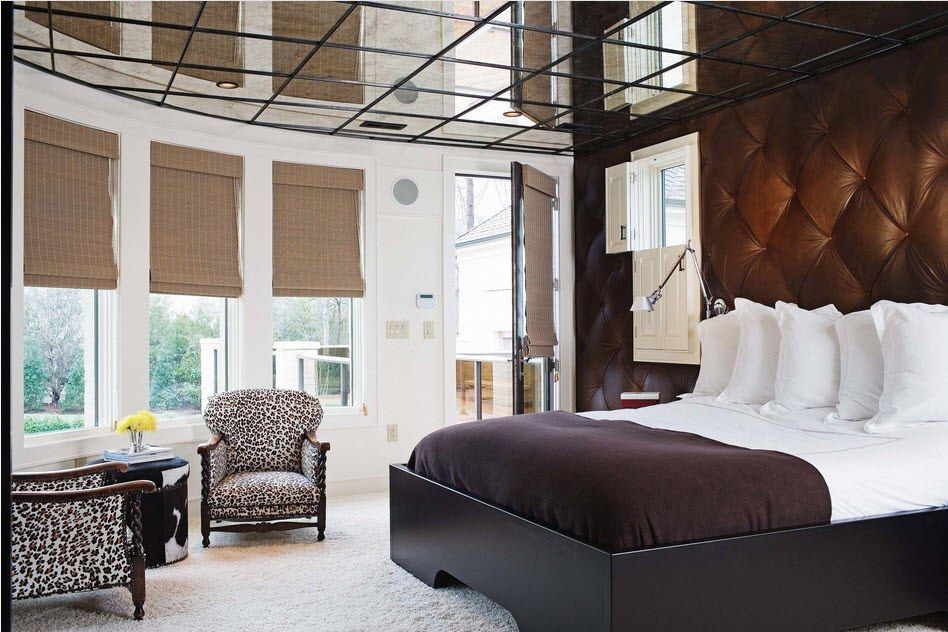
Bedroom
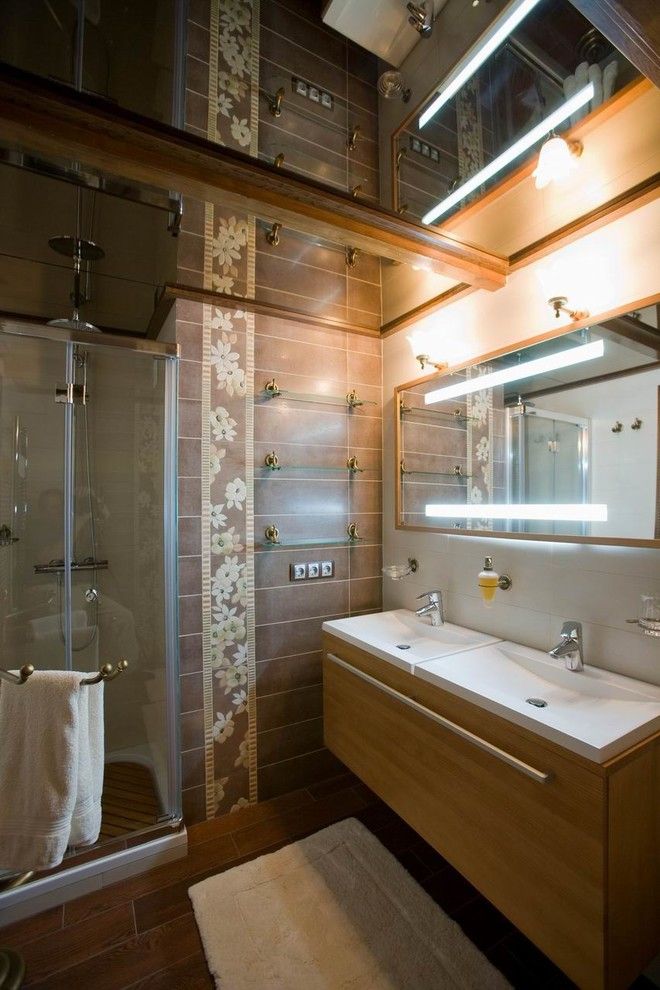
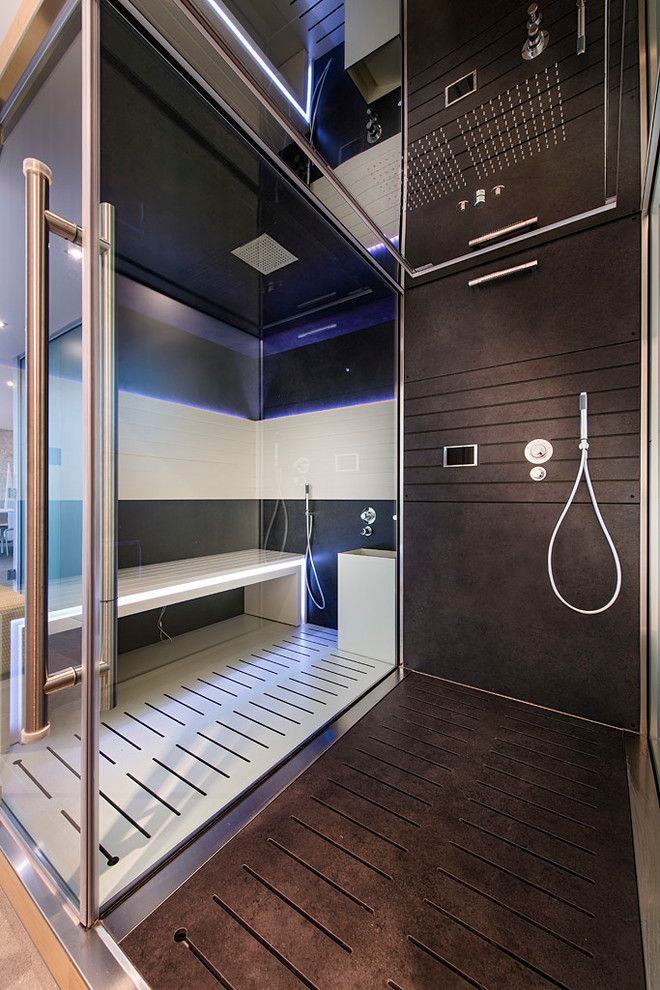
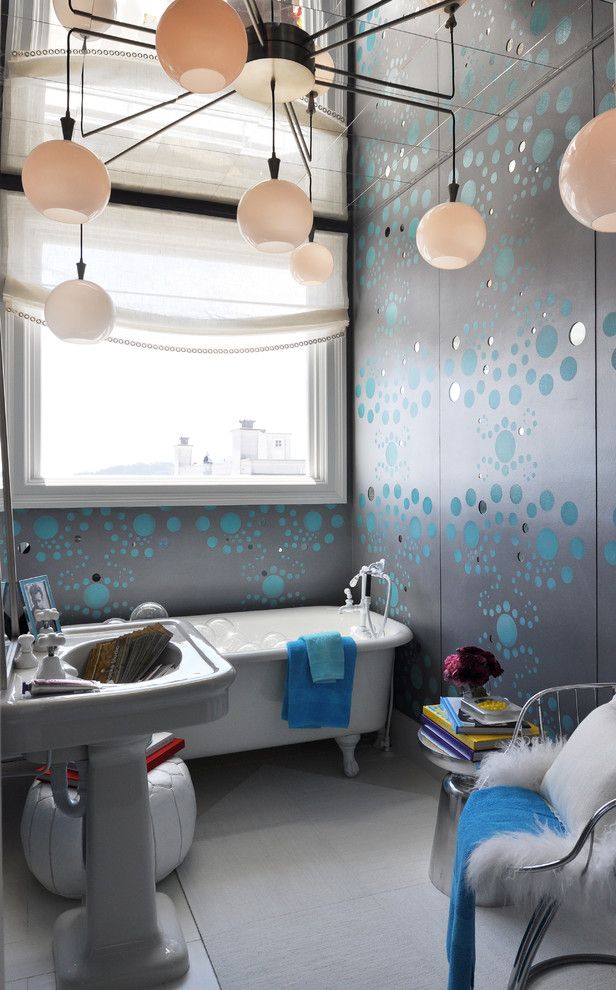
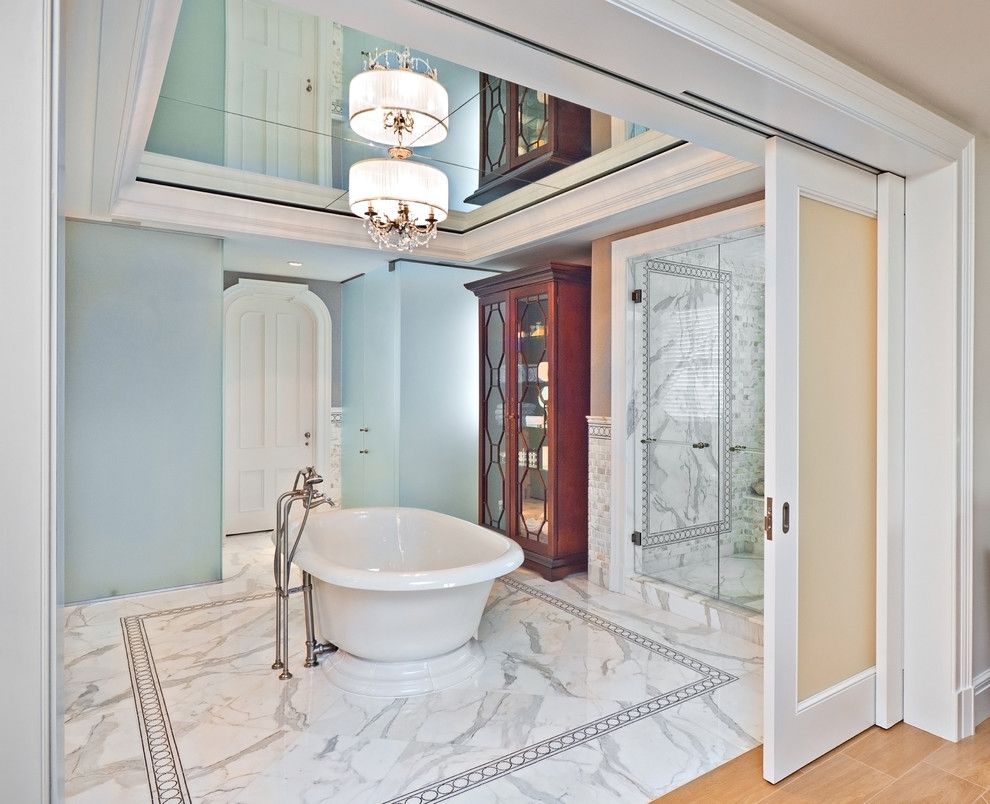
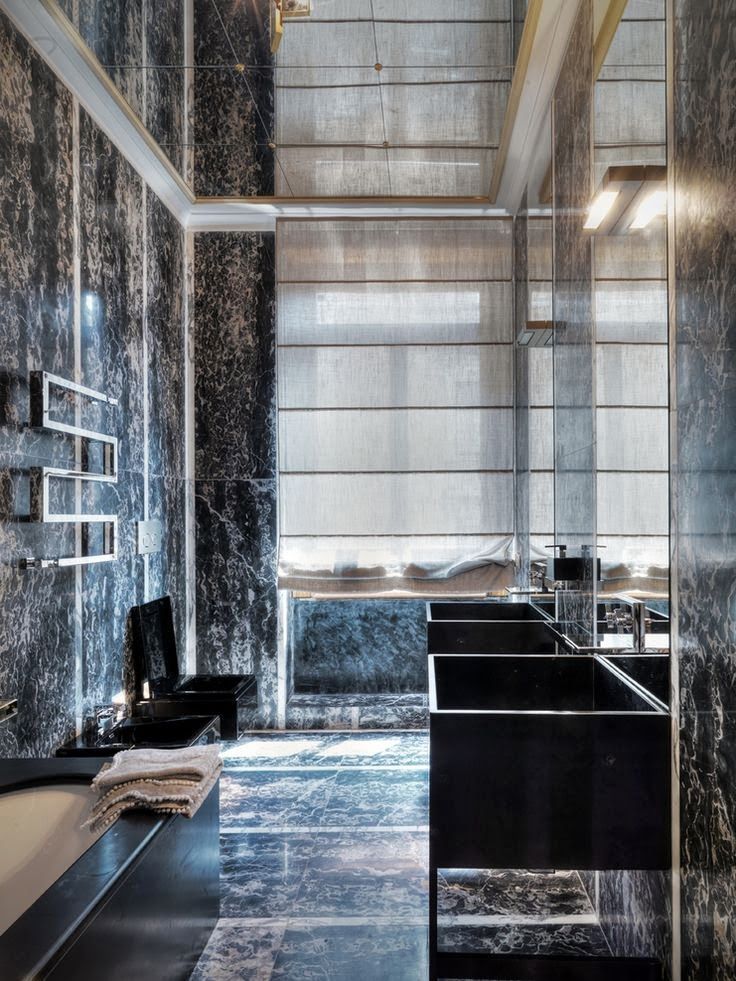
Mirror ceiling in the bathroom
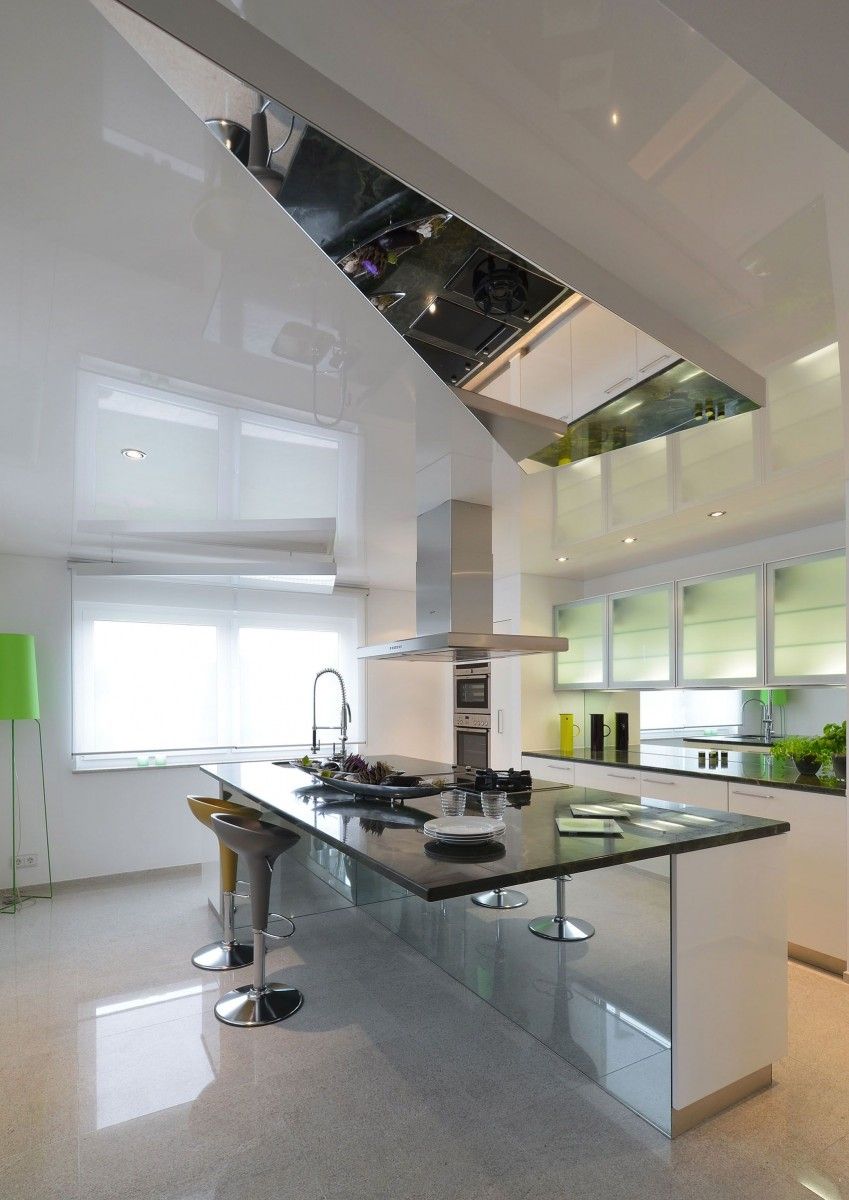
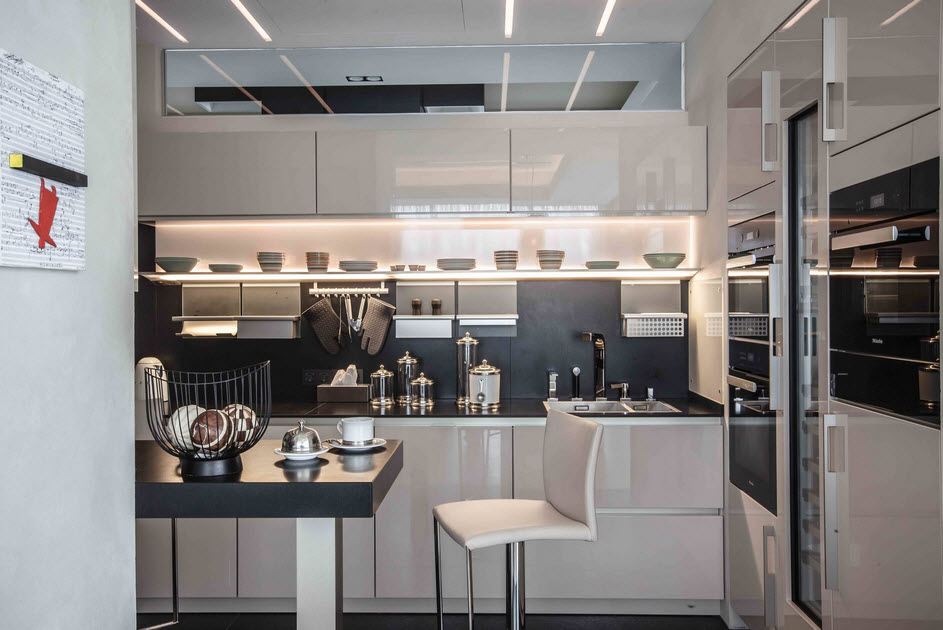
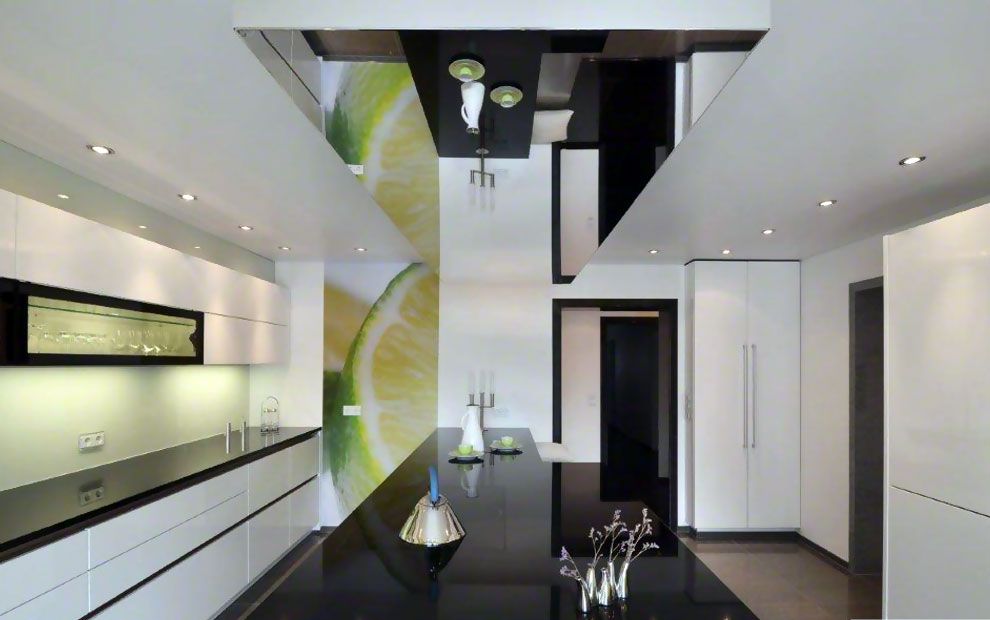
Mirror ceiling in the kitchen
The corridor
Investing in high-end ranges may significantly impact your property's value. In addition to improving the…
Dealing with a non-responsive thermostat can be a frustrating experience for homeowners, impacting both comfort…
A mini-split heat pump is a low-maintenance heating and cooling system that is very efficient…
Are you thinking about installing a Murphy bed in your home? If yes and you're…
Are you thinking about turning to solar power for your home? Sound familiar? You may…
Electrical issues are one of the most frustrating problems you could ever experience. They can…
This website uses cookies.