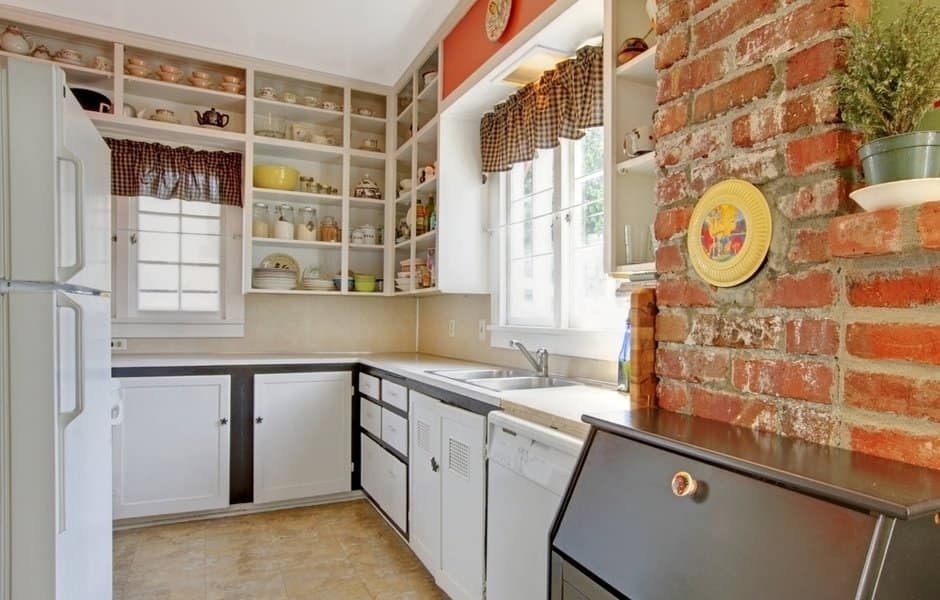
Remodeling your kitchen is one of the best ways to add a fresh vibe to your house. After all, the kitchen is the beating heart of every home.
Many people try to postpone the kitchen remodeling process simply because it seems time-consuming. That’s simply not true – in fact, you can remodel your kitchen via Kitchen Tune-Up’s kitchen renovating services within a couple of days!
If you want to know how – read on.
When deciding what you want your kitchen remodel to look like, you will need to start by considering and planning the:
If you’re going to remodel your kitchen on a weekend, this is the step where you should take your time. You will be working with lots of appliances and fixtures, so it’s crucial to prepare everything prior to your actual remodeling process.
First of all, remove all the small appliances (if any) and light fixtures from the kitchen. Make sure that all the appliances are in good working condition before they go out of your house.
Then, remove all the cabinets and the other elements from the walls that you’re remodelling. To make things easier, start with the wall where your refrigerator is located – it will open up space in the room tremendously!
Next, disconnect the water and the gas line going to your kitchen. If you’re going to scrap any of the old plumbing fixtures or are changing the plumbing configuration, ask a certified plumber to come over and do all the work for you.
But, if you’re only adding or removing some elements, you can disconnect them yourself and then reconnect them later.
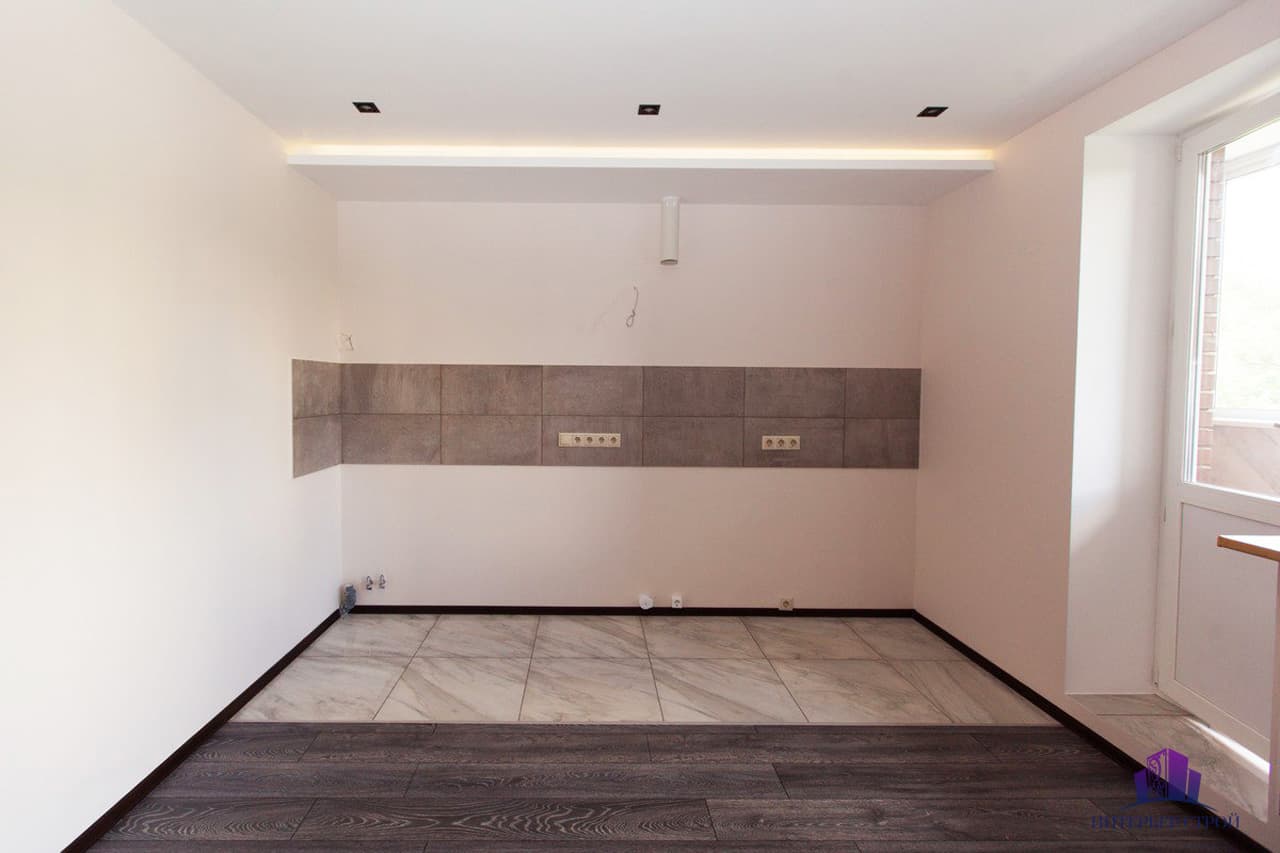
Start to remove the old flooring from your kitchen. If you have parquet or hardwood flooring, you will just need to remove any debris and then sand it down lightly. To finish things off, wipe it with a small amount of oil (if it has a sealed finish) or apply a new sealant (if it has an unfinished finish).
Now you’re ready to add your new flooring! Use water-based adhesive for a better installation process and wait a few days before using any heavy furniture or appliances on it to avoid damaging it.
Consider putting some tile or hardwood on hard-to-reach areas such as corners or other places where dirt often accumulates. Make sure that your new flooring is perfectly sealed before using it. If you want to have tile flooring in your kitchen, ensure that it’s durable enough for heavy appliances and traffic.
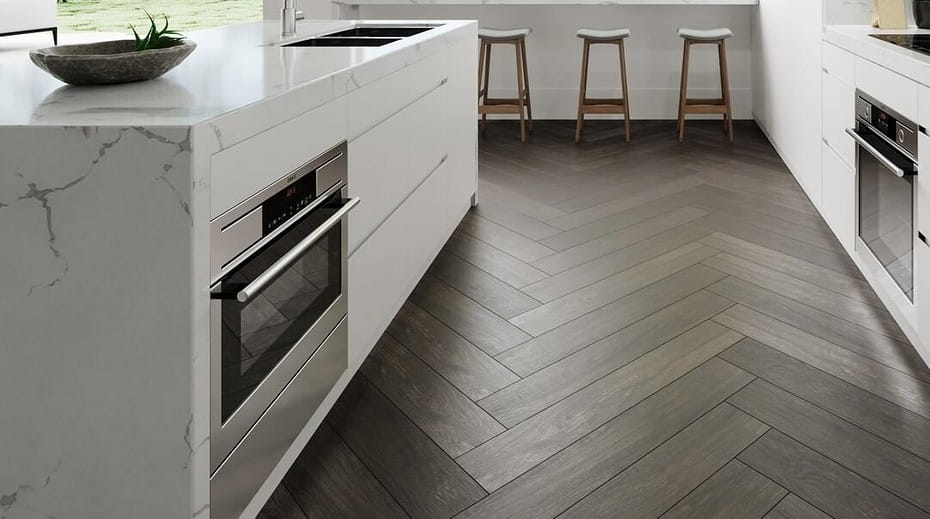
Our favorite material is porcelain tile – it looks great and feels smooth underfoot. It’s also extremely durable and easy to clean.
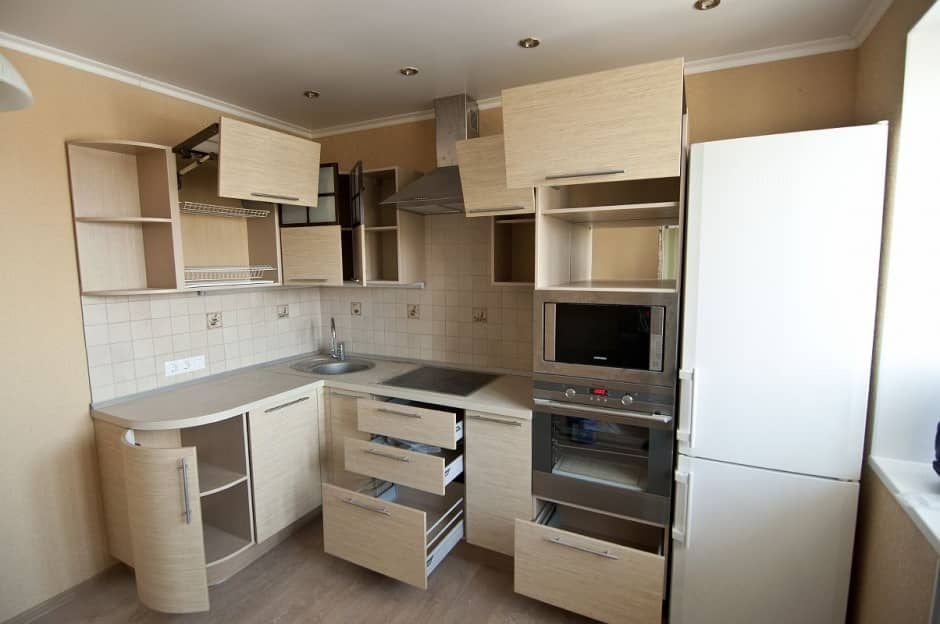
Ensure that your cabinets are level before installing them using an adhesive that is made specifically for cabinets. You can even install all cabinetry before installing flooring – as long as you make sure that they are leveled perfectly.
Now that everything has been installed, it’s time for you to turn on your lights and enjoy your new kitchen. You can install your new appliances first or wait for a day or two until all cabinets are installed.
Use mounting hardware for the appliances that require it (dishwasher, washer/dryer, and refrigerator). Make sure that your new plumbing works properly before installing appliances permanently – some plumbing installations can be quite tricky! After everything is hooked up correctly and is secure, cover your equipment with protective covers before starting with the next step. This will be easier for cleaning later on and will make everything look nice and tidy!
If you have wooden cabinets in your kitchen, consider putting wood veneer paper over them before installing your countertops. This will make your countertops look even better and protect them from spills and stains when cooking or eating in your kitchen.
Next, lay out everything: your cabinets, your countertops, and your new appliances (make sure there aren’t any sharp edges). Now comes the fun part – installing your countertops!
Start with a small piece of countertop at one end of your kitchen and see how it looks on your newly installed cabinets. Then, place it over the other cabinets and move on to the next countertop piece until all countertops are installed. Now that everything is completed, it’s time to enjoy it! Our favorite material is granite countertops because they are very easy to clean – just use a damp cloth and wipe away any debris or stains from food!
Following the above steps will enable you to transform your kitchen space in no time at all – you can see above that modelling your kitchen within a weekend really is possible! All you need to do is ensure that you plan everything beforehand so that the installation and remodelling process is as smooth as possible.
Investing in high-end ranges may significantly impact your property's value. In addition to improving the…
Dealing with a non-responsive thermostat can be a frustrating experience for homeowners, impacting both comfort…
A mini-split heat pump is a low-maintenance heating and cooling system that is very efficient…
Are you thinking about installing a Murphy bed in your home? If yes and you're…
Are you thinking about turning to solar power for your home? Sound familiar? You may…
Electrical issues are one of the most frustrating problems you could ever experience. They can…
This website uses cookies.