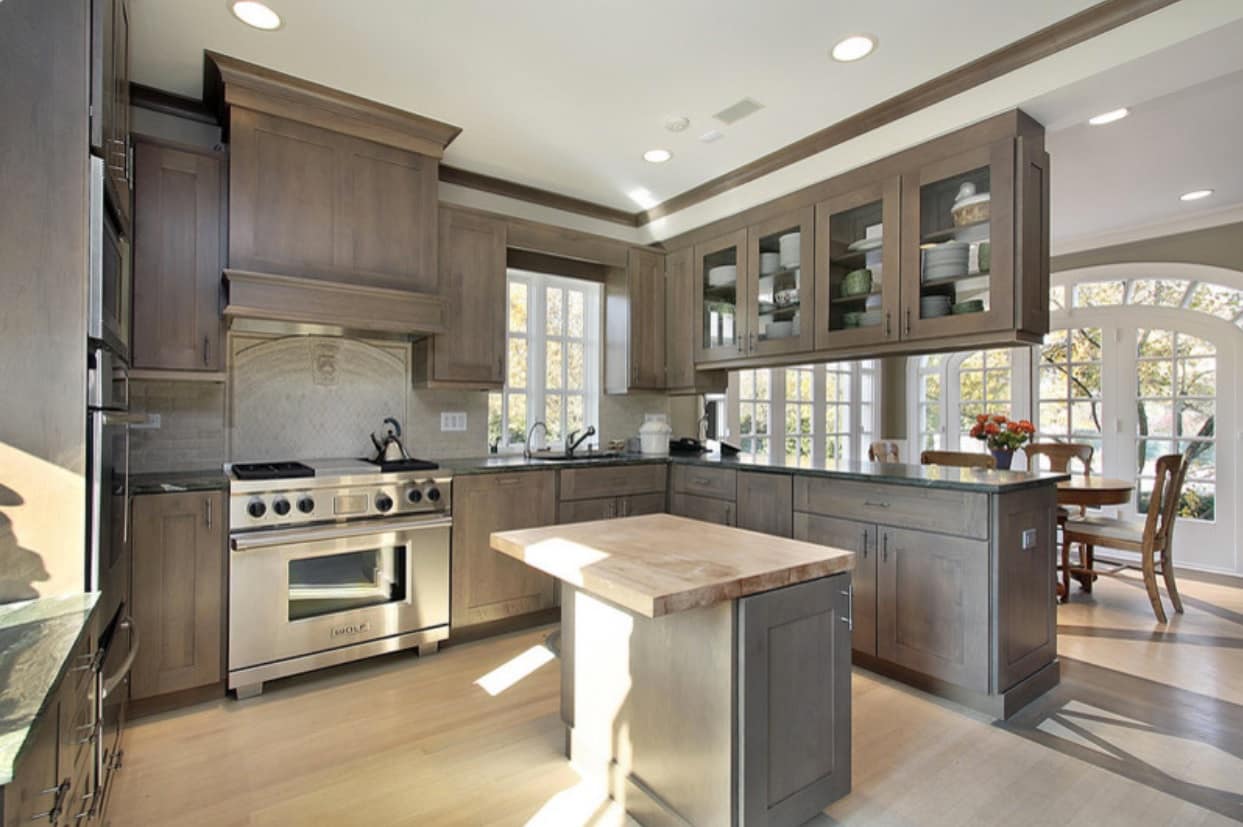
Too often the price of granite or marble is high and not everyone can spend such an amount of money from the family budget. By and large, such operations as the installation of a countertop and its manufacturing from stone are n0t too complicated. And this means that you can save and do not spend your hard-earned money on installing a stone countertop. You can make it yourself and then you can install a granite countertop. Let’s review DIY processing and preparing a granite countertop before installing it in more detail.
If you choose not too dense rocks of stone, for example, marble, travertine, or limestone, then you can make the very tops themselves at home.
Contents:
- Leveling the furniture
- Cutting the stone
- Hole for sink
- Continue of work
- Preparatory notches
- Securing the sink
- Mount the fasteners
- Grind the ends
Preparation
It is desirable to make a drawing before installing the tabletop out of stone. According to this scheme, you can purchase a slab of the appropriate size, which will be cut in production.
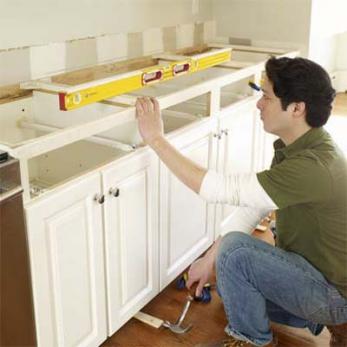
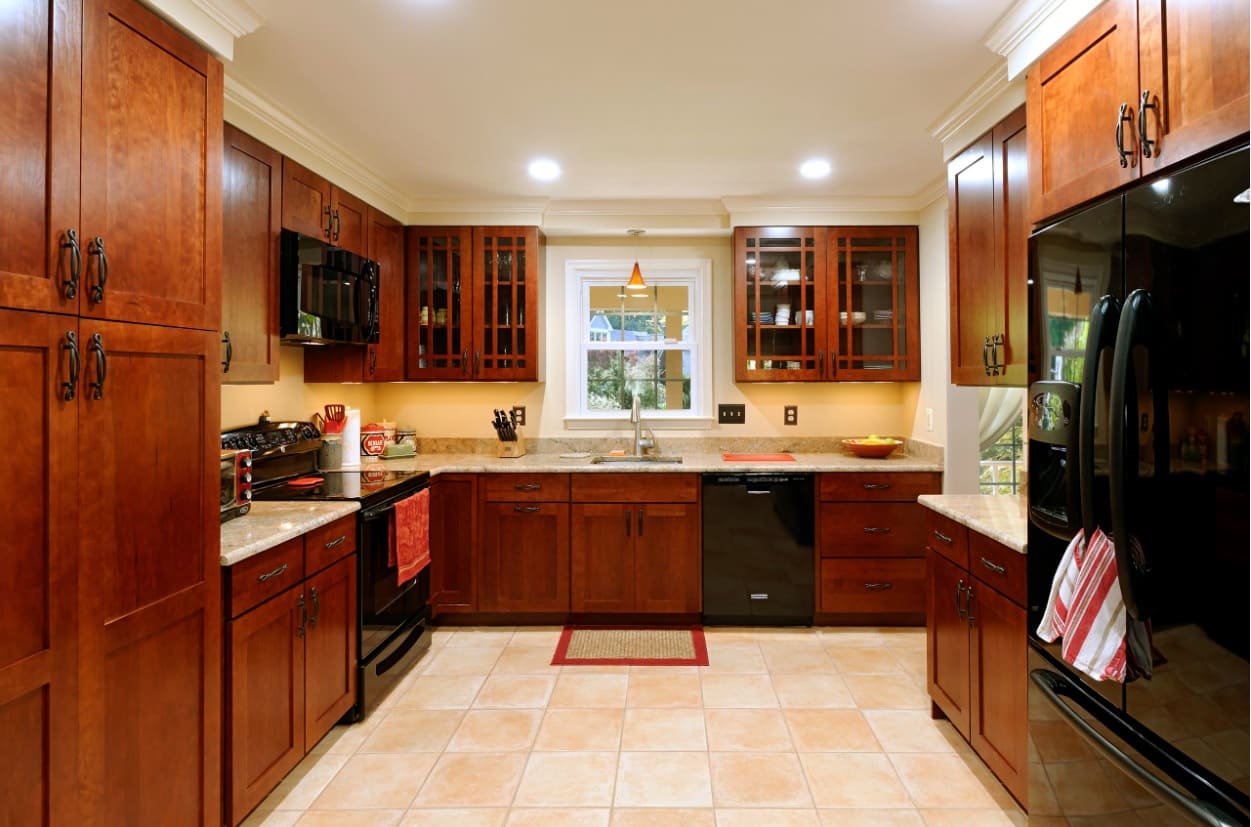
As with any brittle material, a stone tabletop requires reliable support – the more area of the stone surface will touch the underlying base, the better.
Thus, before correctly installing the countertop, it is necessary to set the kitchen furniture level exactly, so that the stone countertop is laid without swinging during installation.
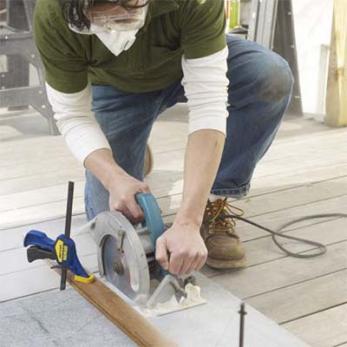
Now in any construction shop, there is a necessary diamond tool, with which you can saw, cut, sharpen the stone.
In the manufacture of stone countertops, as a rule, we should take into consideration the location of the plates’ joint. To make it less visible, it can be placed in the places where the hob or washing is fixed.
During the installation, such seams are filled with a sealer that fits the color of the stone and becomes almost invisible. Everything you need can be bought in the same place as the stone.
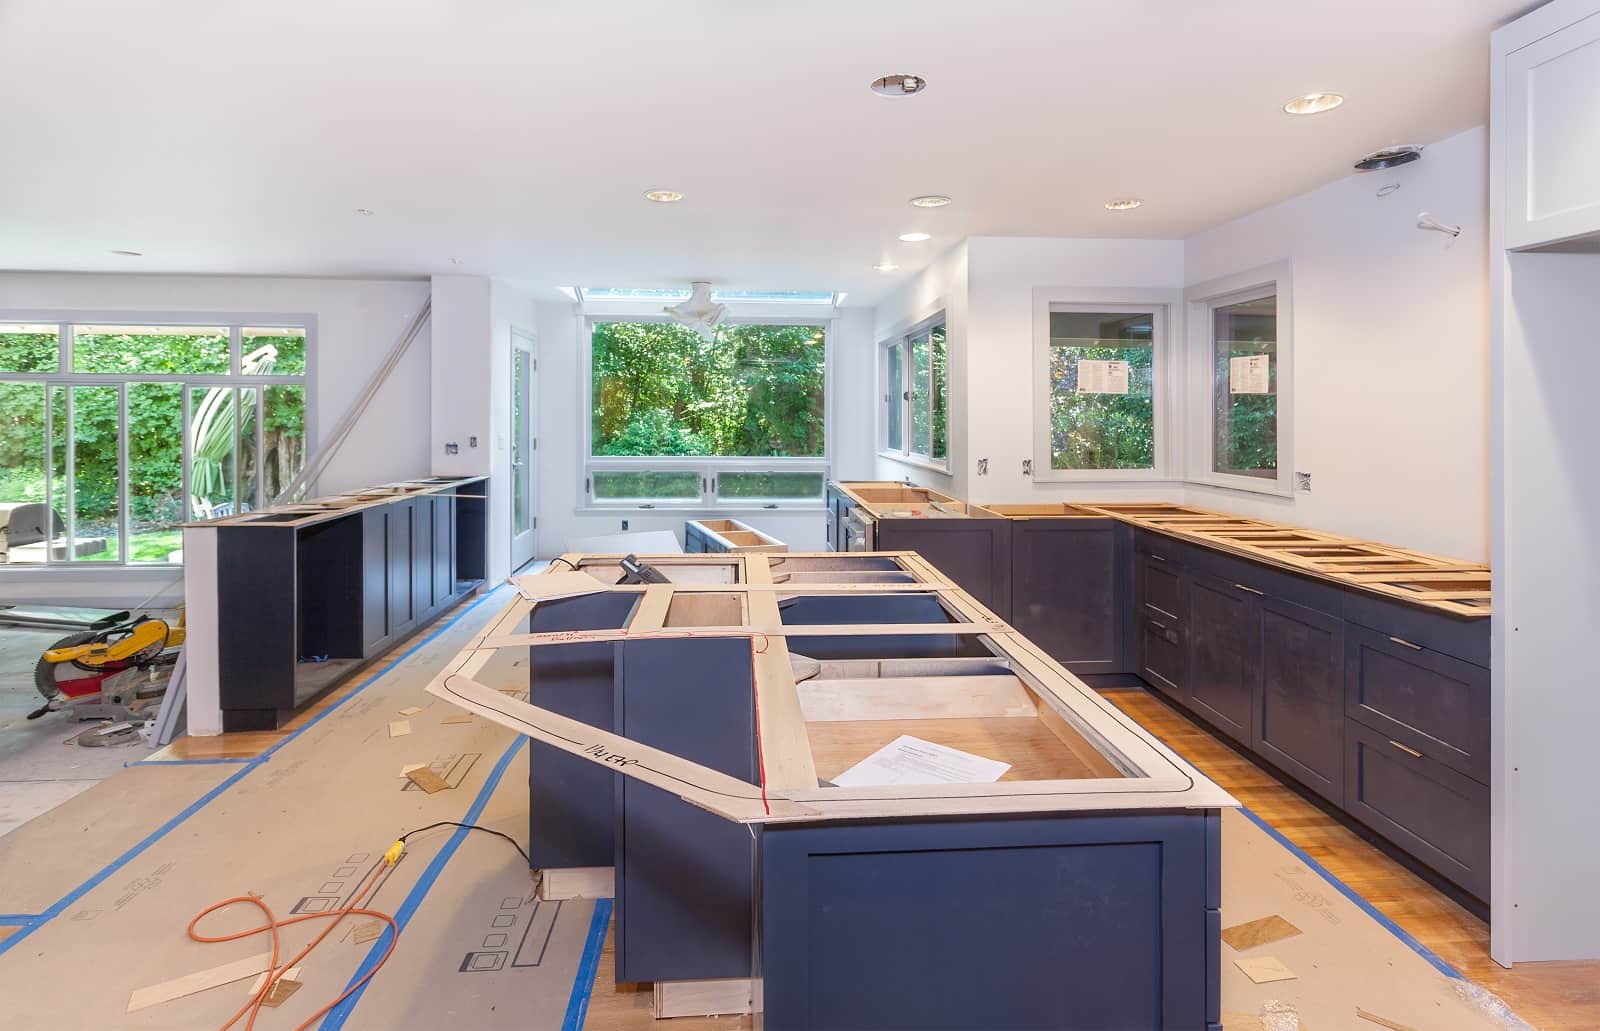
Kitchen furniture should be set strictly to the level. To do this, remove all the inner boxes, at the place of the 2 meter level on the lockers and see whether they stand exactly or there are protruding? As a rule, modern cabinets have adjustable legs, if it is not so, it is possible to apply a technical gasket.
After setting the furniture level, fasten it with screws or clamps.
Measure the distance from one end of the kitchen furniture piece to the other and add the necessary protrusions (overhangs). Make appropriate notes on the stone slab.
Under the stove is to make a lining, so as not to touch the floor. Marks, if they are poorly visible on the surface of the stone, can be applied to a paper tape that adheres to the surface. Cut off excess by length and width.
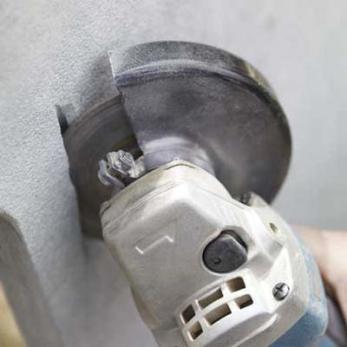
Each sink has a template included in the manual, according to which it is necessary to make an opening in the stone countertop. The hole is easily cut using a jigsaw with a diamond blade.
In the event that you are installing a sink under a stone tabletop, you should initially practice that the cut is straight. After the edge will need to be polished.
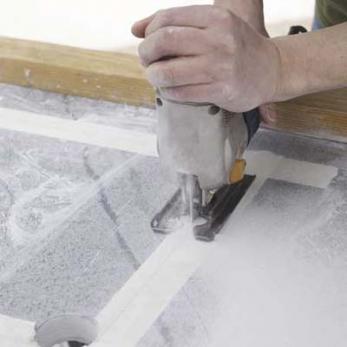
Before cutting the long sides of the opening under the sink, make small cuts so that the stone countertop can be securely clamped.
Do not forget to make a hole for the tap.

This is not necessary, but for reliability, it is possible to make small notches on all butt-ends in the places of the joint of the stone countertop. Thus, the edges would be more securely glued to each other when installing the countertop.
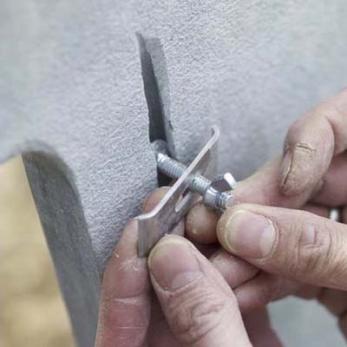
It is necessary to attach a sink in the lower side of the stone countertop noting the places of fasteners.
With the help of a cutting machine with a diamond disk, you can make saws at an angle to the surface, into which you can then insert the bolts of the fasteners of the sink during the installation of the granite working surface.
When installing the fastener of the sink, make sure that it is close enough. Insert the wing bolts into the prepared slots, but stick them only after you have installed the stone countertop.
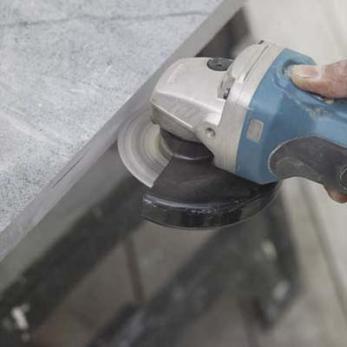
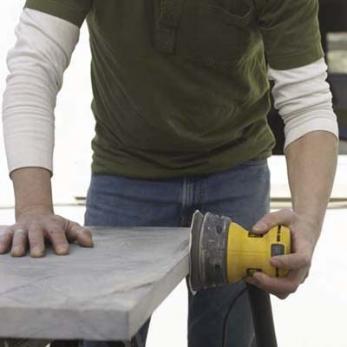
Using a polishing machine and abrasive skins (they can be bought or rented), we polish or sand all visible ends.
