Are you a homeowner thinking about installing solar panels on the roof? In this DIY guide, we’ll show you the steps to solar installation!
Solar power in the United States is set to double over the next 5 years. Already able to power over 12 million homes, this is great news for green living enthusiasts.
One way you can reduce the consumption of your home and go green is to install solar panels on the roof of your home.
Seem too daunting? Don’t worry, we’re going to guide you through the process.
How to Install Solar Panels on the Roof
Contractor Inspection
You should research your local solar companies to find a suitable contractor for your solar roof. The first stage for them will be a property inspection by an engineer. They will evaluate your electrical system and your roof to ensure that they are both suitable for the solar roof installation.
They will inform you if you require any upgrades to your electrical setup or roof before starting the project.
Permits and Documentation
As with any big renovation project, there will be paperwork. Most of this will be handled with your installer but it is good to be aware of what is going on behind the scenes.
One of the main types of permits that you’ll be applying for will be state and federal solar incentives such as the federal or local solar programs, clean energy financing incentives such as PACE, solar renewable energy certificates (SRECs) and any government rebates.
You will also need to make sure you have the required building permits for this sort of project.
Ordering Equipment
Once you have all the paperwork in order, your installer will be ready to order the equipment through their preferred distributor. The two main components are the solar panels and the inverters.
Your installer will more than likely have suggestions for each of these but spend some time researching the durability, efficiency, and aesthetics of all the options.
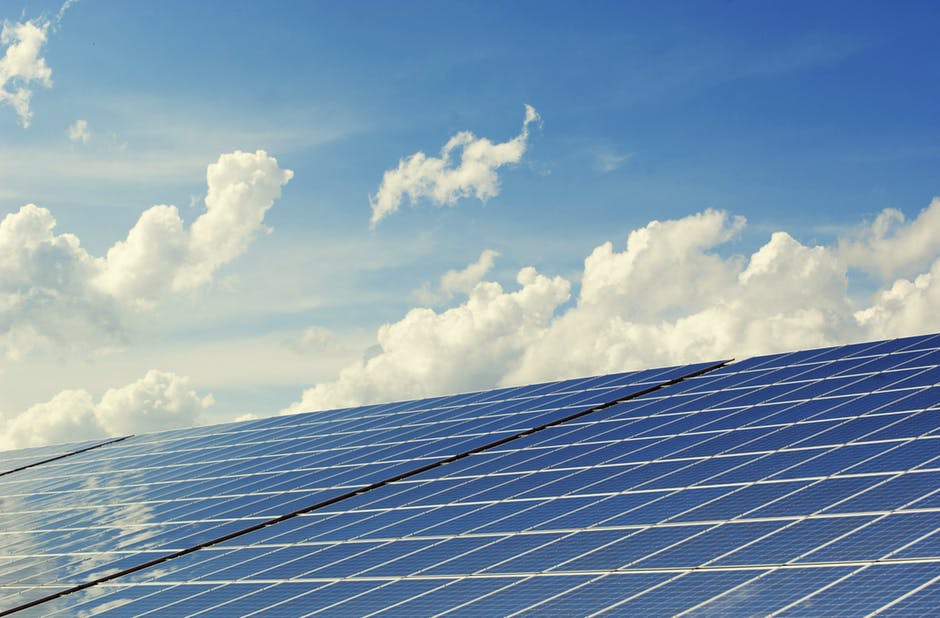
Solar Panel Installation
The day is finally here! Well, it can actually take between 1-3 days and will include prepping and wiring the roof before installing roof racking. Then the panels will be installed and the inverters will be connected. If you are using a meter then the installation of this will add a few hours to the process.
Approval and Connection
Before you can finally flip the switch you need a government representative to come and perform a final inspection to make sure everything is up to the correct standards.
Once this has been approved someone from your electric company will come and do their own inspection and hopefully give the green light for connection. Your panels go live as soon as that inspection is improved but it can take between 2 weeks to a month for the final approvals to come through and the connection to go live.
Ready to Go Green?
Now you understand the steps it takes to install solar panels on the roof of your home, you are all set to go green. With most people paying off the system in 8 years with their energy savings, there is no better time than the present to go green.
Don’t forget to check out Small Design Ideas for more dream home inspiration.