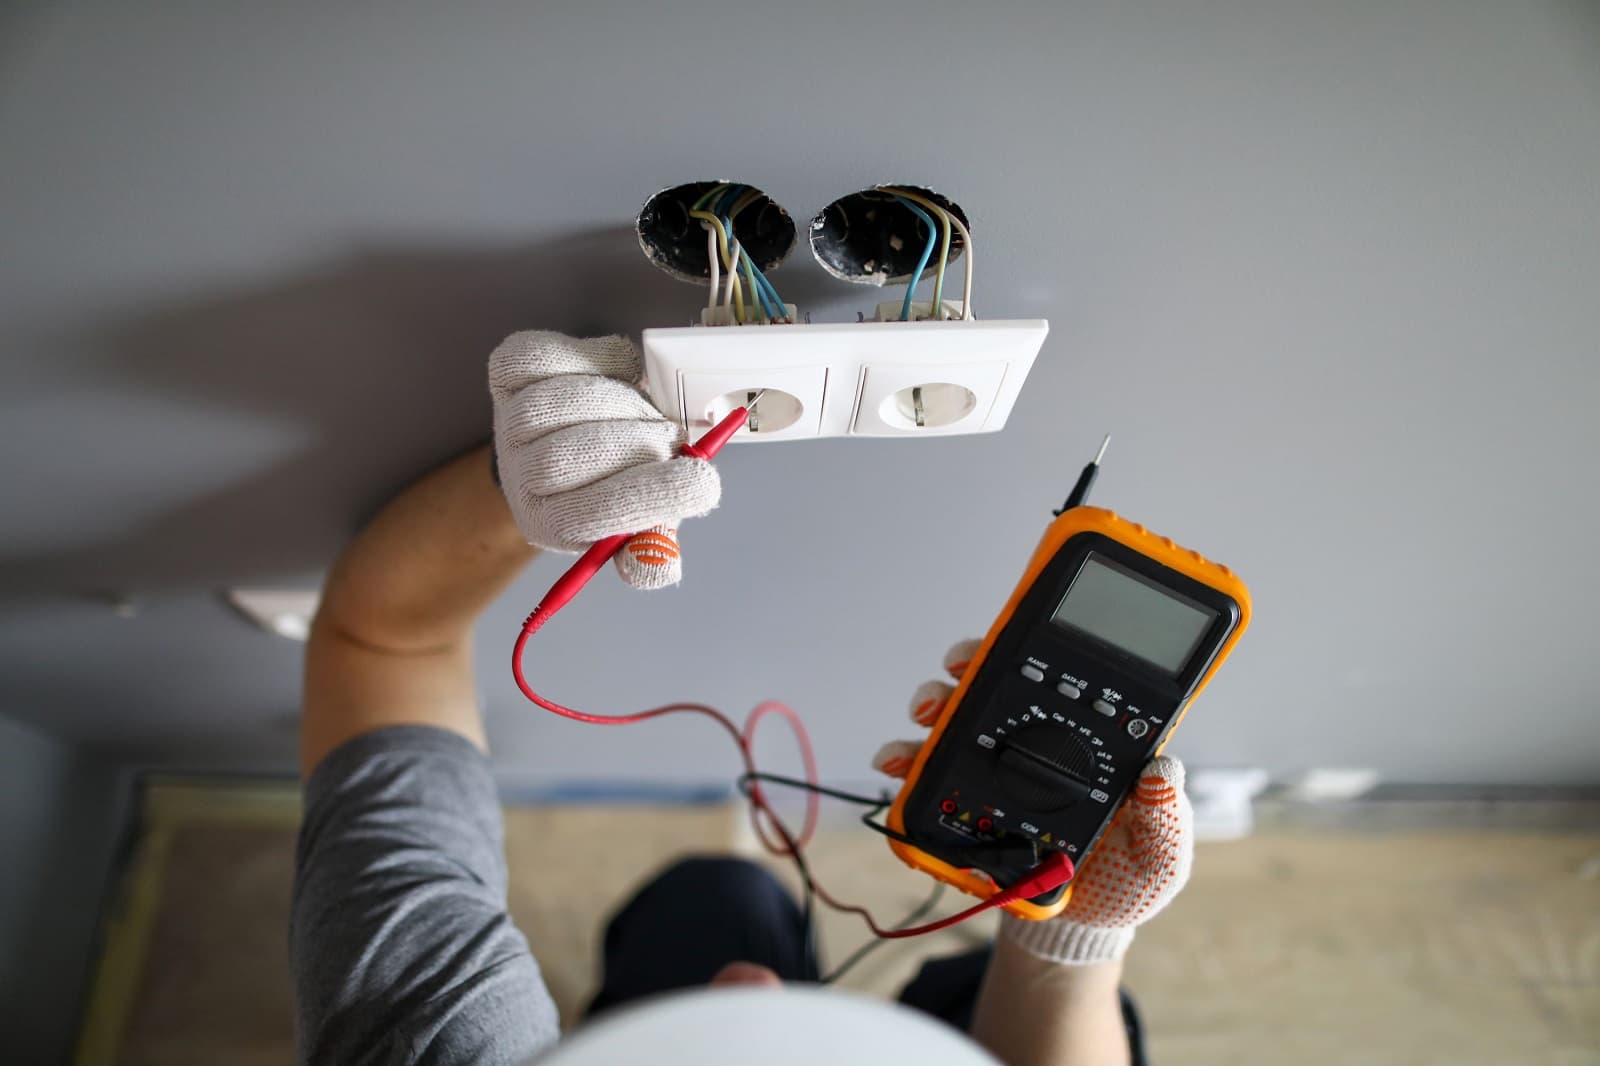
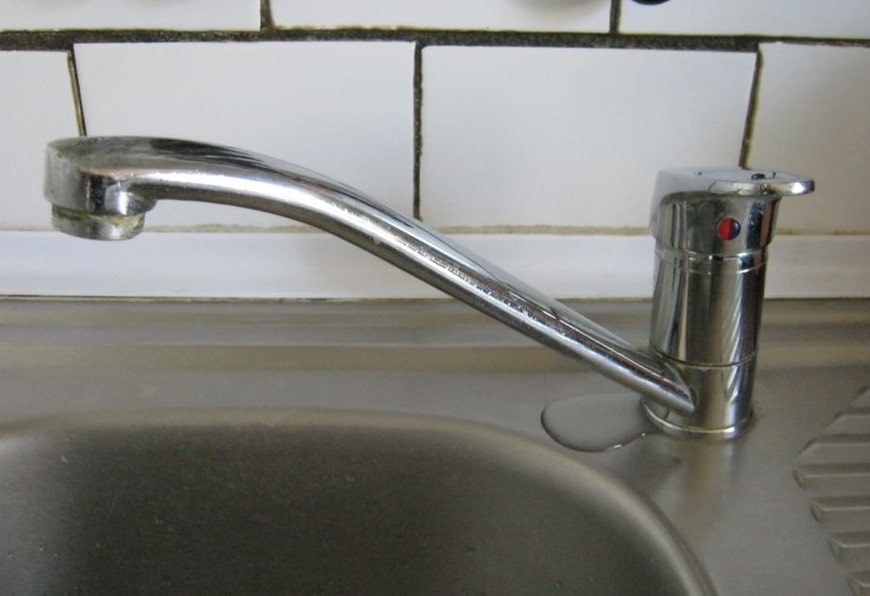
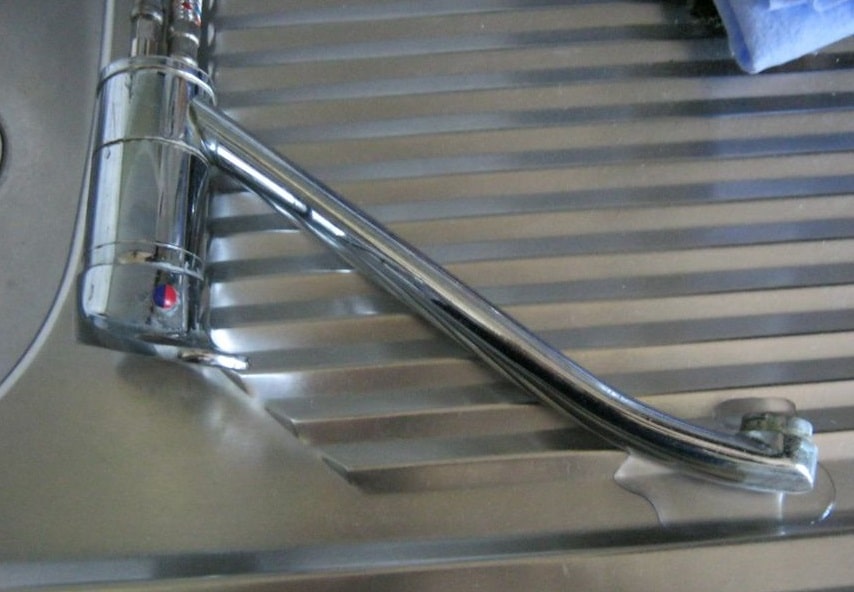
The faucet is a very old device. It is probably over ten years old but it still works flawlessly to the humankind. The only problem that came to light during this time was water leakage from the base of the spout. A few years ago our expert already changed the seals around which the faucet spout rotates. And about a month ago, puddles began to appear near the kitchen sink faucet again. So, today we’re going to troubleshoot this kitchen sink faucet leaking at base.
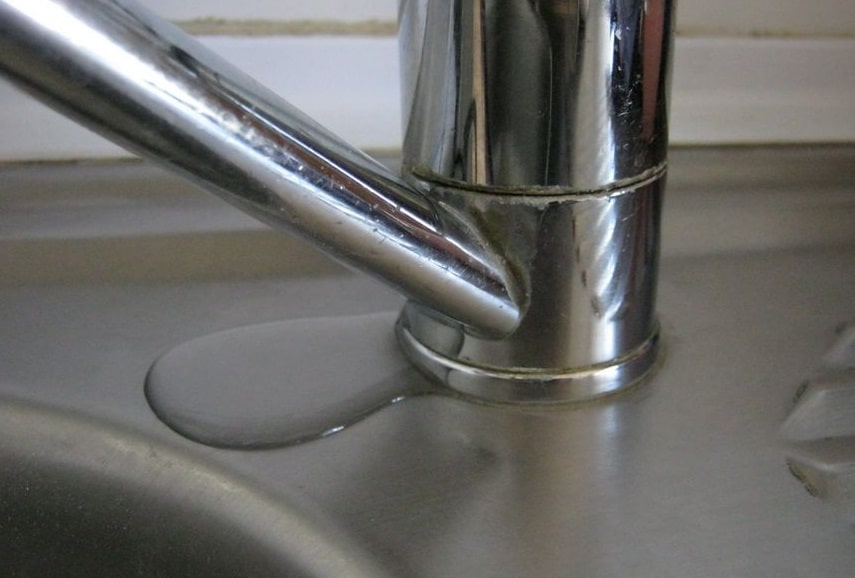
If you have something similar, you should not panic, as it is the water that remains in the spout (the tube from which the water flows) is leaking after closing the tap. A small plus here is that as soon as the spout is empty, then the water from the base will stop flowing. But there is a con since people use the faucet in the kitchen very often, then water will leak almost constantly. This is, of course, unpleasant, because over time, white stains on the stainless steel and rust on the enamel of the sinks will appear. And if water flows under the faucet itself, then the faucet mount, flexible hoses and other plumbing fixtures that are subject to corrosion will begin to rot and rust under the sink.
Kitchen Sink Faucet Leaking at Base DIY Troubleshooting
In this topic, I took apart only half of the faucet to get to the oil seals of the swivel spout. If you need to break its upper part (head), then read here on how to get to the cartridge.
Unfortunately, in the faucet we overview in this article, to get to the sealing rings of the spout you have to disassemble half of the faucet. We block the water supply under the sink or in the riser, then unscrew the hoses of the faucet and direct them into the tank to drain the remaining water from the hoses and the faucet. After that, we move the handle of the faucet to the open position so that the water comes off the spout.
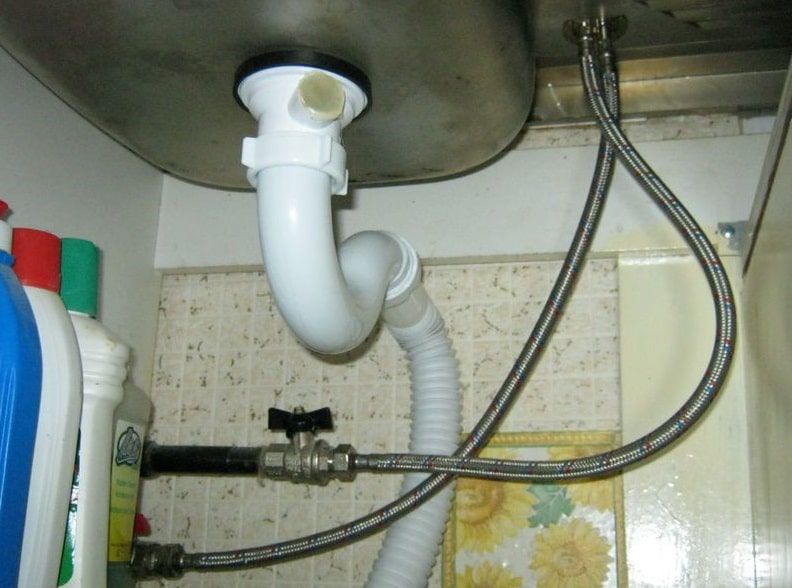
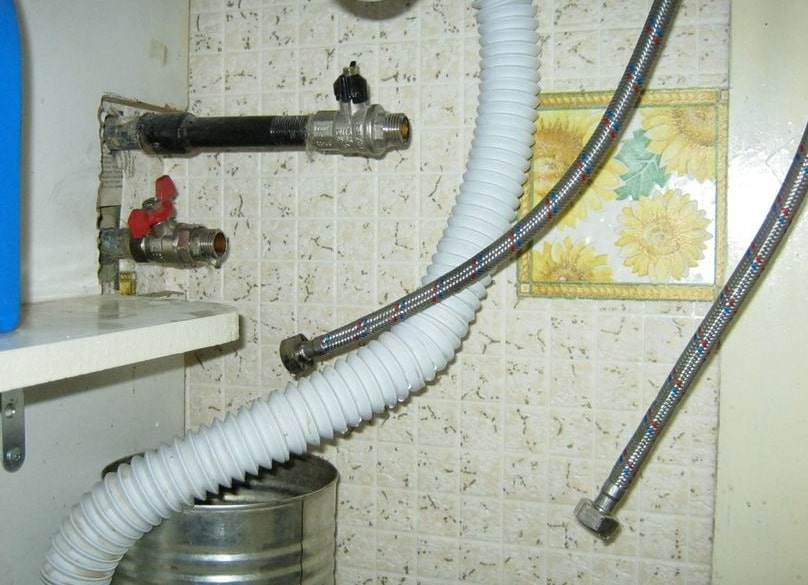

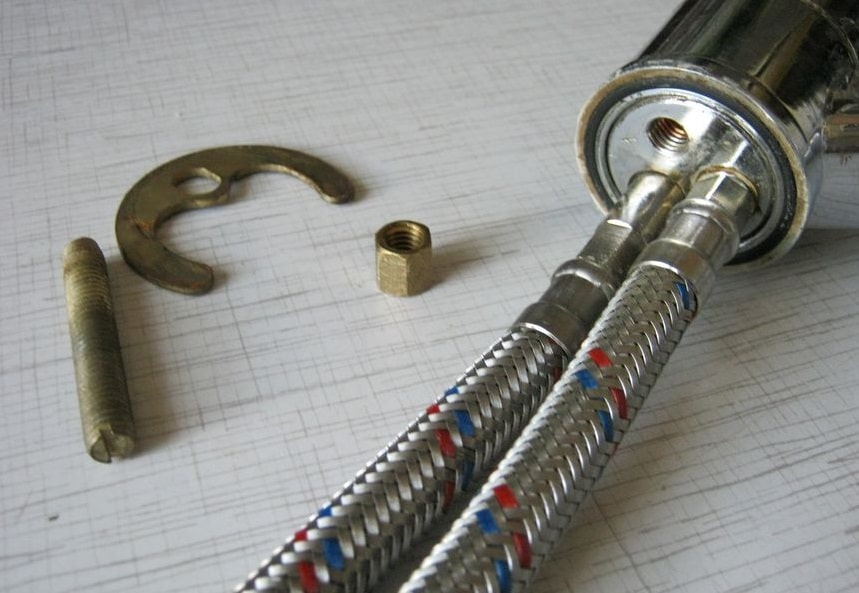
We turn off the hoses from the faucet itself. Then we unscrew the nut from the stud, which holds the bracket for attaching the faucet to the sink. At first, we unscrewed the mount, took out the faucet and then unscrewed the hoses. In general, this moment is up to one’s wish.
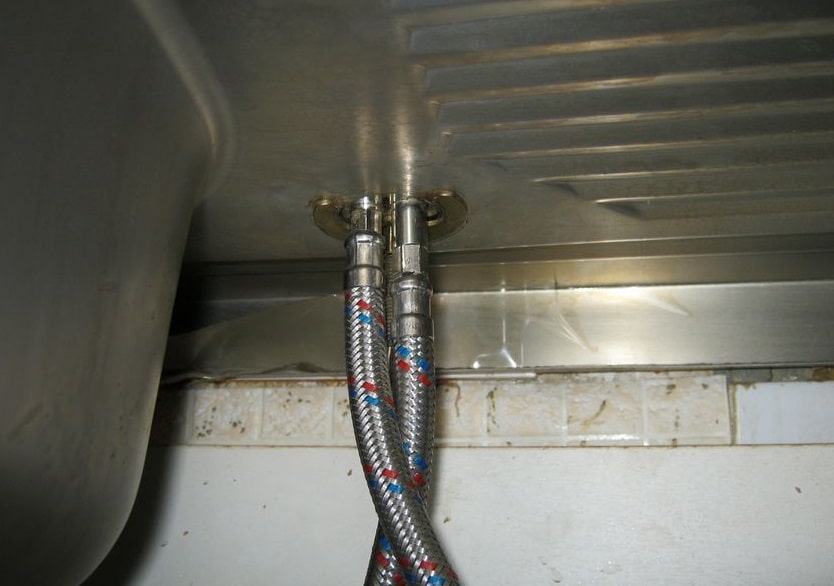
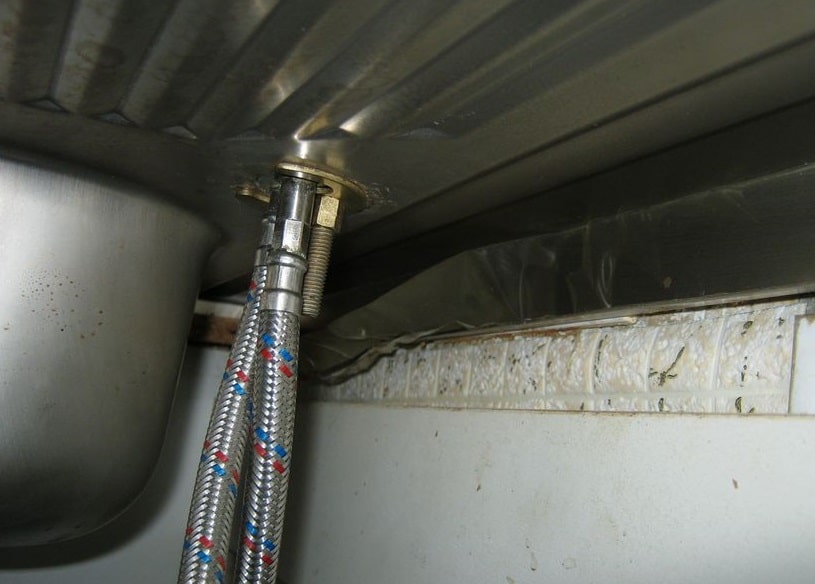
One at a time, the hoses perfectly pass through the hole in the sink, but it is better to unscrew them from the bottom.
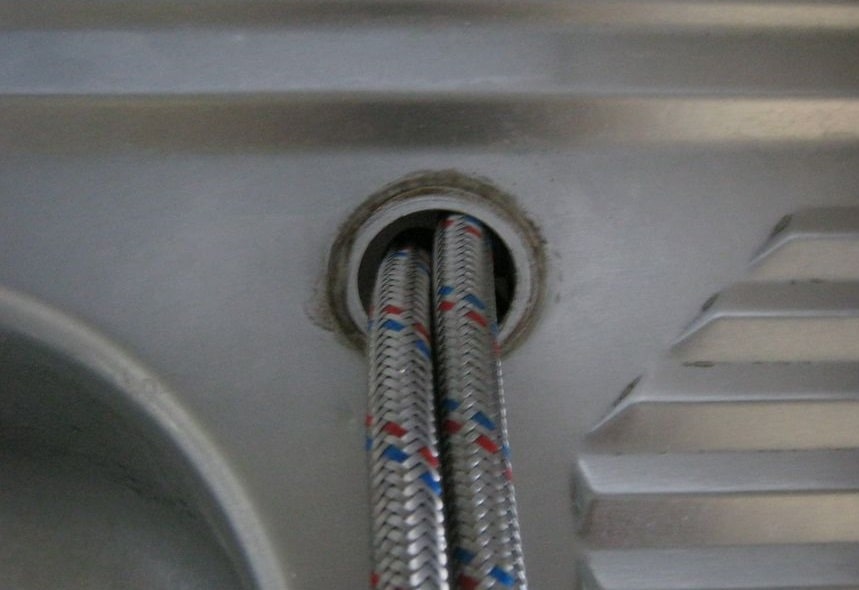
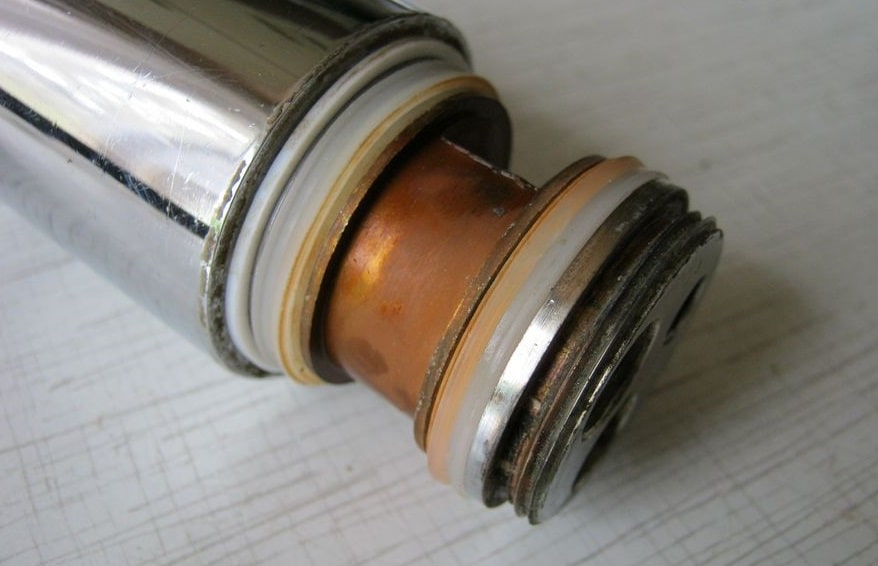
Actually, here’s our dismantled faucet. Here you can clearly see the black rubber o-ring, which is installed in the base of the faucet. We should dwell on it a little more. Since if you suddenly began to notice that the hoses under the sink are periodically wet, it means rust has appeared on the faucet mount or hoses. That reason most likely is precisely in this ring, which eventually became unusable and water began to leak under the faucet. It is also possible that the fastening of the faucet itself to the sink has loosened.
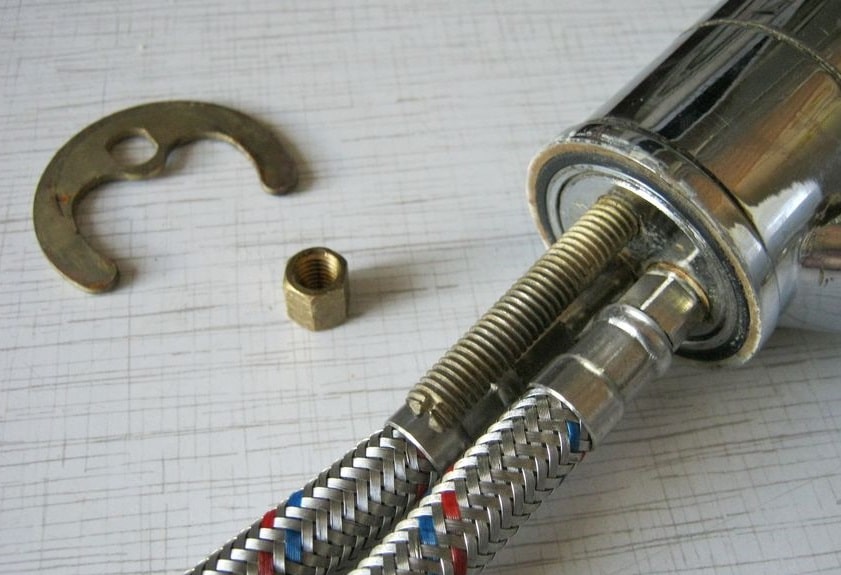
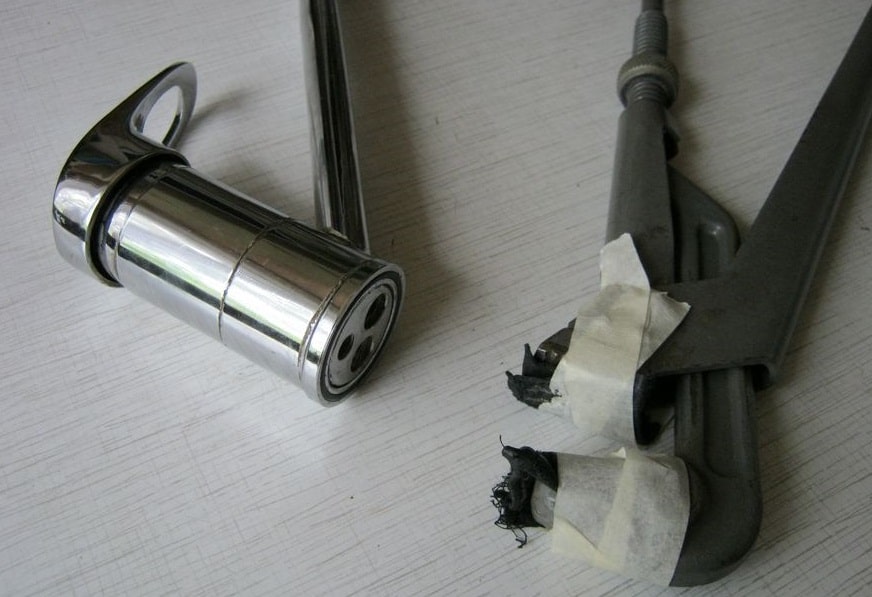
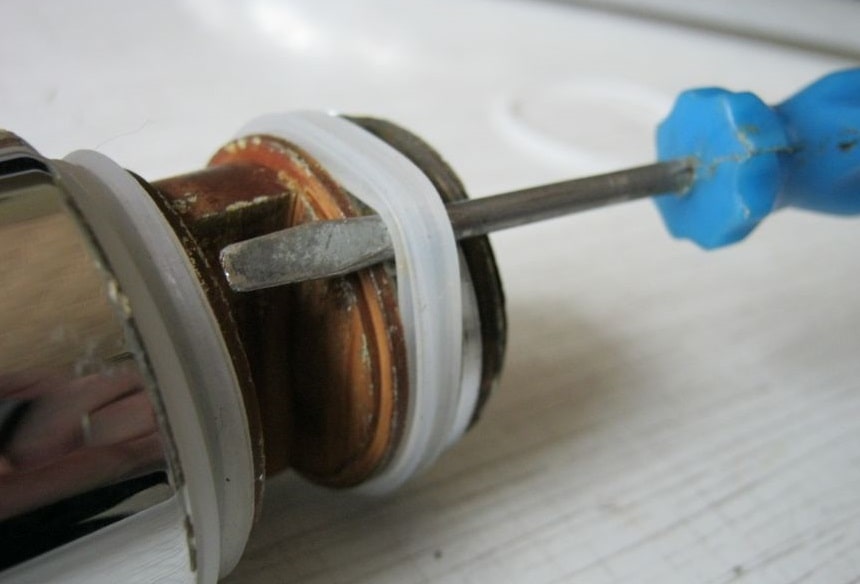
Unscrew the fastening pin with a screwdriver.
Wrench number 10 will help you to unscrew hoses if you did not previously turn them off.
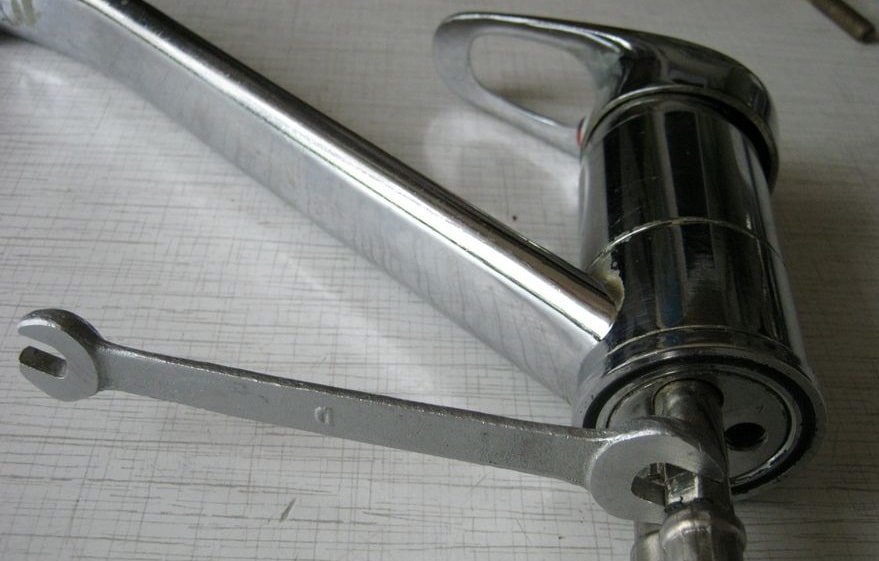
Now you need to unscrew the threaded ring from the base of the faucet which holds the spout. The scars do not adorn the chrome-plated body of the faucet, so I glued pieces of leather in the mouth of the adjustable spanner with tape. It can be replaced with paper, rubber, a rag, or something else to minimize scratching the case. In general, it is better to first try unscrewing this ring with your hands in rubber gloves. The usual rubber medical gloves help to loosen any smooth stuff. If not helped, then we use brute force.
Having turned away the brass ring, we see a fluoroplastic white ring under it. There are two of them, one on each side of the base of the spout.
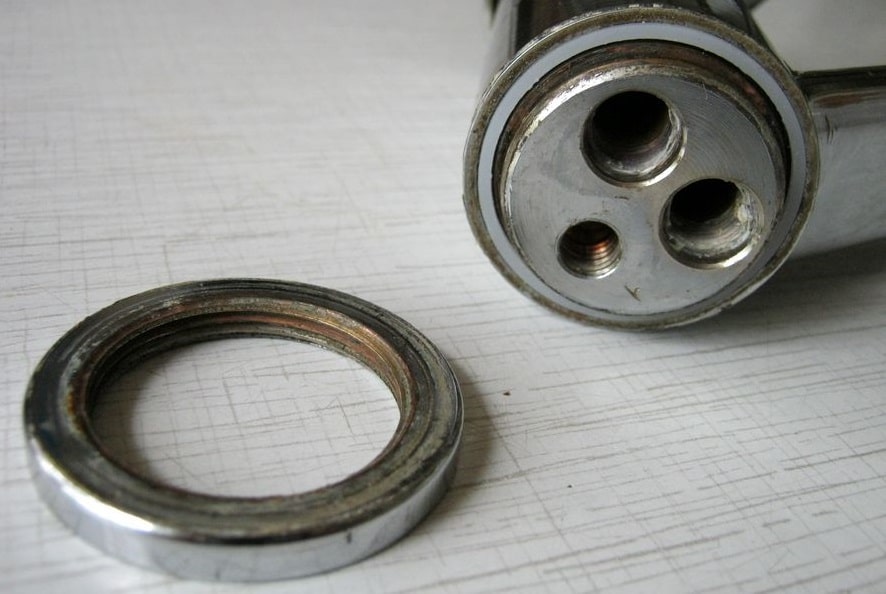
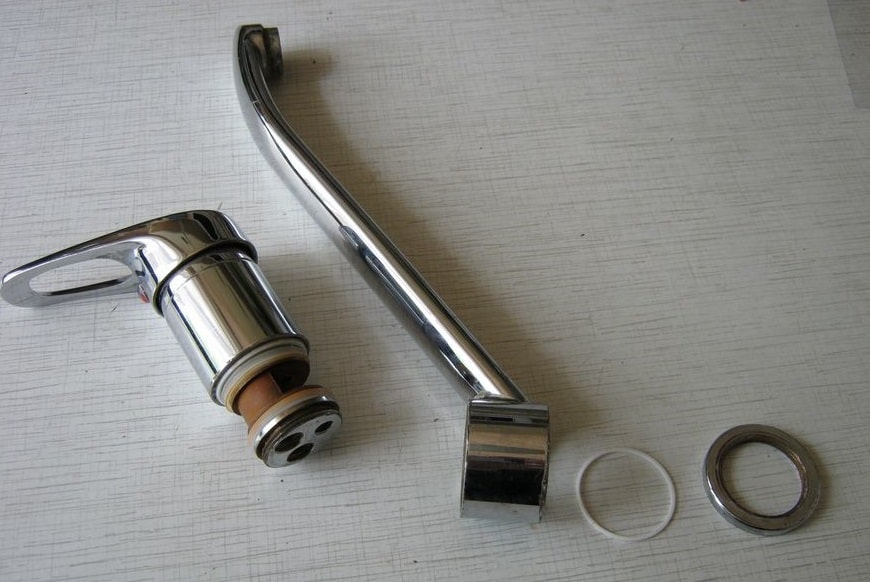
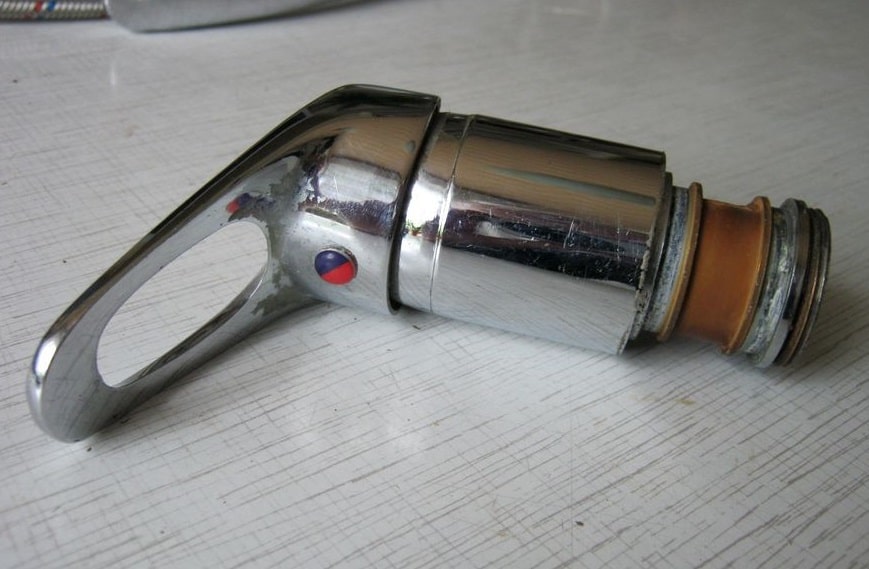
Now you can freely remove the swivel spout of the faucet, under which there is a pair of oil seals (gaskets), which we should replace. In general, that’s it, the disassembling is completed.
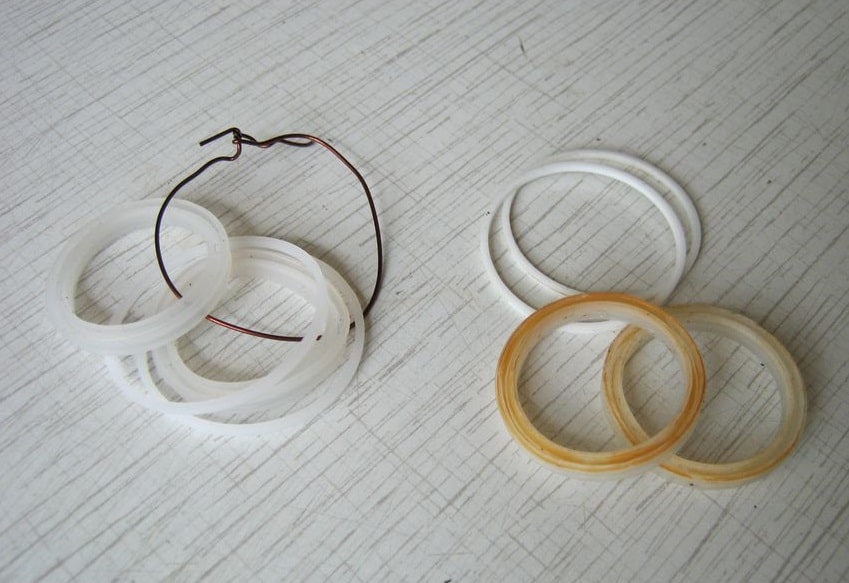
Before removing the seals, carefully inspect how they are installed, as they differ somewhat in their cross-section from a conventional o-ring.
We remove all the rings, go with achieved samples to the store for a new set of rings. These oil seals were originally black (rubber), but I didn’t see the same ones anymore. I only come across such white ones here, supposedly from silicone.
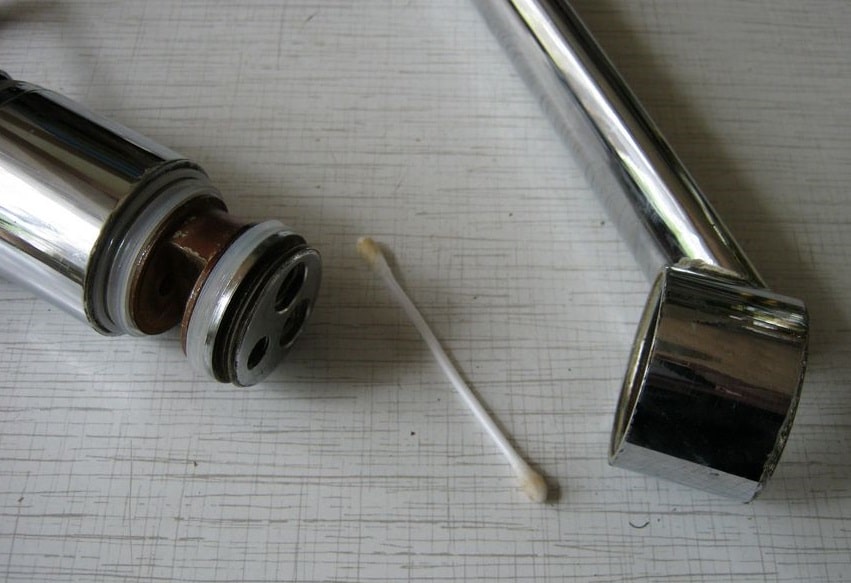
We clear all seats for oil seals and fluoroplastic rings from any grease, dirt, and limestone scurf, put the rings in their place and assemble the faucet. If you suddenly forgot which side to put the gaskets back (as these cuffs have a longitudinal section), they have a section at the ring in the form of the “K” letter. Everything is simple here: the cut (recess on one of the sides) of the seal is always directed towards pressure or liquid.
Lightly grease the seals and the internal cavity of the spout with soapy water or shampoo so that when donning the spout itself, the seals do not turn inside out. It is possible to lubricate them with oil products, but most likely they are not tasty 🙂 It would be better to use ordinary butter or sunflower oil then.
We tighten the ring. Do not forget about installing the fluoroplastic ring under it.
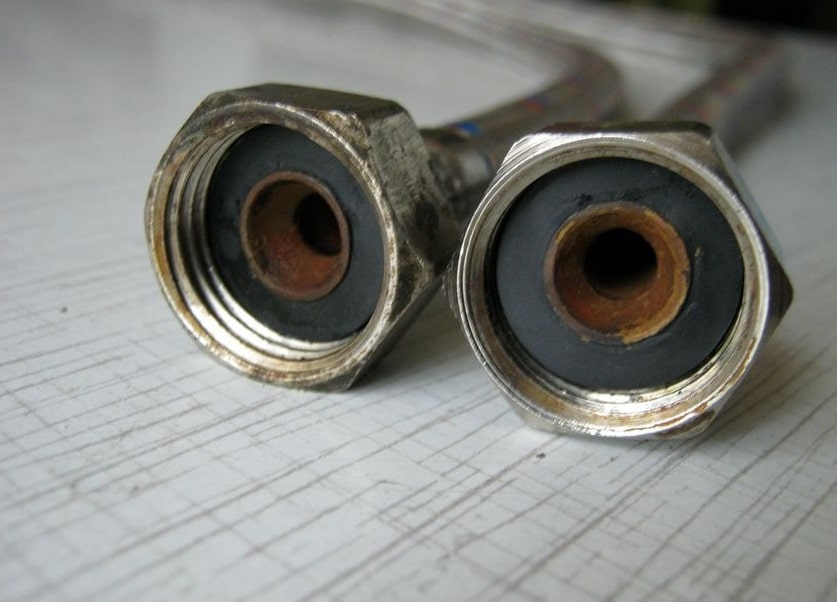
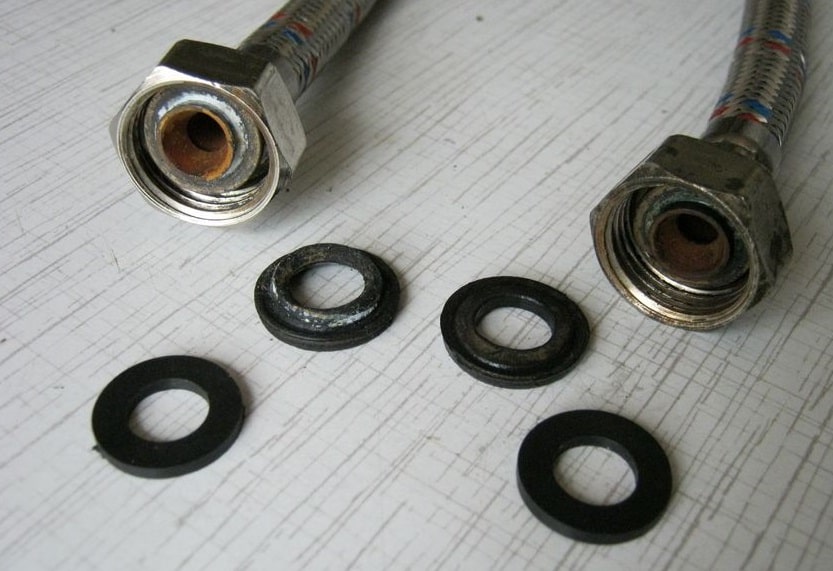
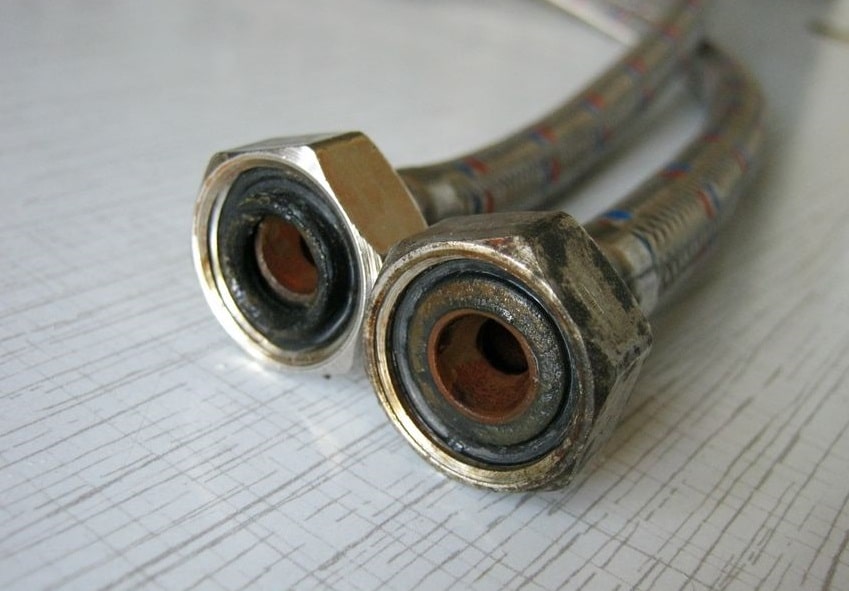
If the Teflon thread seal tape on the hose is very old, then it is better to completely replace it. Otherwise, you will have to buy additional O-rings and gaskets for hose so as not to leave old and already squeezed rubber bands on the hoses.
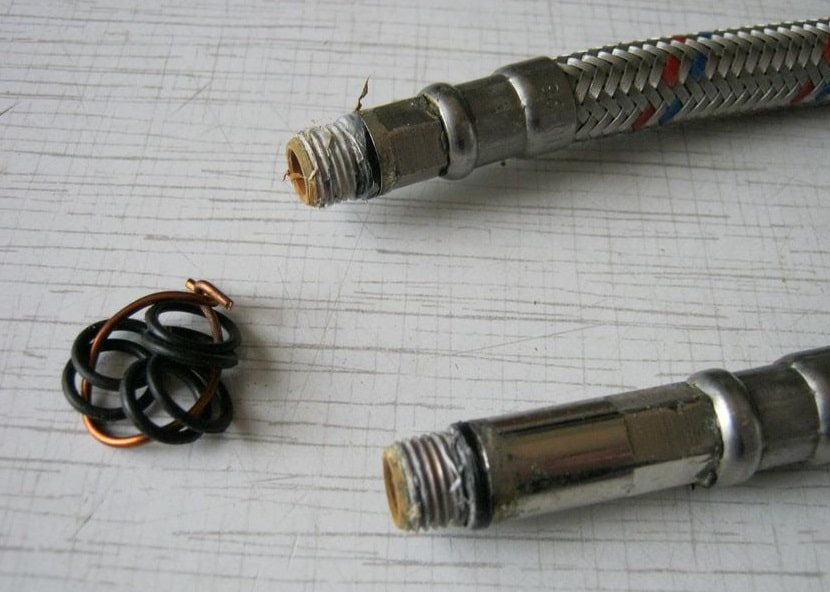

After assembling the faucet, install it in its place and connect the hose. By the way, after installing the faucet, try to periodically inspect the flexible connection in case of possible leaks for the first week. In general, if you notice that water began to appear near the faucet, then you should not immediately change it to a new one. Just inspect it carefully to determine exactly where it is flowing from. And if it turns out that it flows from under the spout, then now you can repair the faucet yourself with your own hands, spending only a set of gaskets, and possibly hoses.