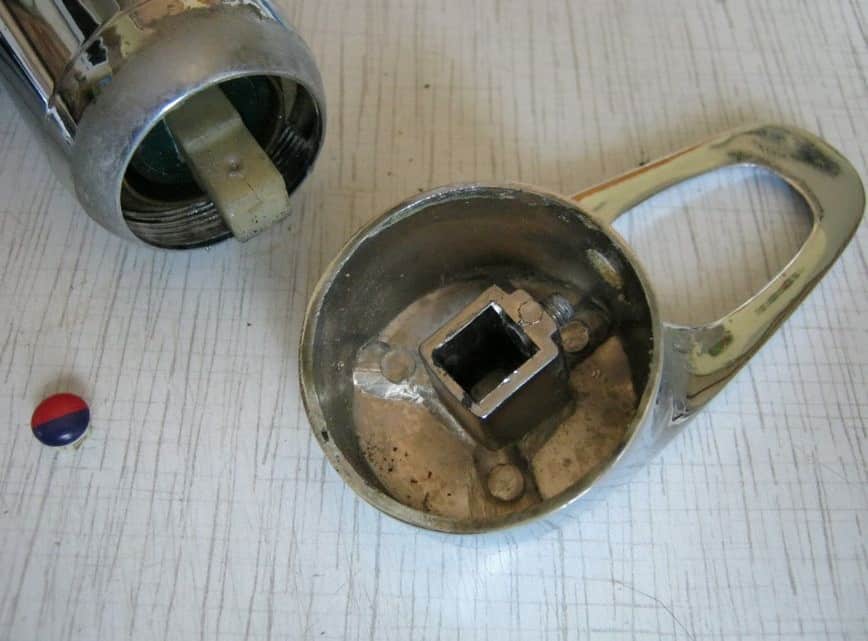
This would be probably the shortest article in the blog. However, we wanted to tell a word about removing and changing the cartridge of the kitchen faucet. And it took a whole article. We want to warn you right away that it is not necessary to remove the faucet from the sink to replace the cartridge. But if your faucet leaking at base, you have to completely unscrew it and remove it, since there is no way to do it without disassembling. And since we had already taken apart half of the faucet, let’s take to pieces his head either to show you how to get to the cartridge in such a faucet.
We poke it with a screwdriver and take out the plastic cap (stopper) from the faucet handle.
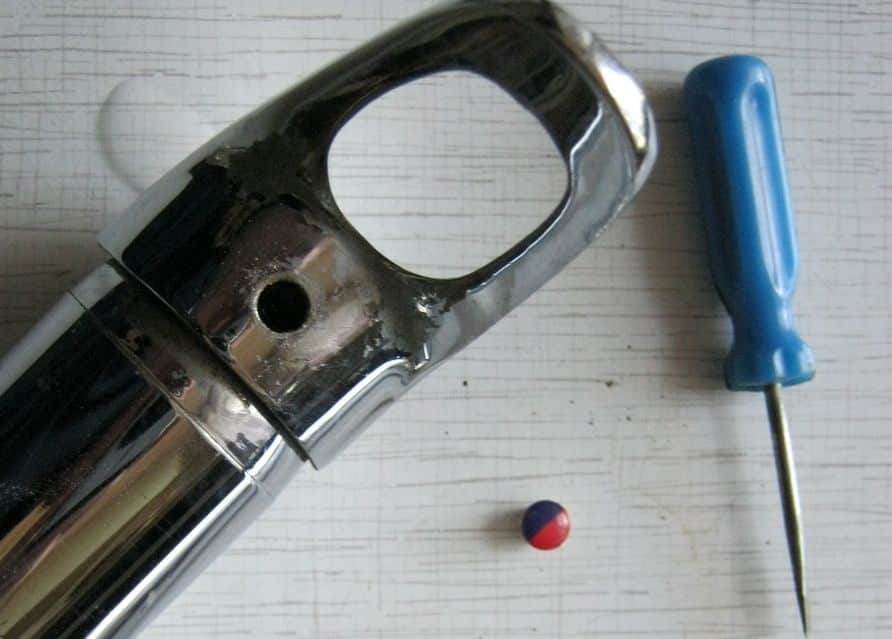
With the same screwdriver, we turn off a few turns (you can do it completely), the locking screw, which is visible in the depth of the cap-hole.

Now you can freely remove the faucet handle.
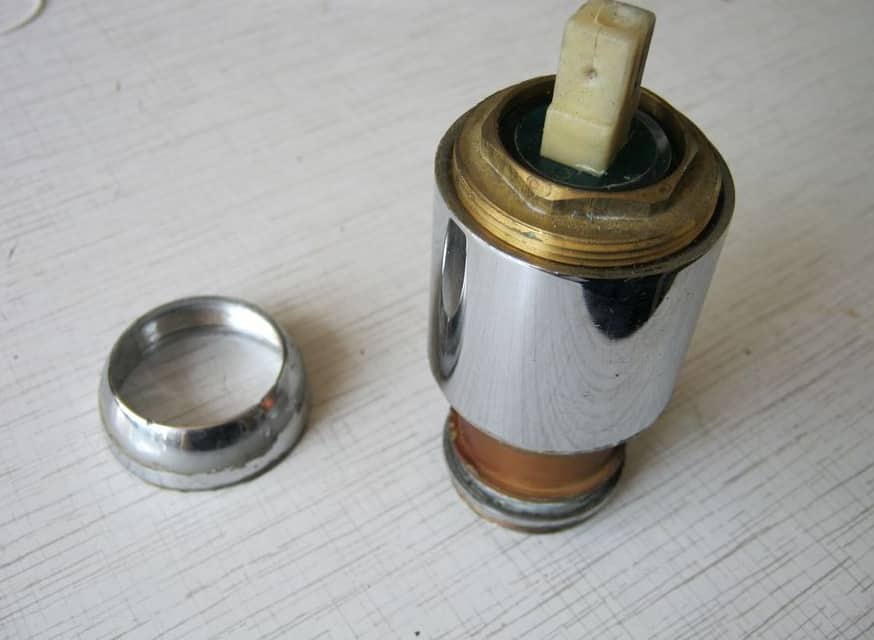
We turn off the conical decorative plastic ring. Although it is coated with chrome, in fact, it is made of plastic. Therefore, it can easily be unscrewed by hand. If it does not give in, then you should unscrew it with an adjustable wrench, just cover the jaws of the key with something, so as not to break or scratch the ring.
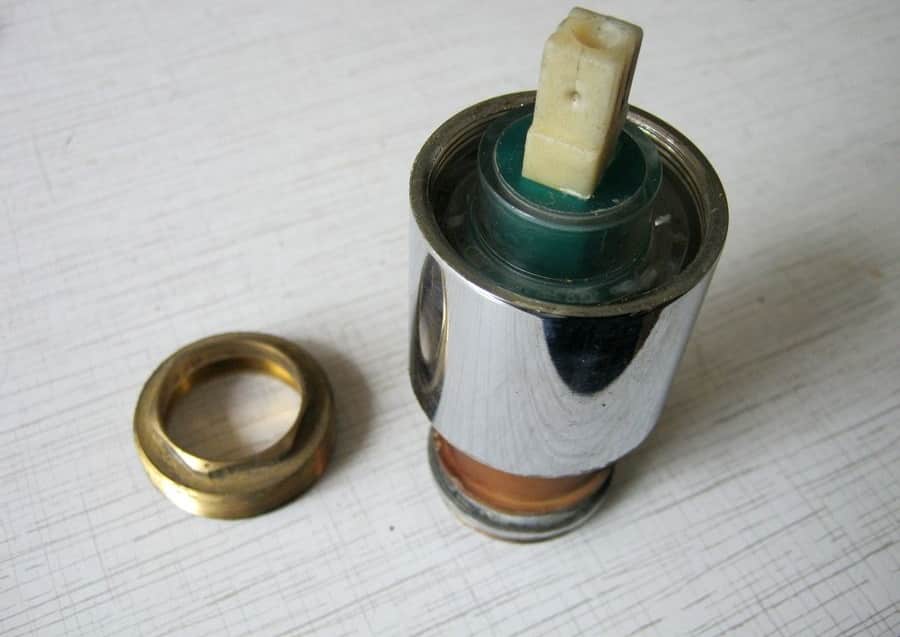
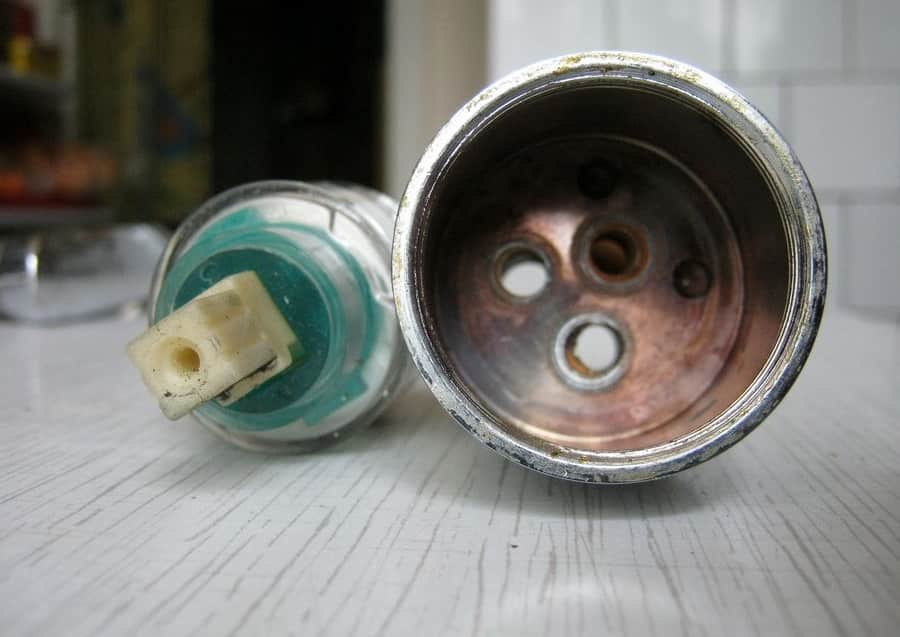
Then we turn off the brass nut, which actually holds the faucet cartridge.
Here is the cartridge itself. In my case, it is running like clockwork, so I don’t need to sort or change it. If, however, you have a dripping or constantly flowing water from the spout at the base, you know how to get to the cartridge and replace it with a new one or sort through it.
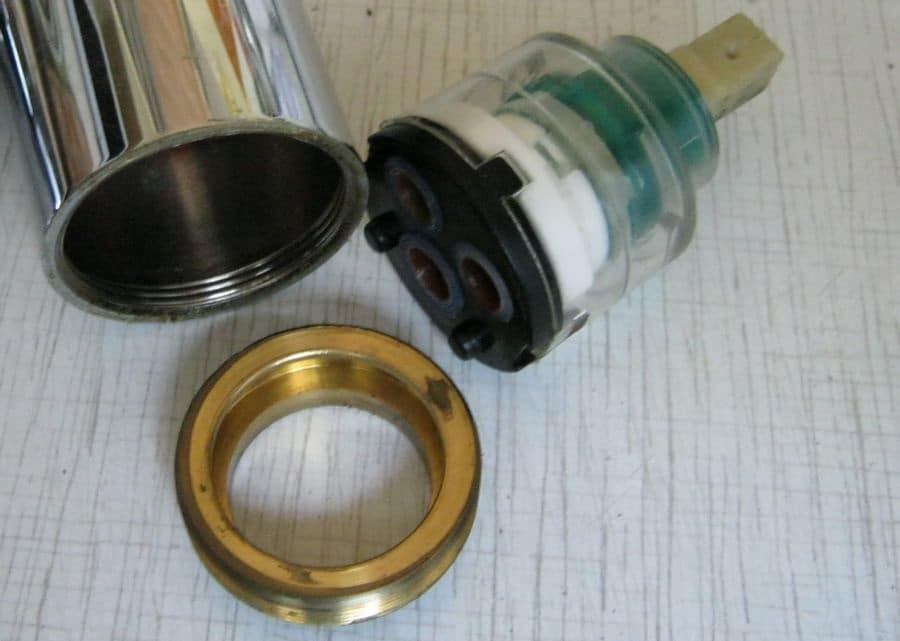
Before assembly, always inspect all faucet openings for a variety of slag and scurf. One day, the hot water began to flow badly, or almost completely stopped flowing. It turned out that in one of the inlet openings of the faucet, either a piece of rubber or a scale clogged right before the cartridge. This clot eventually overgrew with water stone and almost blocked the hot water.
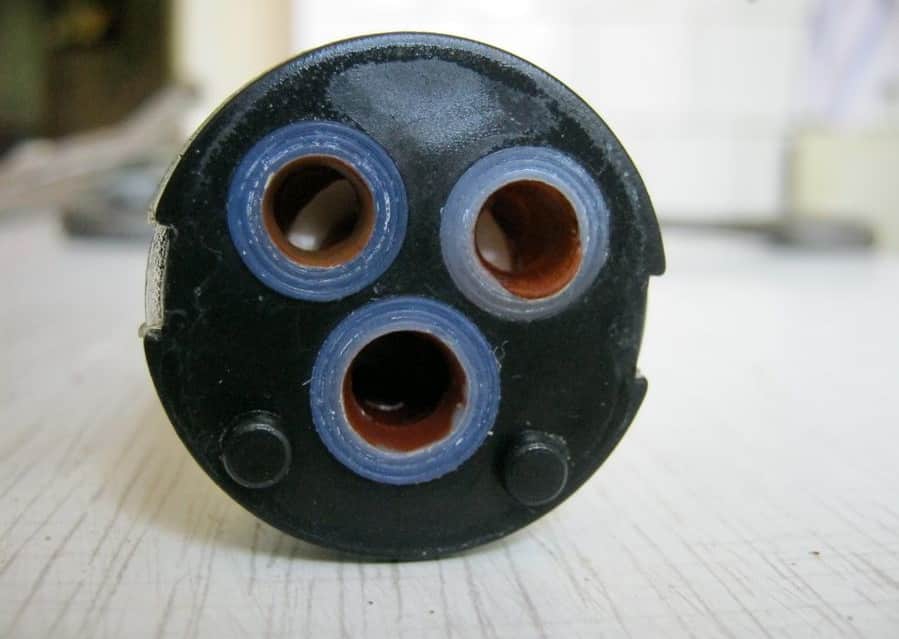
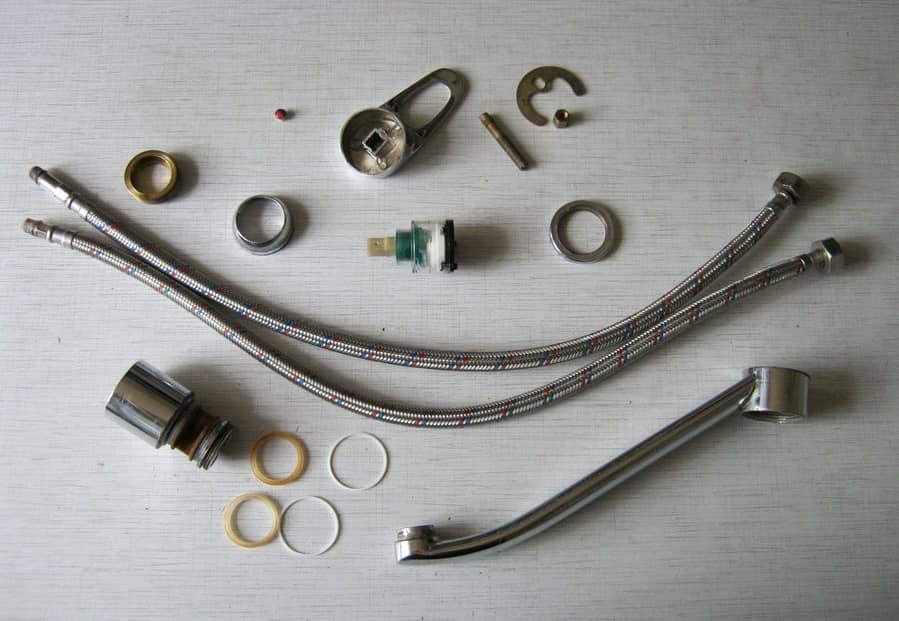
Here in the photo, we see an almost completely disassembled faucet.