Every homeowner appreciates the extra storage space provided by their garage. However, the easier it is to fill it in, the more difficult will it be to organize it afterwards. Maybe you’ve caught yourself after years of careless dumping of all sorts of items. If that’s the case, your garage has probably seen better days and would need some repairs as well. Fortunately, there are still some actions you can take before you start browsing the internet in the search for the new garage door cost or spare parts. First, you should organize your garage, and we’ll tell you how to do it!
If you don’t know how to start a garage decluttering process, don’t worry. We’ll guide you through it step by step, so you’ll know exactly what to do. Just don’t postpone it and put it away for later – the time to act is now! If you want to learn more about garage cleaning and organization, keep on reading.
Take It All Out
Depending on how big your garage is and how much stuff have you managed to accumulate, you can be up for a big project. However, since you’ve decided to do something about it, be truthful to yourself. Pick a day when you can deal with the mess in your garage (you can ask your friends and family for help) and begin decluttering. Park your car outside and take out everything on the driveway. It will make all the sorting so much easier.
Categorize
Garage decluttering is much easier if you put your belongings into categories. This way, you can decide what to keep, and what needs to go. Basically, you can divide your items into these categories:
- Frequently used. These are the things you use regularly. As such, store them in places that are easy to find and reach, such as hooks or shelves by the door.
- Rarely used. You know the type: Christmas decorations, snow tires… you use them only from time to time but need them anyway. In this case, store them in a place where they won’t get in your way. Think shelving units, or even a ceiling storage system.
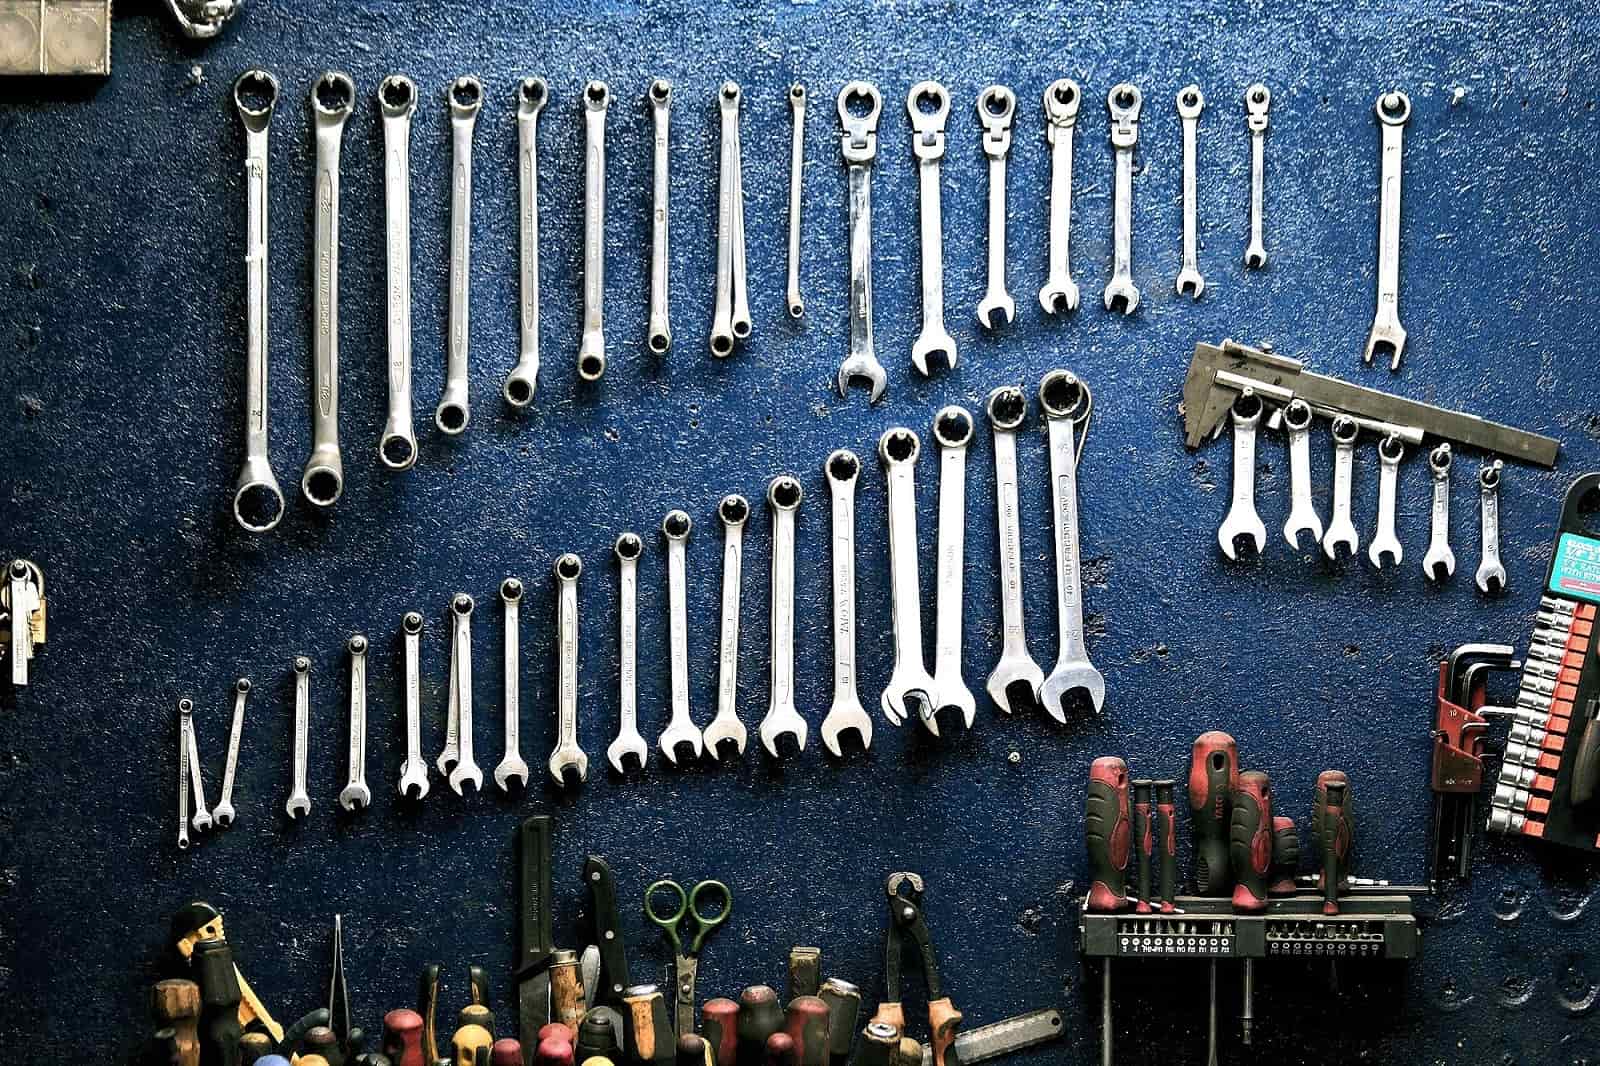
- Gardening tools and bicycles. Keep them in the back or along the walls. You could also hang them on the walls to make more place for other items.
- Bulky items. Consider putting bigger items in the back corners of your garage.
- Things that need repairs. Do you have your own “to-be-fixed” pile of shame? If yes, make sure you do those repairs!
- Things you no longer use. Maybe you don’t need them anymore, or something is beyond repair. In this case, separate it from the pile of things you want to keep and decide what to do next.
Deep Clean
Once you manage to empty your garage and segregate your belongings, it’s time to tackle another task: deep cleaning. Before you put everything back in, you need to make sure your garage is free of clutter and spotless!
If you want to be thorough and efficient, we recommend cleaning your garage from top to bottom. You can start by dusting off the tops of your cabinets, shelves, and other furniture. Next, wipe down the garage doors and windows. If you have an attached garage, don’t forget about the door connecting your garage and home. When you’re done with these parts, it’s time to focus on your garage floor. Sweep it to get rid of dust and hose it off. Finally, you can mop it and then wait at least two hours for everything to dry off before you start putting everything back inside.
Decide What to Do with the Clutter
In the case of things you no longer need, you have three options:
- Throw away. So easy, and yet so difficult! We tend to accumulate things until we start overflowing with items we don’t need. However, you shouldn’t hesitate to throw something away if it’s broken and nobody will use it again.
- You may have some items that are in good condition and can still be used. If you think they’re valuable enough, you could organize a garage sale or post an ad on social media in hopes of finding a buyer.
- Lastly, you could consider donating some items that are still usable. If you give them for free or donate them to your local charity organization, you’ll make someone’s life better and contribute to a good cause. That’s just as rewarding as cleaning, decluttering, and organizing your garage!
Put Everything Back In
Once you clean the entire garage and get rid of the things you no longer need, it’s time to put everything back inside. In case you didn’t manage to sell, donate, or throw out some items, you should find a temporary solution and put them in a place where they won’t bother you but will be easy to remove.
More importantly, don’t put your things back in the same way they were stored before. Since you’ve managed to declutter your garage, it would be nice to keep it that way! Find a system that works best for you: keep the things you use more frequently in more accessible places, and move the ones you use less often to the back. Also, you could consider installing garage cabinets to help you maintain control over your belongings.
Final Thoughts
Organizing your garage can be a huge task, especially if you haven’t done it for ages. In fact, many people are guilty of throwing everything inside and realizing the scale of the problem only when their garage doors are about to burst. If you’re one of them, don’t panic! Even though cleaning, decluttering, and organizing your garage will take you more time, it will be worth it.
Now you know what you should do, step by step. Find the best day to get on with this task. Don’t feel pressured to finish everything in one go. You can divide your work and ask your family members for help; just be dedicated and determined to get it done once you start. We guarantee that after going through all the steps, you’ll see how much space you’ve gained and how easy and convenient it is to use your garage. Good luck!


