Whether you’re a professional builder or a DIY enthusiast, acrylic and plexiglass are increasingly becoming more popular in interior designing and different craftworks. This material is definitely the leading choice for all creative projects. Not only is it incredibly lightweight but also it’s highly durable and shatter-resistant. If you want to try your hand at design and craftwork, plexiglass is ideal for that purpose. With the right tools and a bit of patience, the creative design possibilities are endless. So here’s our comprehensive guide to DIY cut plexiglass and making awesome craftwork.
Tools & Materials Requirements
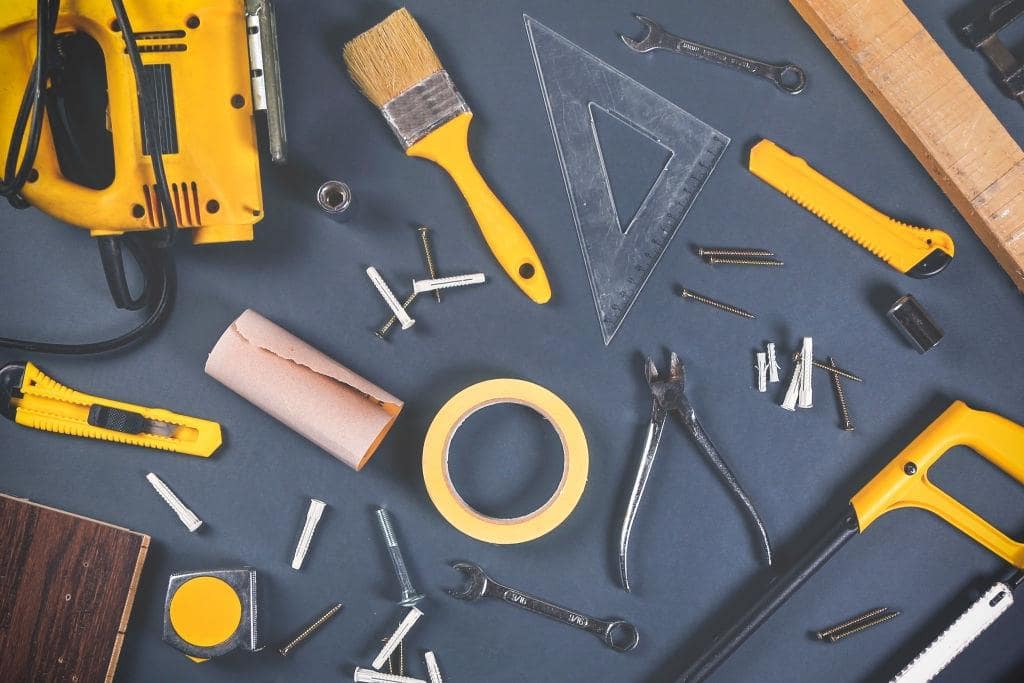
Although acrylic is a synthetic material, it does require some skills and expertise to cut properly. First, you need the right tools to set you up on the path to success. For your ambitious craftwork, here’s a list of tools and material requirements.
- Glass cutter
- Sandpaper
- Clamps
- Pens or pencils
- Work gloves
- Detail sanding stick
- Protective goggles
- Circular saw (or other saws – see below for more details)
Simple DIY Methods to Cut Plexiglass
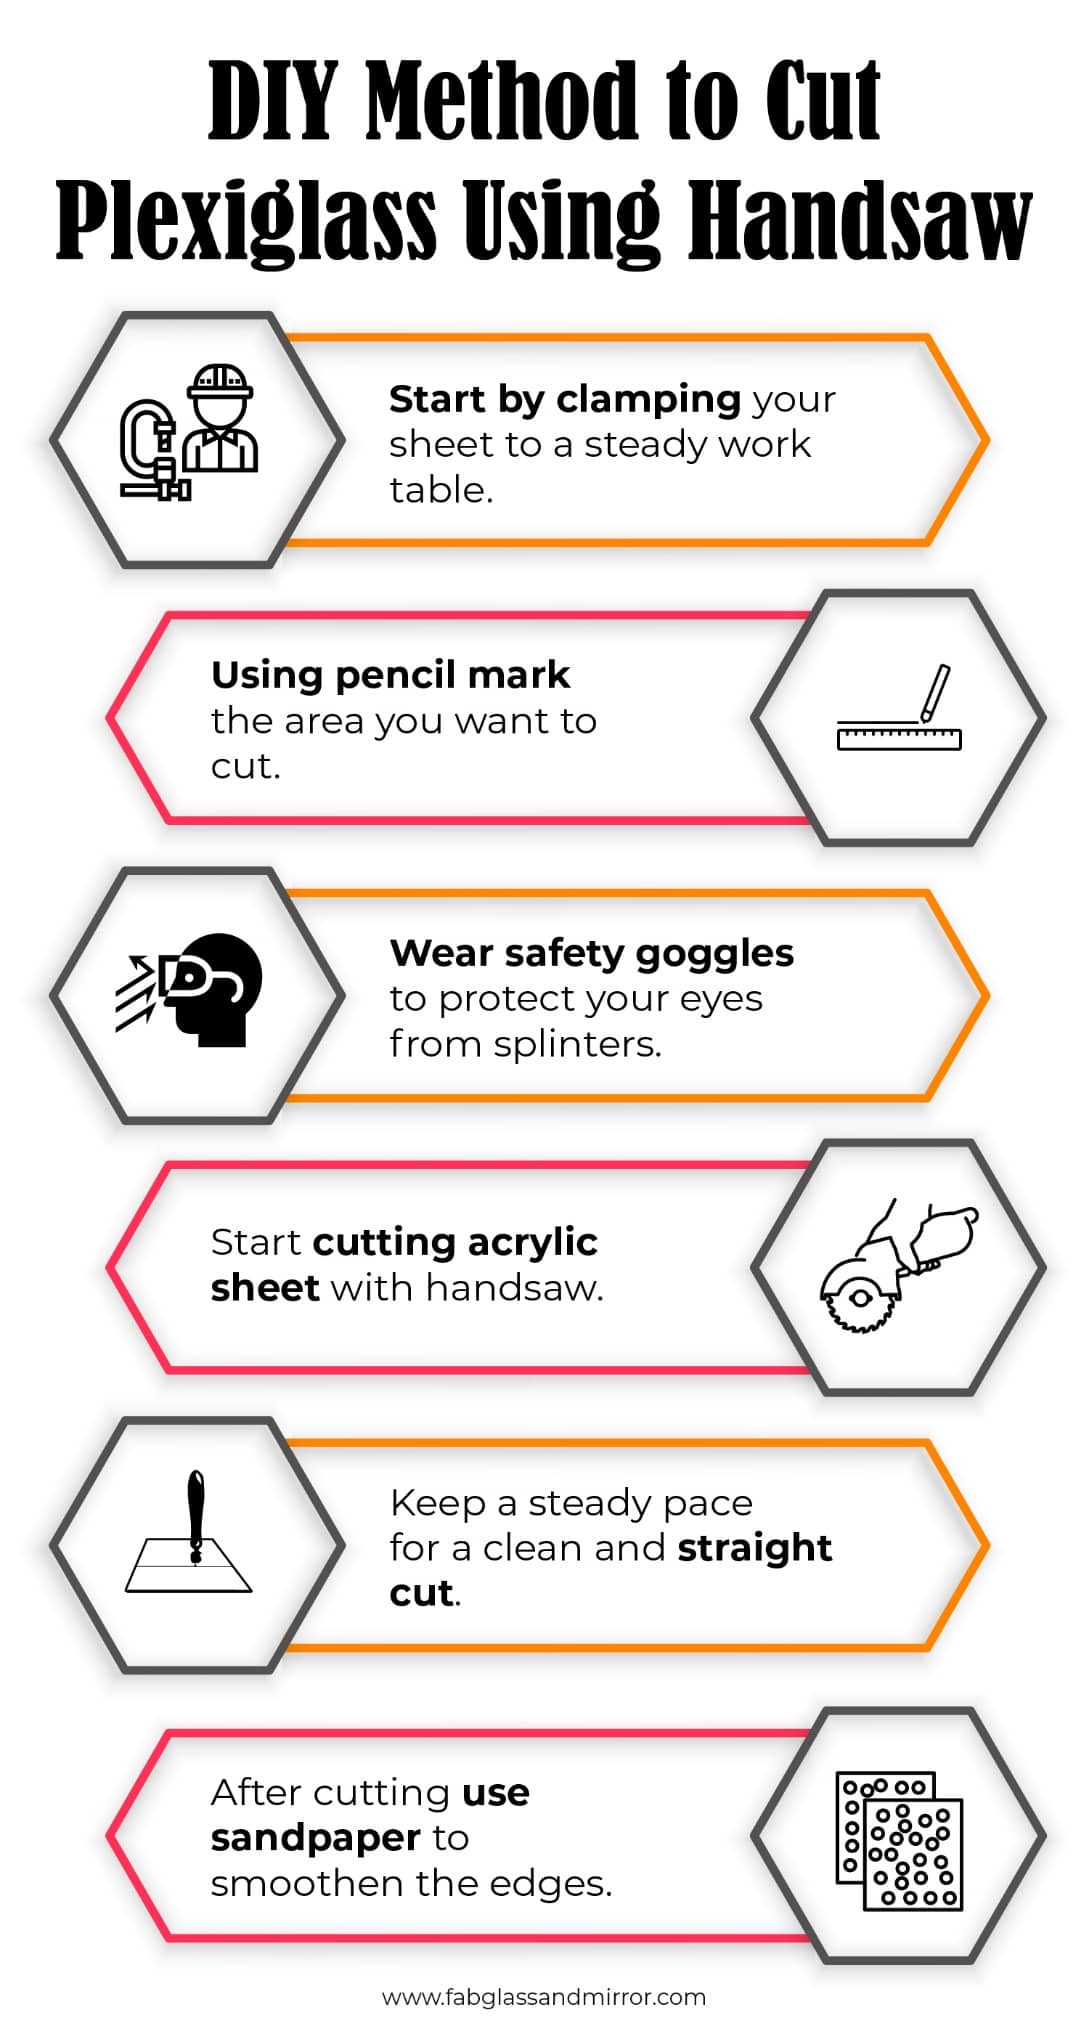
Cutting with a handsaw
A lot of people prefer cutting their plexiglass sheets by hand. With that said, it’s worth noting that this technique requires a lot of precision, concentration, and patience. Ideally, you want to use a hand saw that has uniform teeth. This is mainly to avoid any rough or messy edges.
Also, keep in mind that acrylic easily scratches, so don’t remove the protective paper that the sheets come in. The “score and snap” method is recommended here and works best for panels that aren’t too large or too thick.
Mark your sheets and use a glass cutter to score the lines you just made. When you notice the deep indent along with the panel, it’s time to snap. Put the acrylic on the edge of the table and snap off the part you want to cut. Smooth the edges with sandpaper or an electric buffer.
Cutting with a Circular Saw
Thicker acrylic sheets require more manpower, which makes a circular saw the perfect tool for that. In addition to that, it will also give your plexiglass smoother edges. You also want to keep the protective paper on for this technique as well.
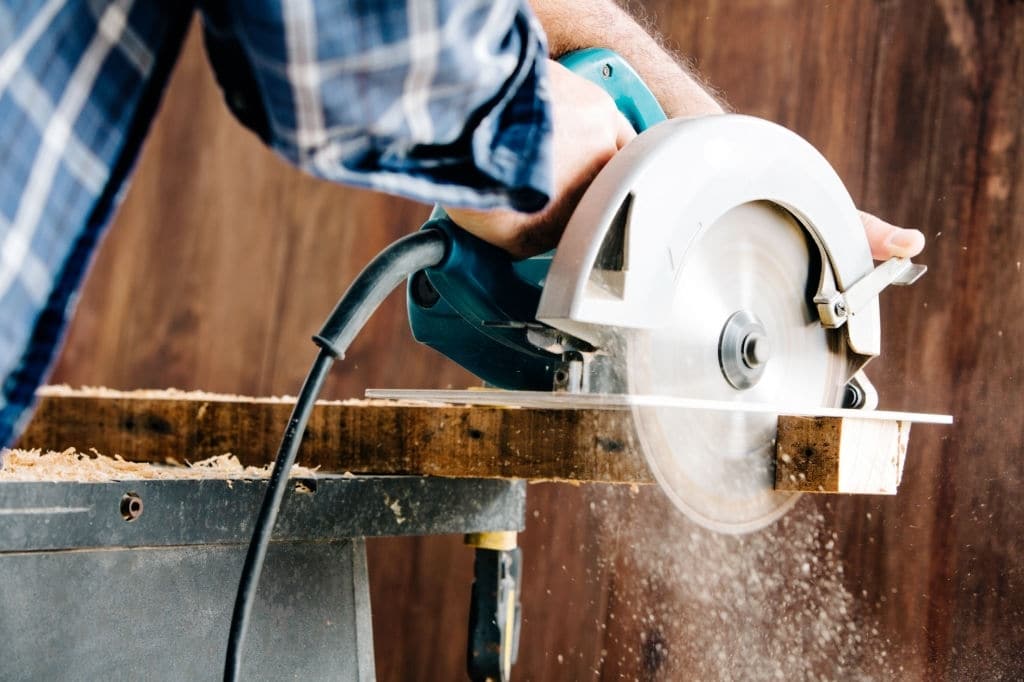
Start by clamping your sheet to a steady work table then mark the area you want to cut. Then get your acrylic cutting blades, preferably those with carbide tips. Moreover, to prevent the line of cutting from overheating, you will need a cooling agent.
Though you can make your own at home too. A few drops of dish soap and some water will do the job. Spray the area as you go to ensure you have smooth edges. And try to keep a pace of 4 inches per second to avoid any mishaps.
Cutting with a Jigsaw
If you don’t have a circular saw, then a jigsaw will do the job too. With that said, it will require a level of precision to make the line straight using this method. Choose an uncoated blade with fine uniform teeth. Just like with previous techniques, you should also leave the protective paper on.

The prep is pretty much the same as with a circular saw. First, you clamp the plexiglass to the work surface. Second, you mark the area where you intend to cut. Then you can finally get to cutting. A pro tip to remember is sticking a piece of painter tape over the cutting line. This is a great way to prevent any splinters.
In addition to that, you also need safety goggles to protect your eyes from those rampant splinters. After you plug the jigsaw, line it up with the markings and keep the plate flat to the surface. Keep a steady pace and don’t cut too fast. Then finally go over the edges with sandpaper to smooth them out. That’s it!
Cutting with a Scoring Knife
This is one of the easiest ways to cut acrylic and plexiglass. It doesn’t require any heavy-duty equipment like a power saw. You’re going to follow the same prep steps as before. Start by marking up the line where you want to cut. Use your scoring knife to cut a narrow groove in the sheet.
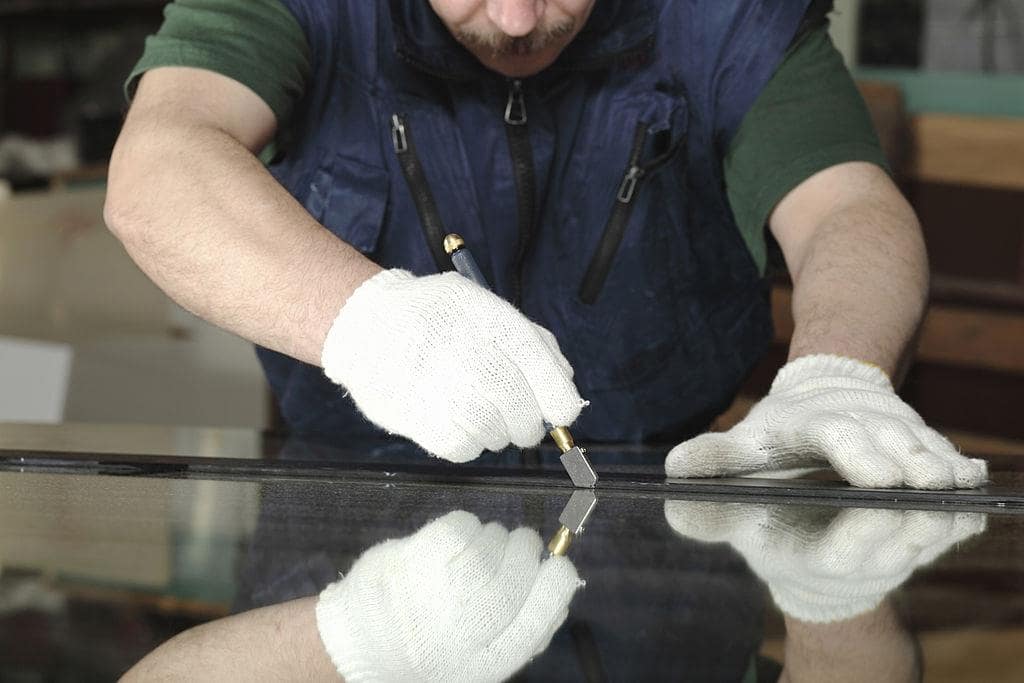
Then apply as much pressure as you can after placing the acrylic over the edge. With a quick and even motion, bend the plexiglass. This is the same method as the handsaw we’ve discussed previously as it uses the “score and snap” concept.
Where to Buy Top Quality Acrylic Sheets for DIY Projects
If you’re considering a few DIY projects with acrylic, then getting the right material is essential. You want to ensure that your plexiglass is reliable and fit for your needs. No DIY project is too challenging when you’ve got the right manufacturer. At Fab Glass and Mirror, we provide you with premium quality plexiglass sheets at economic and highly competitive prices. So get yours now and unleash your creativity.