Flawlessly painted interior walls can make any home elegant. It shows great attention to detail, making the interiors look more luxurious. It can also make your home feel new and vibrant. And as such, refreshing your home’s interior paint can be a fantastic way to spruce up your living spaces.
Interior wall painting is perhaps, one of the most common DIY home improvement or renovation projects. And while it may seem simple and easy to do, one needs proper knowledge and skills to ensure clean and professional-looking results.
And as such, here are seven simple DIY interior paint tips and tricks for a flawless finish.
Pick The Appropriate Paint Color
The paint color you choose can significantly affect the overall ambiance of your space’s interiors. However, choosing the right colors can be tricky. Fortunately, there are color options that go well with most home interior design styles.
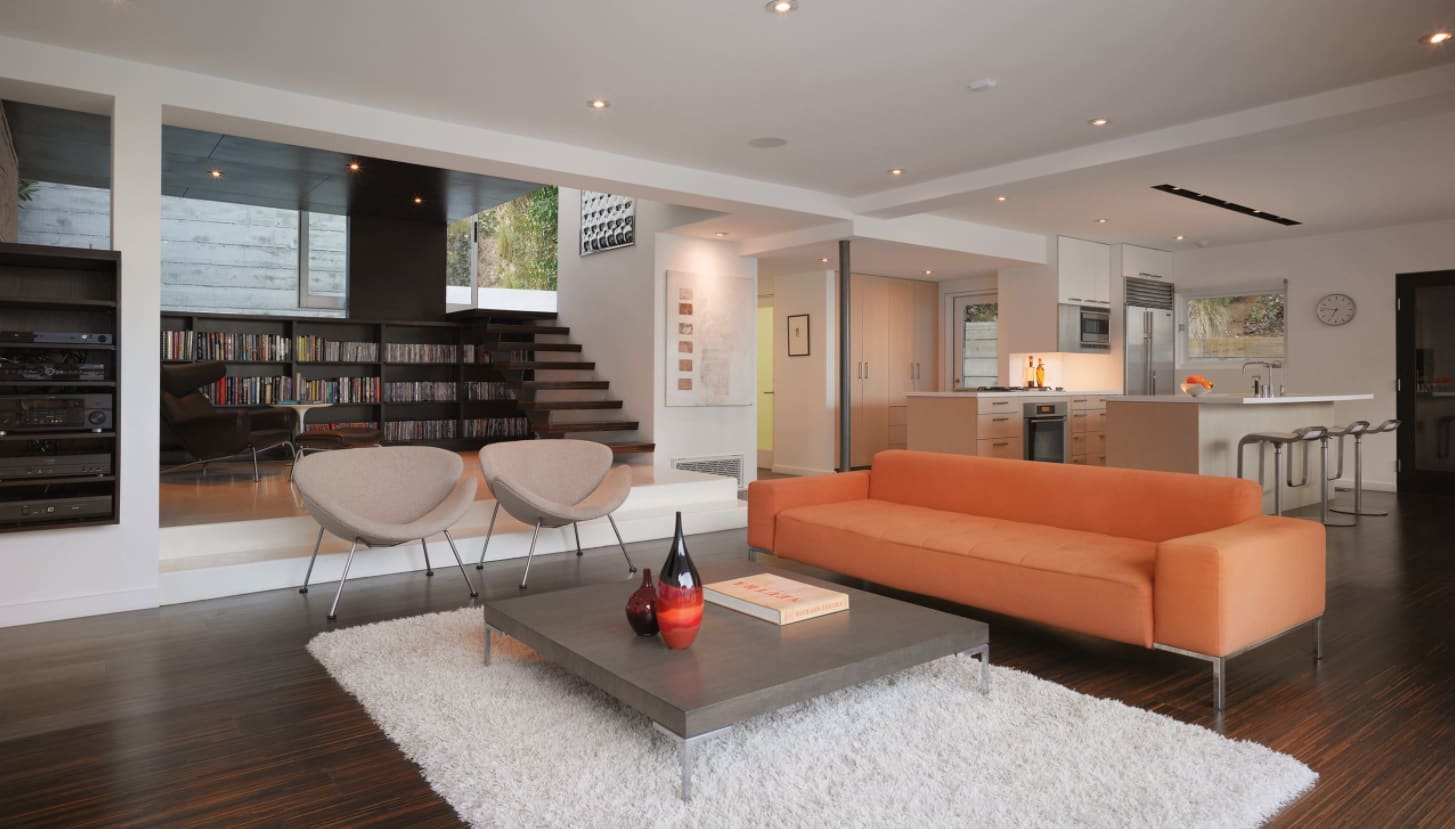
One of the top choices for modern homes is off white paint. It can serve as a perfect backdrop for bold accents and neutral interior elements. You may also use the same color but different types of finishes for walls and trims. On the other hand, if you want something brighter for your space, you can opt to introduce accent colors.
Select The Type Of Paint And Finish
Aside from the color, the type of paint you choose also affects the result of your DIY project. So, decide whether you want the walls to look glossy, flat, textured, or smooth.
Essentially, the three standard finishes for interior paint are eggshell, satin, and flat. The most recommended is a satin finish for a subtle shine. It also has an easy cleaning feature, perfect for busy areas like the kitchen.
The next thing to consider is whether you’ll use water or oil-based paint. Water-based paints are fast-drying and release a lower amount of volatile organic compound or VOC. In contrast, oil-based paints take longer to dry and emit high levels of VOC. However, it can still be a good choice if you want a glossier finish.
Clean The Wall Thoroughly
Before starting your DIY interior paint project, clean your walls first, especially if you currently have wallpaper or chipped paint. You’ll need a putty knife, paint scraper, sponge, clean cloth, warm water, and dish soap for this step.
After peeling off the wallpaper or scraping the paint, wet the area using warm water and dish soap. The solution can help soften the stubborn spots for easy scraping. When all the spots are scraped off, rinse the area with a clean wet cloth. Repeat the process as needed.
Don’t Skip To Prime And Sand
Priming and sanding between coats is the number one key to a superb interior wall finish. This step ensures the interior paint adheres to the walls. Plus, you can also prevent bubbling and peeling.
Typically, applying two coats of primer is ideal for most paint jobs. However, you can apply up to three coats for a smoother finish. Let each coat dry completely before sanding using fine-grit sandpaper.
Proper priming and sanding also improve the vibrance of your topcoat. When painting a dark wall with a lighter shade or vice versa, this is the trick that instantly creates a clean canvas for new paint. And more so, it can help hide or conceal blemishes and uneven surfaces, which can be ideal if you’re planning on painting your walls with pure white paint.
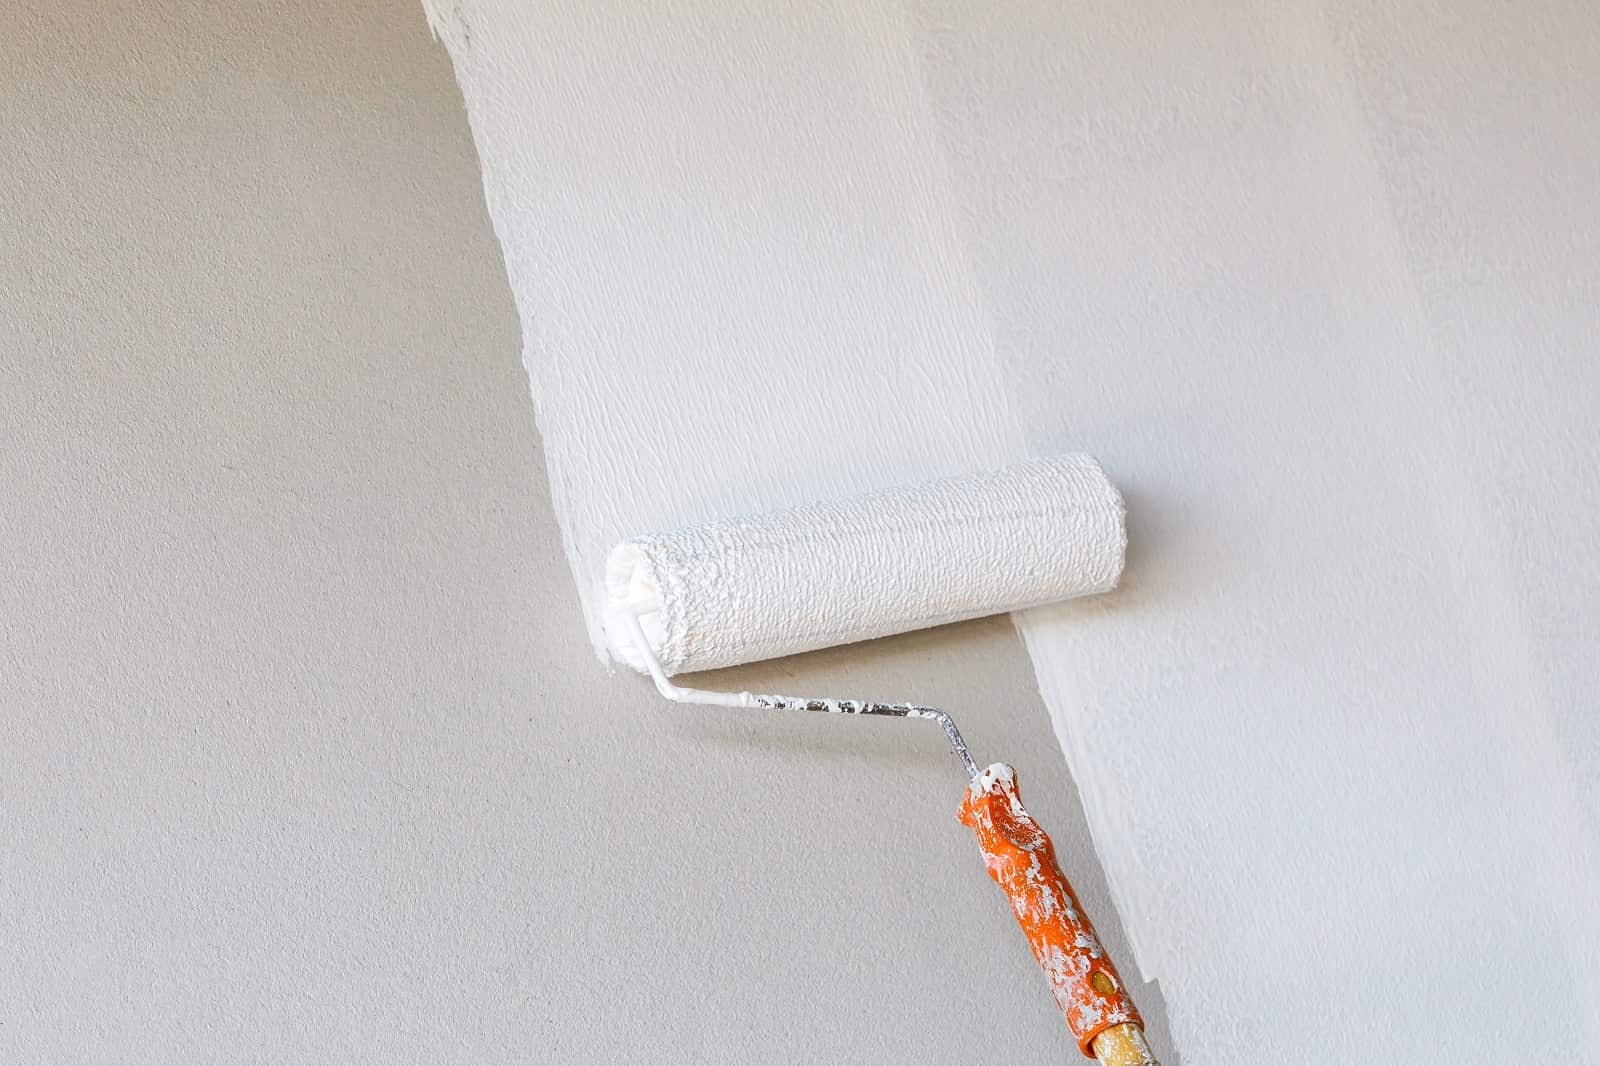
Use The Right Brush And Roller
The quality of brushes and rollers you use may also affect the overall output of your DIY interior paint job. As such, it’s best to grab the appropriate ones to make your project faster and easier.
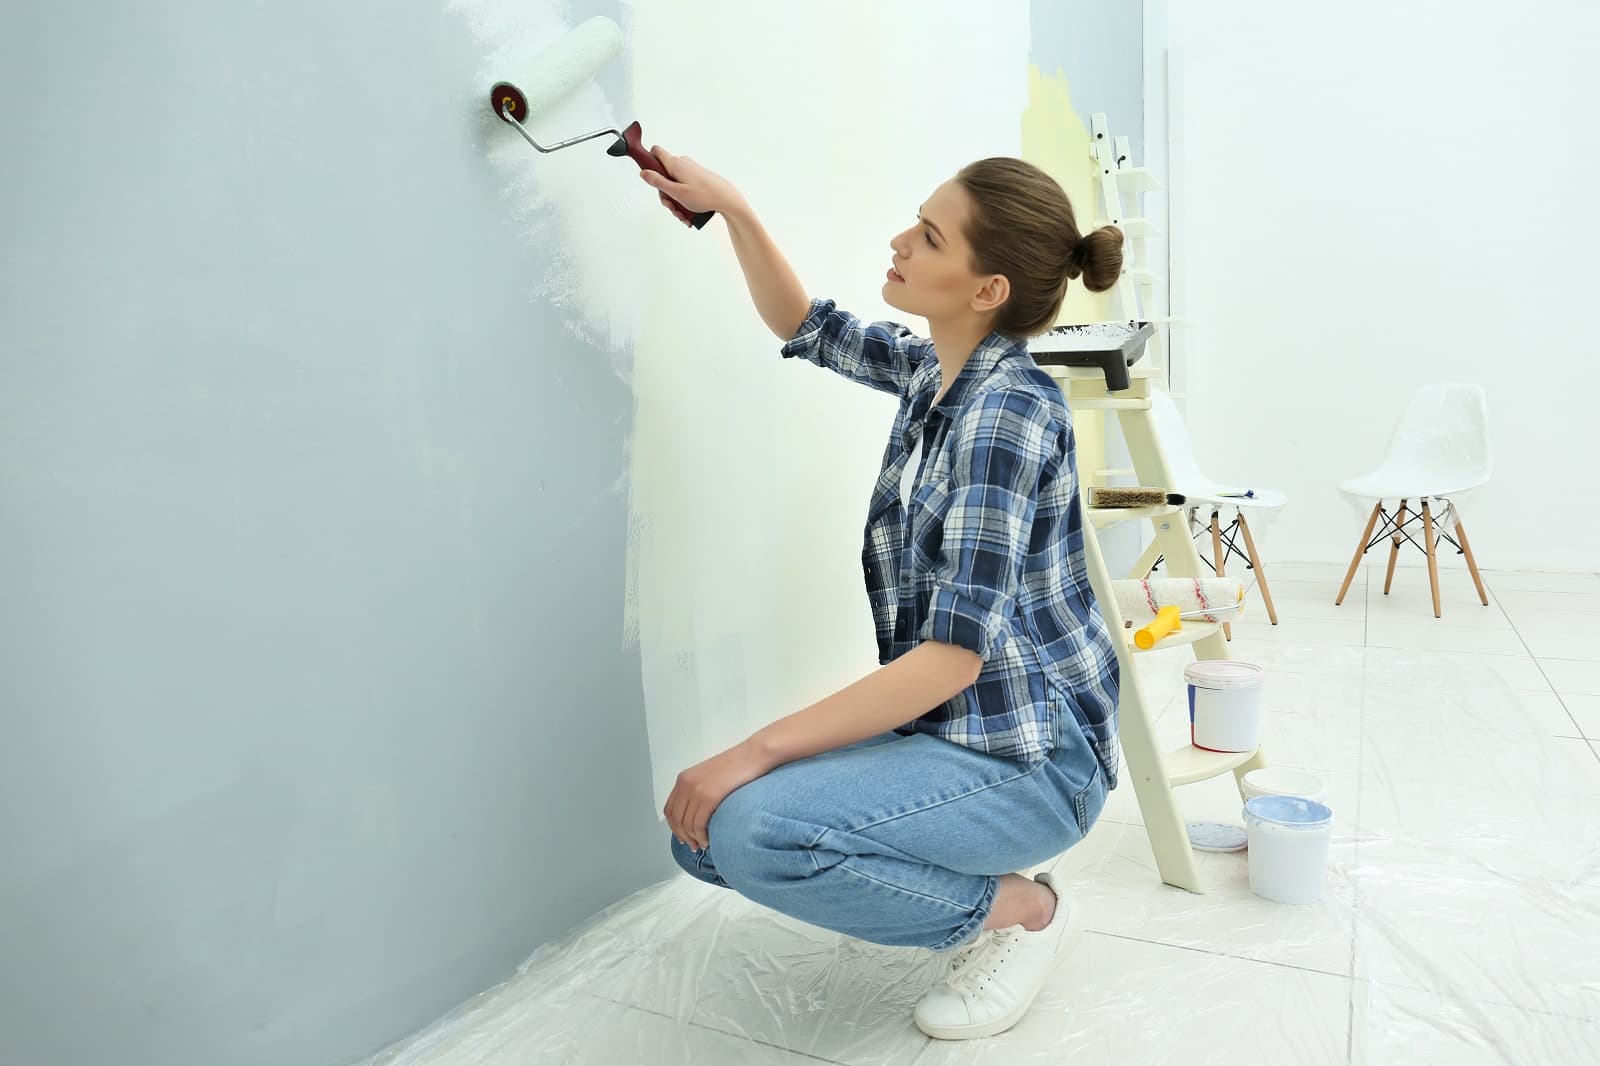
For painting wide areas faster, use a large roller. A microfiber pad can also be an eco-friendly and cost-effective option since it can be washed easily and reused. On the other hand, you may use an angled and sharp-edged brush for painting trims, molds, corners, and edges. Choose the right size depending on how intricate your wall details are.
Completely Dry Each Coat
One of the common mistakes DIY-ers make when painting interior walls is not waiting enough before the next coat. This minor error can cause further problems like slow drying and weak paint adhesion.
Generally, when using oil-based paint, you need to wait for at least 24 hours before applying the next coat. If recoated too early, the previous layer may only stick to your rollers and create a mess. This tip also applies to oil-based primers.
Meanwhile, fast-drying water-based paint may only need at least 4 hours before applying the next coat. Water-based paints are a popular choice since they allow you to finish your project as quickly as 24 hours, depending on the scale.
Apply At Least Two Coats Of Paint
The last tip for a silky smooth and vibrant finish is to apply two or more coats of paint. This trick ensures even application and enhances the durability of the paint.
Two coats are generally enough if you’re painting a wall from light to dark. In contrast, when you’re painting from dark to light, consider applying at least three coats to amplify the shade’s brightness.
Conclusion
DIY interior painting can be both a challenging and thrilling task to do. For one, it can be a way for you to be creative in your own living spaces and allows you to acquire handy skills. It can be intimidating at first, considering the technical aspects you need to be familiarized with. But with the tips and tricks outlined in this article, starting your DIY interior paint job can be smooth and easier.