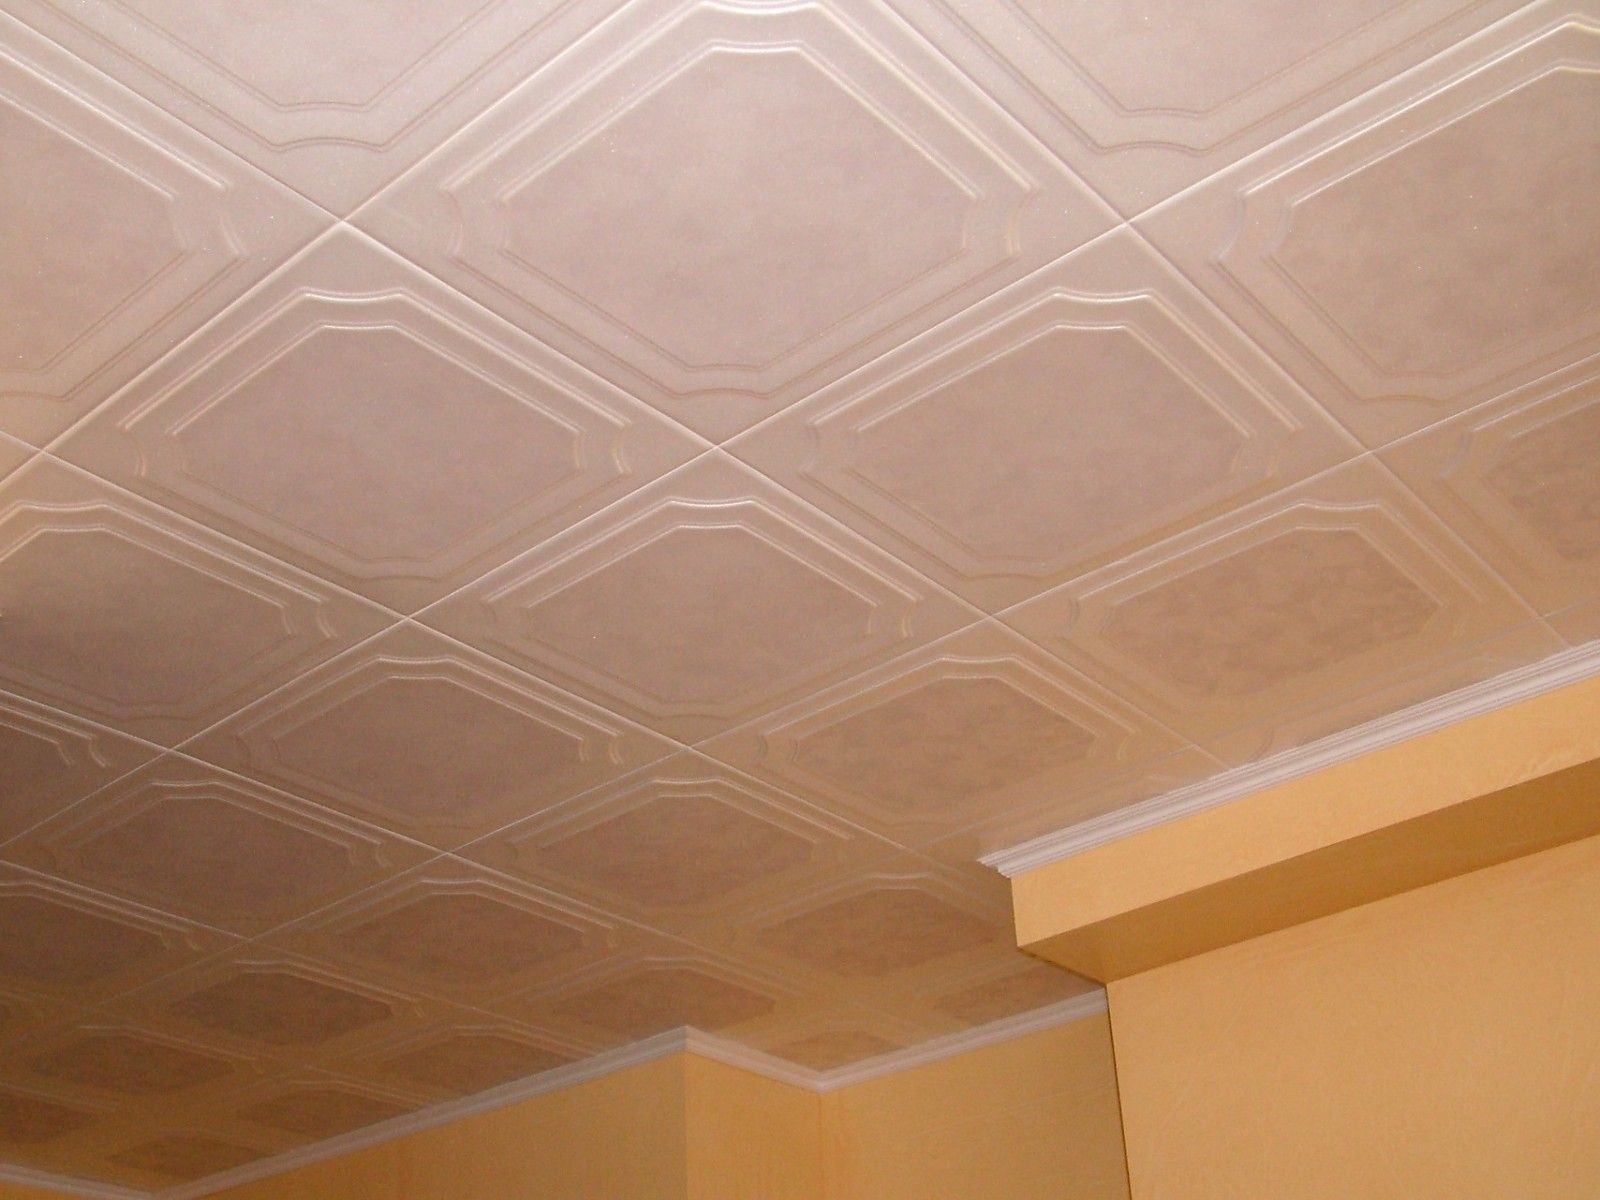
Expanded polystyrene tiles (Styrofoam tiles) are a quick and effective option for finishing the ceiling. Its main advantage among other finishing materials is its relatively low cost. That’s why it is so popular in budget repairs. Moreover, the material is waterproof, fast glued, and can be used in any premises: kitchen, bathroom, bedroom, living room, etc. As the name suggests, the tiles are made from expanded polystyrene by pressing on special equipment. In the stores, the material is presented in the form of sheets measuring 500×500 mm.
There are only two types of foam tiles:
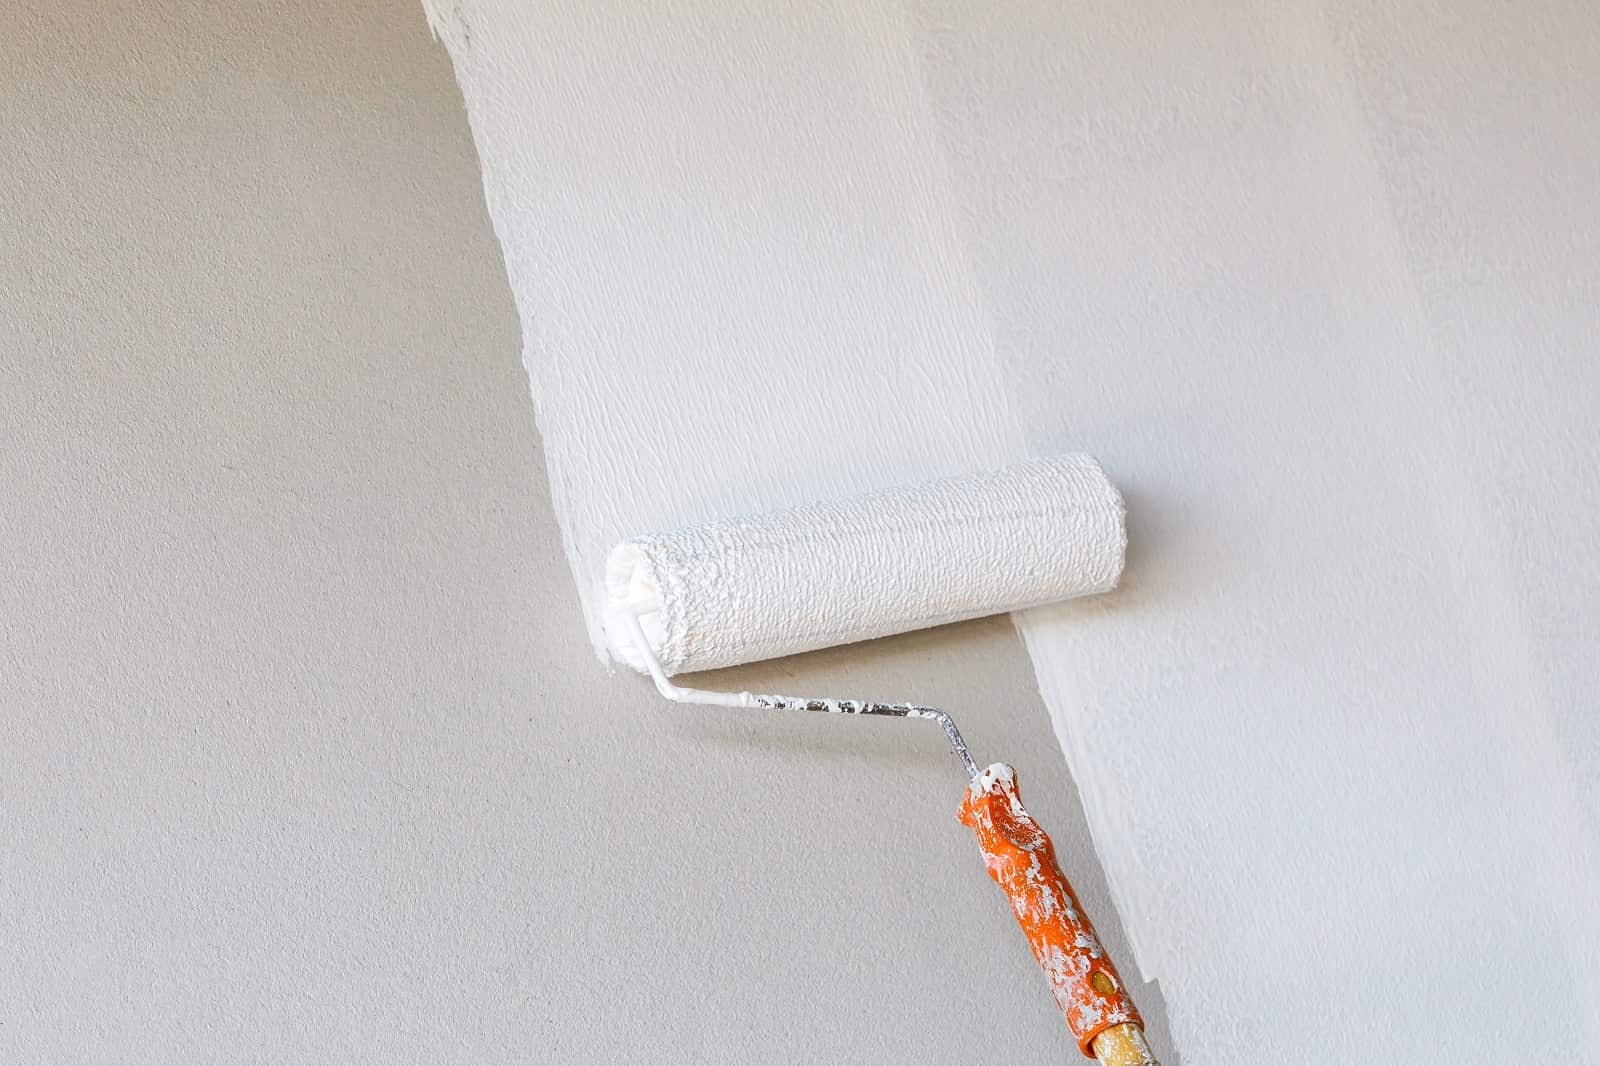
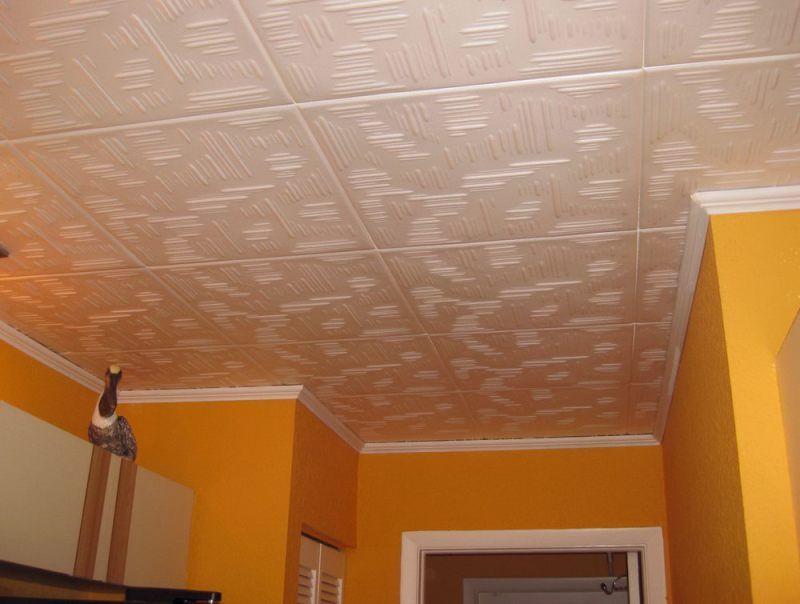
- Ordinary – has no additional coverage. It can be painted in any color with water-based paint.
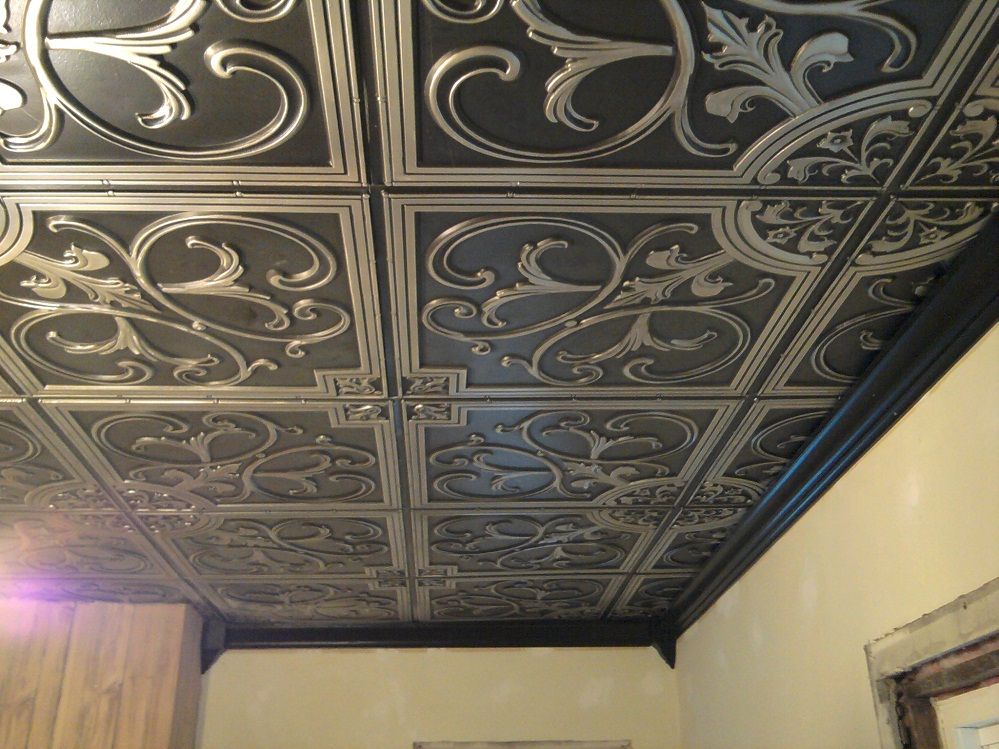
- Glossy – has a protective (laminated) coating. A wide selection of colors and textures avoids additional coloration.
Installation of Material
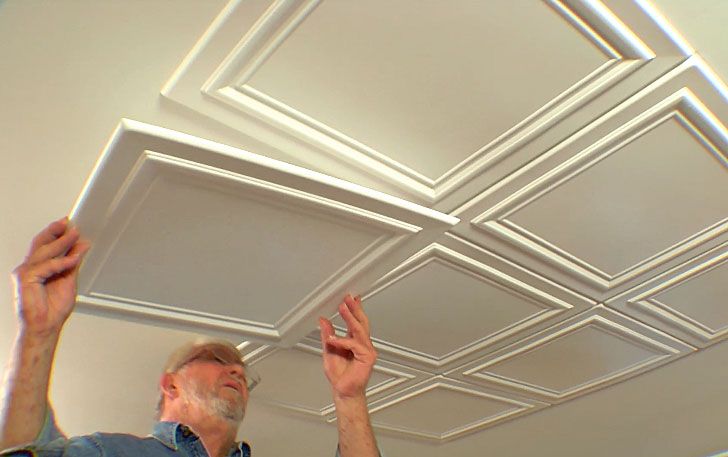
Expanded polystyrene tiles for the ceiling do not require the mounting of qualified specialists; anyone can cope with this task. The main thing is to have the necessary tool and a little bit of theory.
We need a spatula, paint, sealant, several packages of expanded polystyrene tiles, as well as plinths, made of the same material.
To begin with, clean the surface of the ceiling from the old finish (wallpaper, whitewash, etc.), then, if necessary, level out large irregularities with putty.
After the putty dries, proceed to the marking of the ceiling. Begin to glue the tiles from the middle of the ceiling moving to the sides of the room. If the tile is seamless and has a pattern, then to get the right image on the backside of the material there are pointers in the form of arrows.
Apply glue to the tile sparingly, just a few points along the perimeter and in the center. Then, after applying the adhesive, we press the tile to the ceiling and smooth it with a dry cloth. The glue will be fully dry on the second day. We finish the installation by gluing ceiling skirting boards. We use the same glue as when tiling the tiles.
Choice of Polystyrene Tiles
To obtain a beautiful and aesthetic ceiling, you must approach the choice of material with all responsibility. First of all, it is necessary to pay attention to the shape of the tile: it should not have distortions, bumps, depressions, and other irregularities (even if they are very small). How can I check this? For this, take two samples, attach them to each other and visually inspect all the gaps. If the material will be different in size, then you can never get the right proportions at the joints. Always buy the material of one batch, but even so selectively check individual copies. If you find small flaws or defects, then it is more likely that a lot of tiles are defective.