Making Roman shades with your own hands is easier than it may seem. In our review, there are tips on choosing the fabric, size, and fastening of such curtains, and three detailed master classes as a plus.
The author of the master class:
Roman blinds combine all the advantages of ordinary curtains and horizontal blinds. They are made of fabric, so they can rightly be called curtains, but their control mechanism is very similar to the device that drives the slats of the blinds.
Contents:

Photo: allthingsthrifty.com
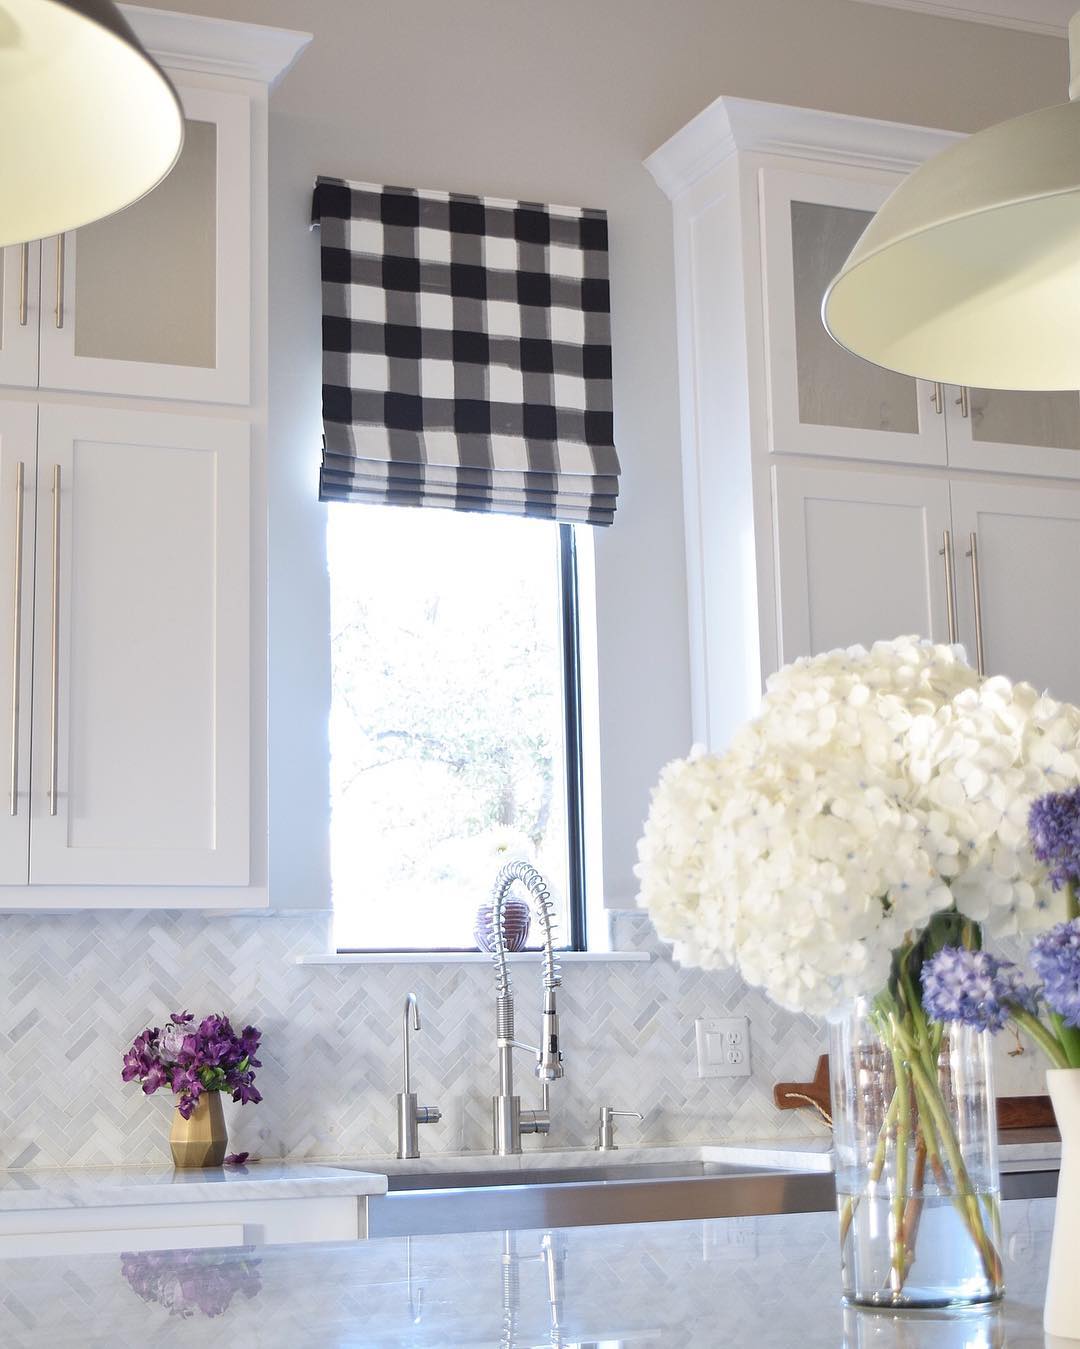
Photo: @zdesignathome
By the way, you can use unnecessary blinds (jalousie) to sew Roman curtains with your own hands. You can buy a special mechanism for Roman curtains in the store.

Photo: houzz.com.sg
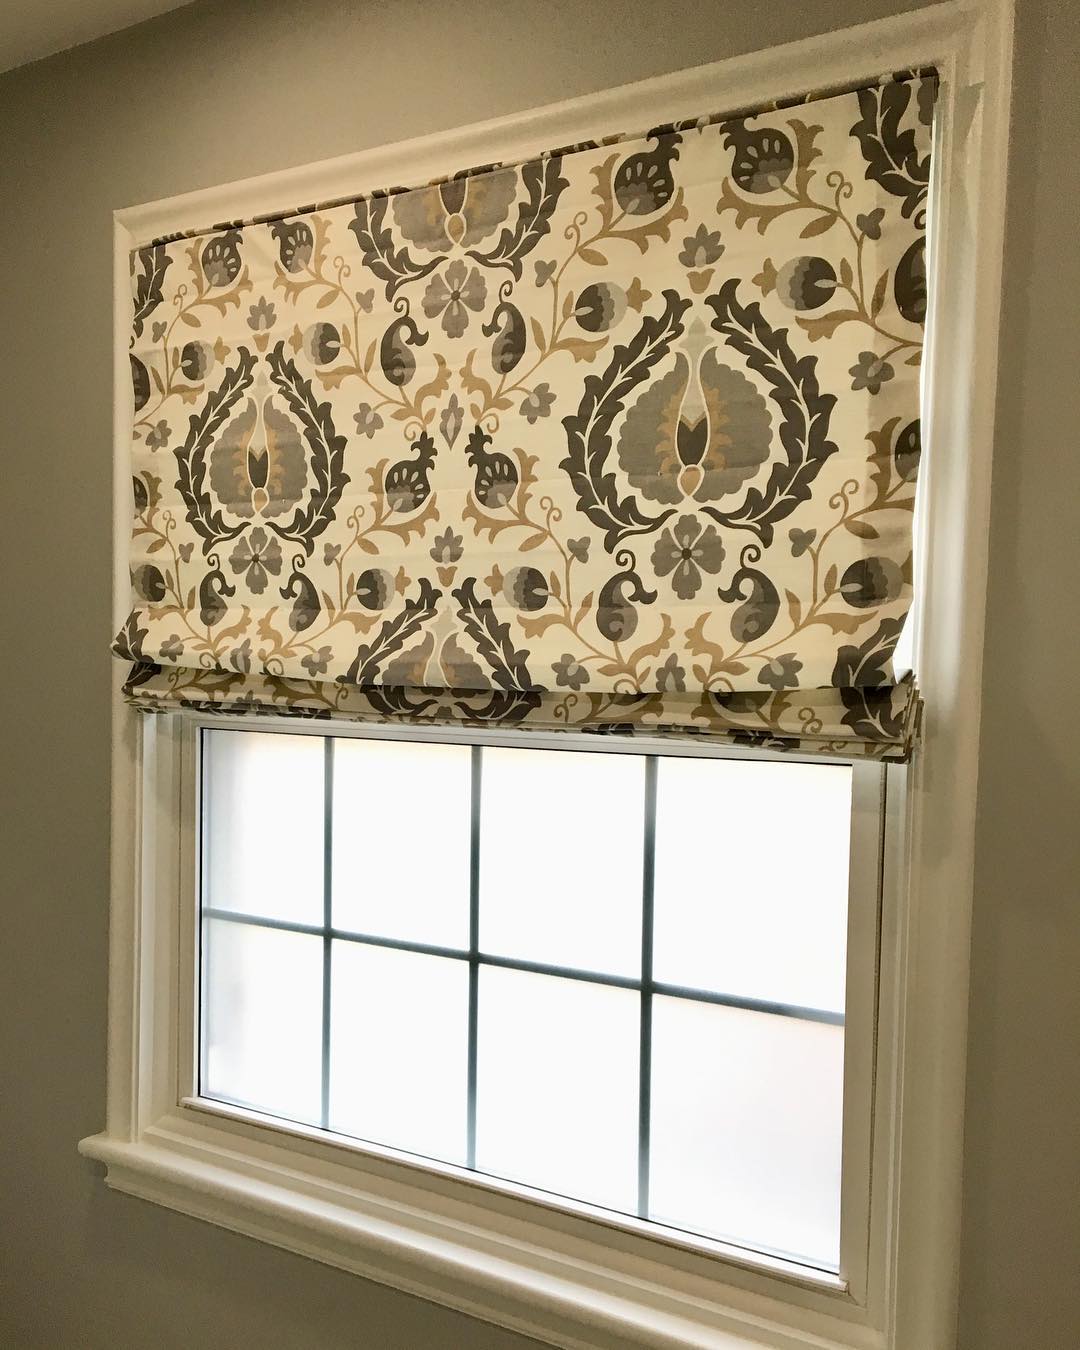
Photo: @maureenblankeninteriors
Roman shades are sewn from both dense and translucent fabric. It can be single or double-layered. On a window, such curtains can act as solo and in a combination with curtains.

Photo: @classicmodernhome
Our today’s photo collection contains general recommendations plus three masterclasses on Roman shades of various degrees of complexity, from the simplest one, which does not involve sewing at all, to the detailed method of making the classic model of double-layer curtains.
Before Proceeding to Work: Decide on Fastening and Size of the Shades
There are two options for fixing Roman shades.
First: the upper strip of the curtain attached to the wall above the window opening. Such a curtain may fall slightly below the window opening and be slightly wider than it. By the way, a higher arrangement of curtains visually raises the ceilings of the room and makes it higher.

Photo: hearthandholm.blogspot.com
The second option is to mount the curtains directly to the window frame, in close proximity to the glass. The height and width of such a curtain should be equal to the height and width of the window opening. This option is suitable if you want to leave the windowsill free and available even with the curtain closed. For example, if you use it as a storage surface.
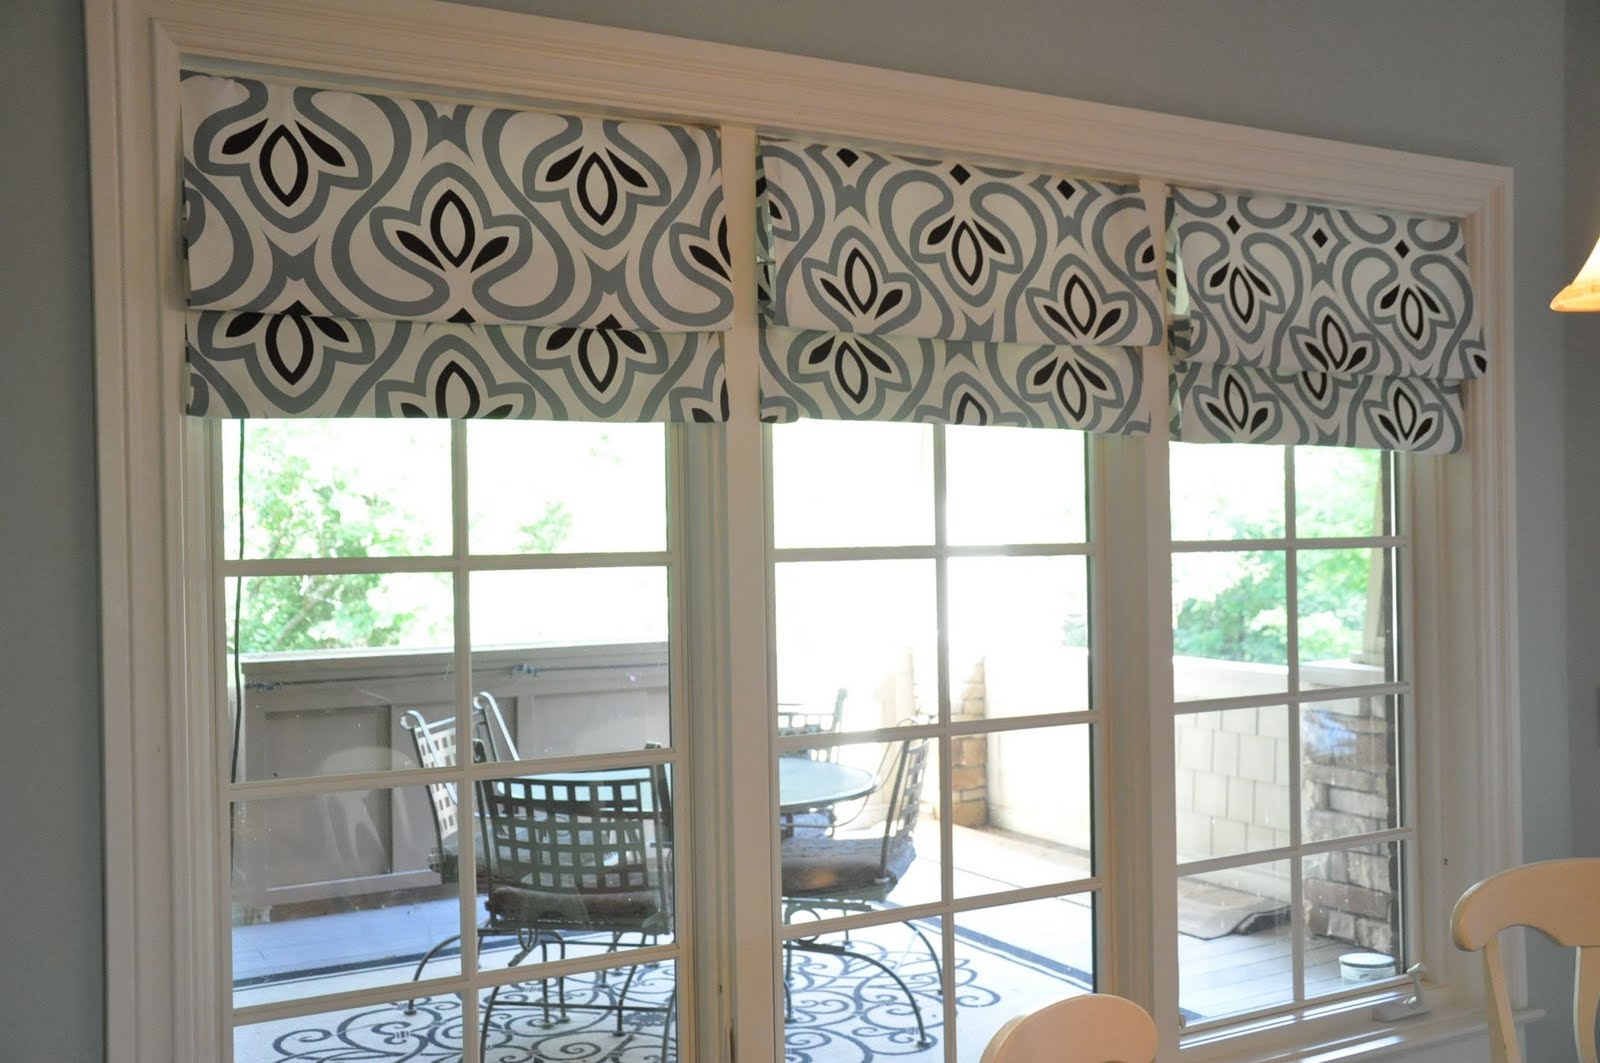
Photo: evolutionofstyleblog.com
The size of the finished curtain will depend on the mounting option: in the first version, it is better that it slightly exceeds the size of the window opening, in the second – that it exactly matches it. In either case, add 5 cm to the length and height for the creases.
Choose a Cloth
The choice of fabric for Roman shades primarily depends on how tightly they should close the window from the light according to your plan. You should also pay attention to the texture and color of the fabric and remember how you plan to mount them. It is also important that you plan to make curtains single or double-layered, counting, among other things, time and effort: double layer curtains are more time-consuming and more difficult to sew.
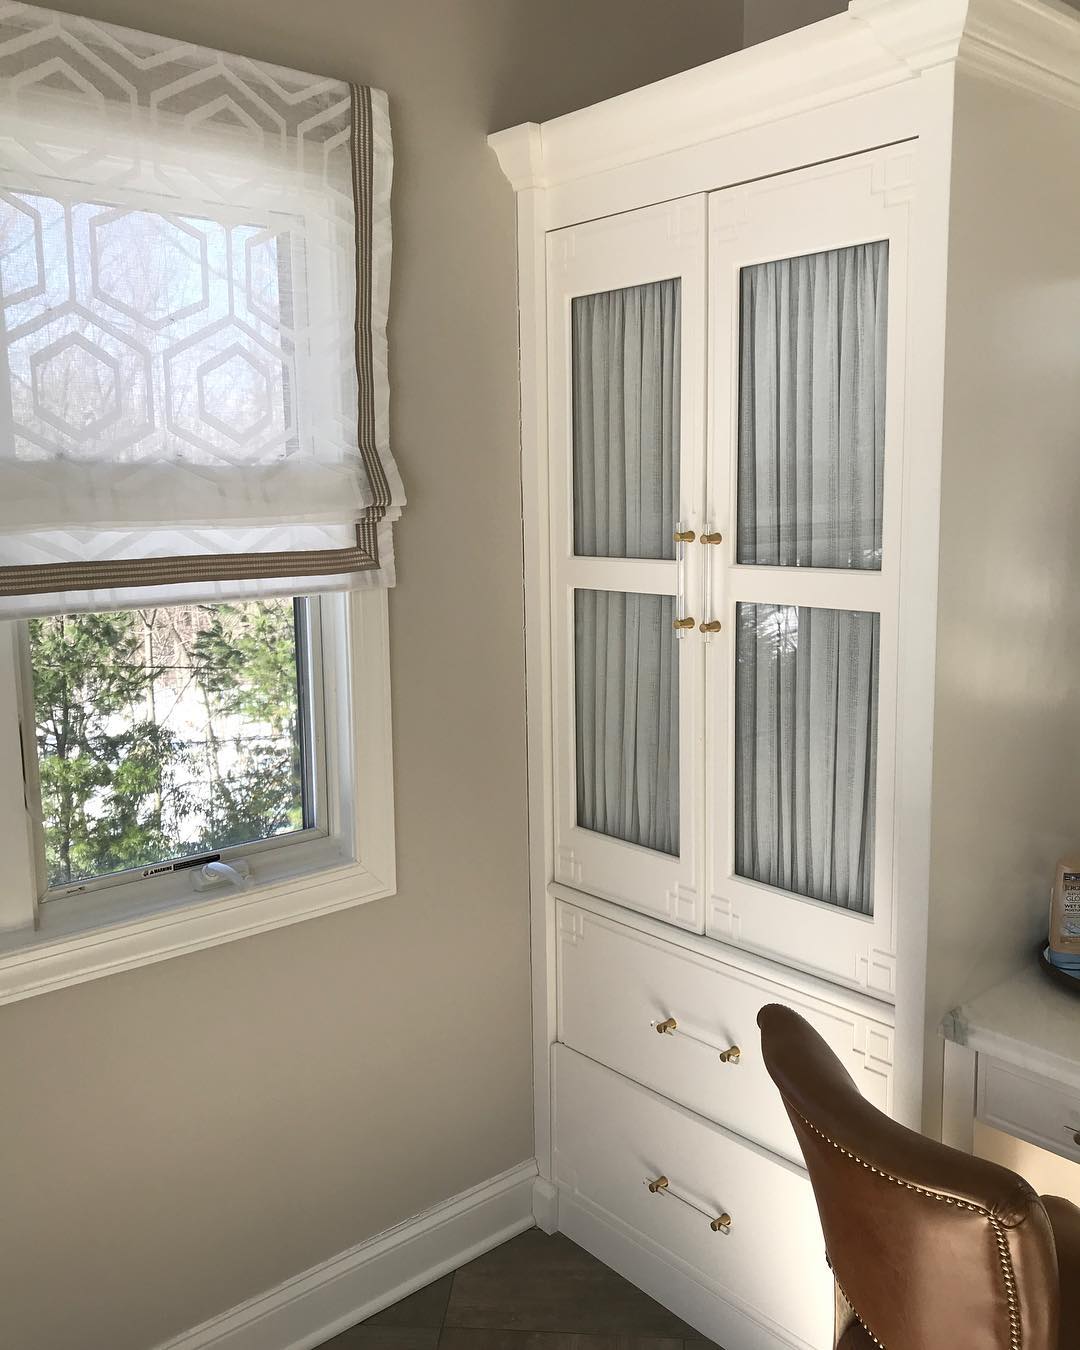
Photo: @irongateinteriors
The thin lightweight fabric is suitable for single-layer curtains. By choosing it, look through the future curtain to the light: it will be translucent, you will see an interesting texture or weave.

Photo: @jillwhitedesigns
A horizontal striped fabric or a large checkered one can accentuate sewing flaws, but multicolored cloth or shallow checkered one – on the contrary, will hide flaws.

Photo: @moonstoneinteriors
The texture is not so important for curtains in two layers: they will be denser, with less transmitting light. Thin curtains are often attached to the window frame; weightier, thick curtains are better to attach to the wall above the frame. In any case, the selected fabric should keep its shape well.
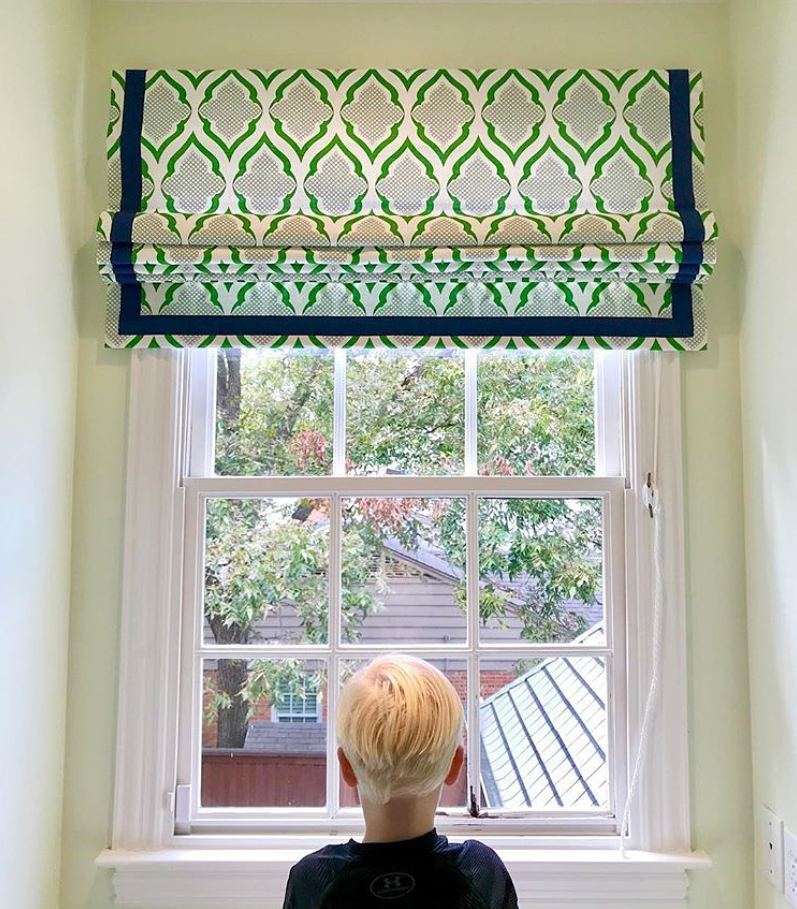
Photo: @christopherfarrcloth
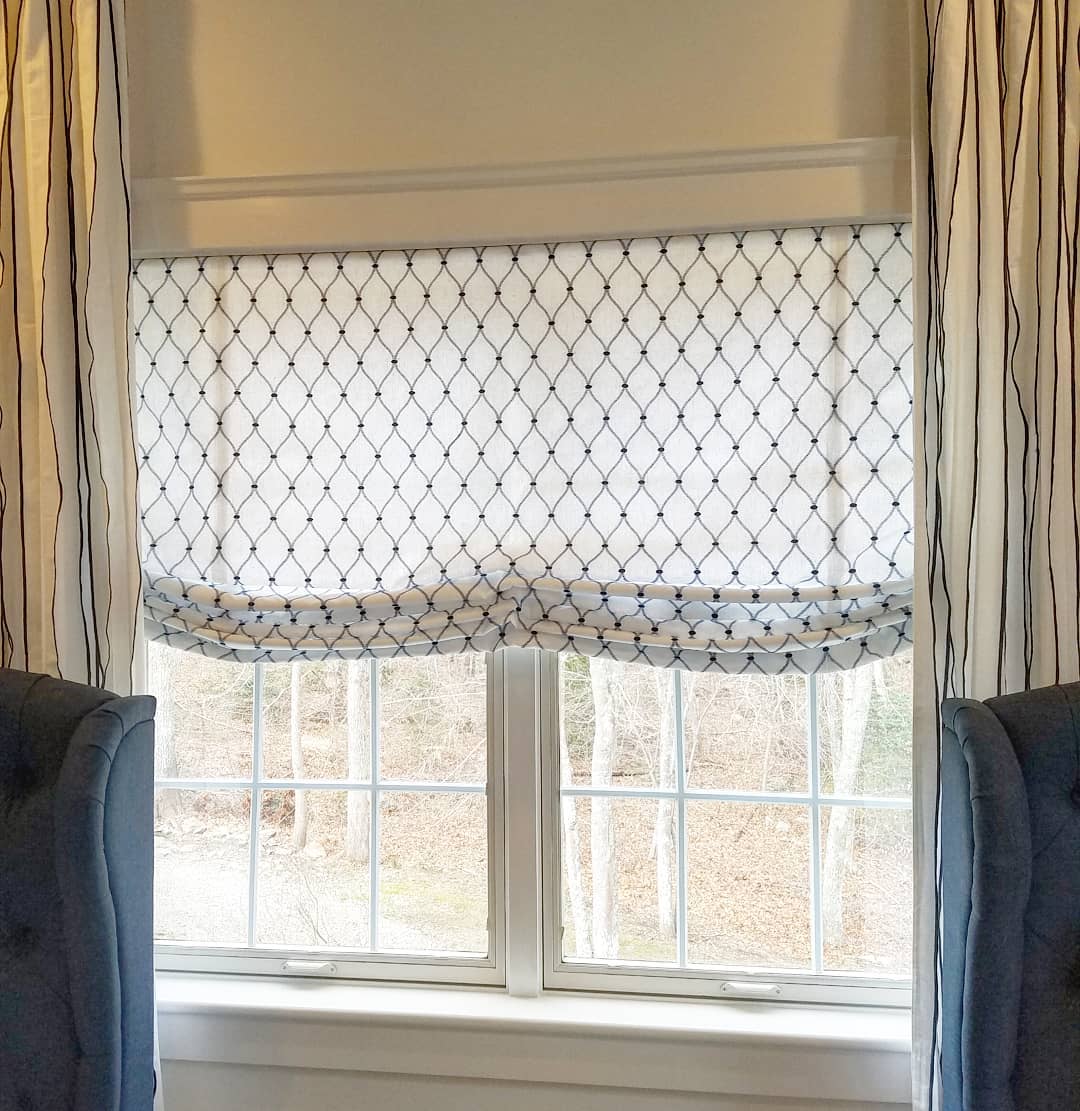
Photo: @budgetblindsofma
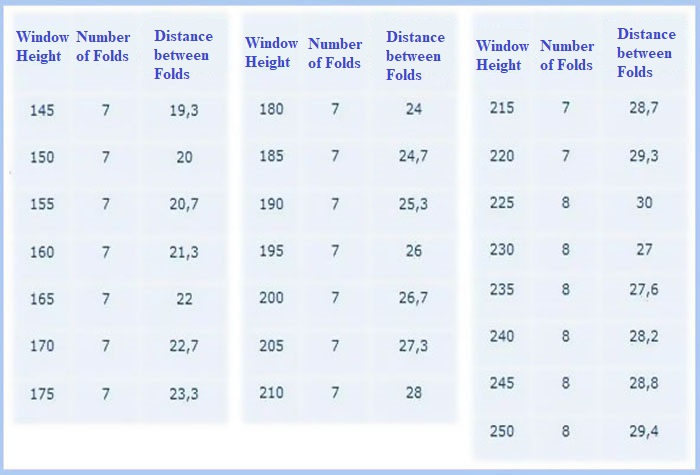
Count the Right Number of Folds
The Roman curtain is divided horizontally into several identical folds, each of which is supported by a jaw. Traditionally, the number of folds (and jaws) is calculated based on the size of the window:
Most Simple Single-Layer Roman Curtains: Master Class
Such curtains can be made even by beginners who are not very profound of sewing. This skill may not be required at all if you have a finished curtain of the right size. The whole process of making one curtain will take only a couple of hours. True, you will be unable to wash such curtains in a washing machine.
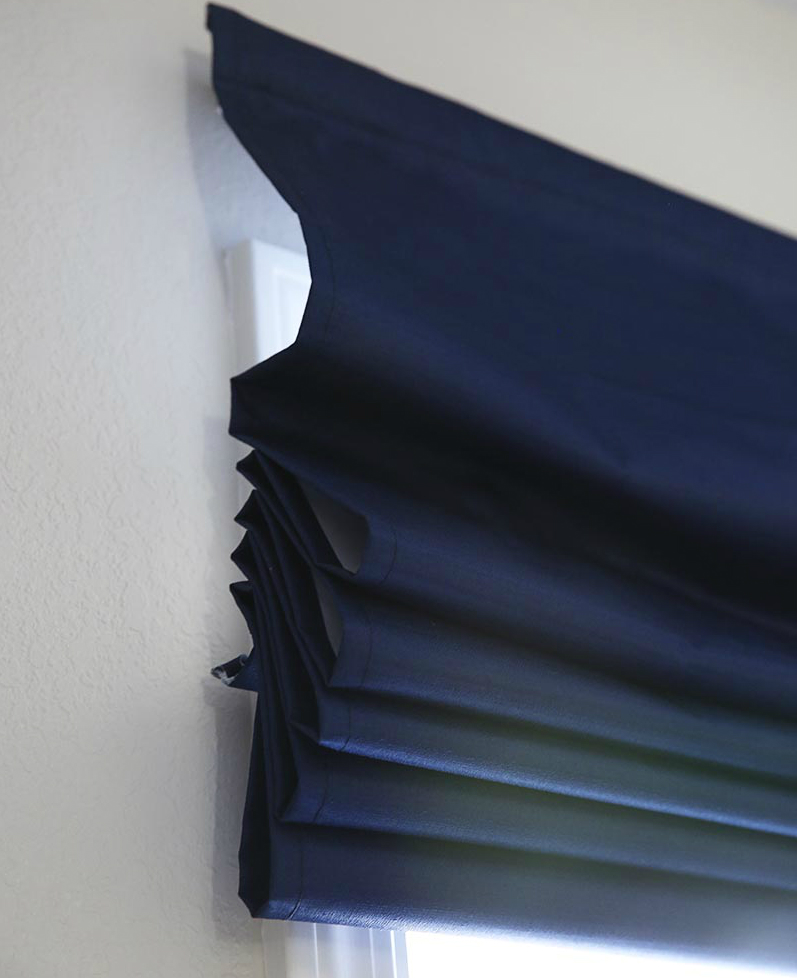
Photo: iheartnaptime.net
You will need:
- ready-made curtain or fabric cut,
- blinds (jalousie),
- glue for fabric,
- scissors,
- clothespins
- Decide on the location and size of the future curtains. If you do not have a finished curtain, and a piece of fabric, tuck and process the edges.
- Take care of the blinds. Spread them on the floor and successively cut the strings with scissors as shown in the photo. Important: make sure you leave a string running inside the slats. Remove the cover at the bottom of the blinds, untie the knots and release these strings.
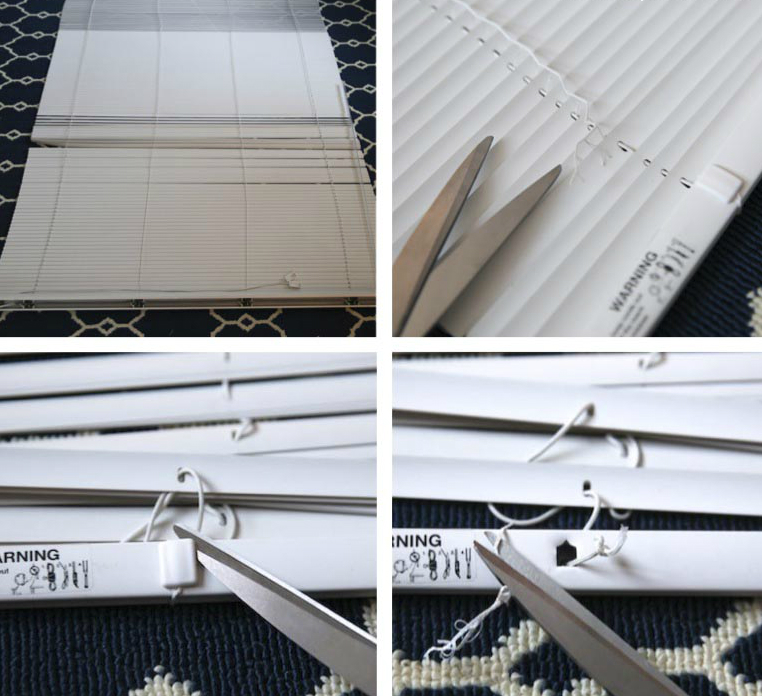
Photo: iheartnaptime.net
- Now you need to decide how many slats and, accordingly, horizontal folds will be on your curtain (see the table above). Remove unnecessary planks, they are not needed. We stretch the cords through the holes of the left ones and, having checked the length of the fabric, we tie them at the right distance. If the cord is a little lacking, you can attach an additional piece to it (this will not be visible from the outside).
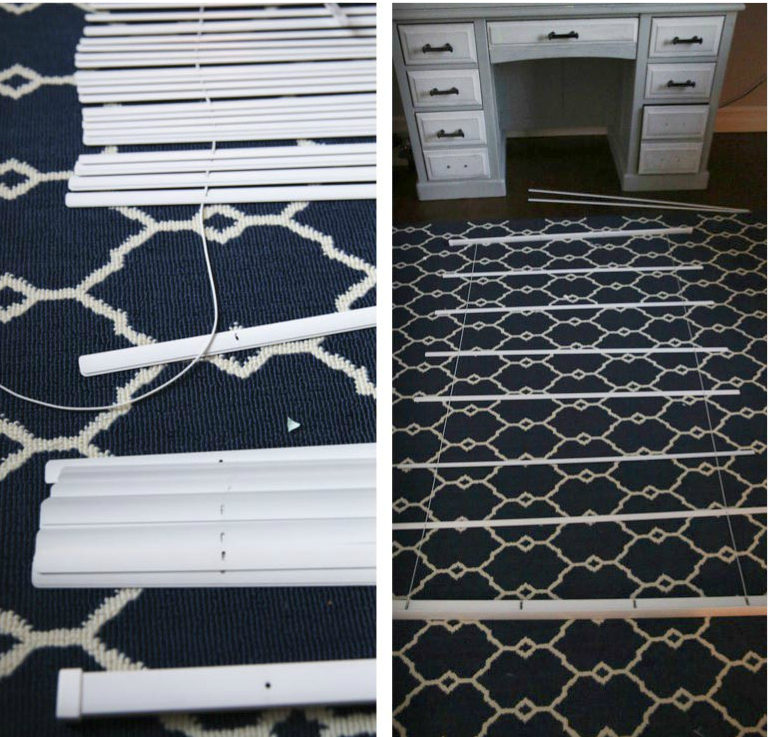
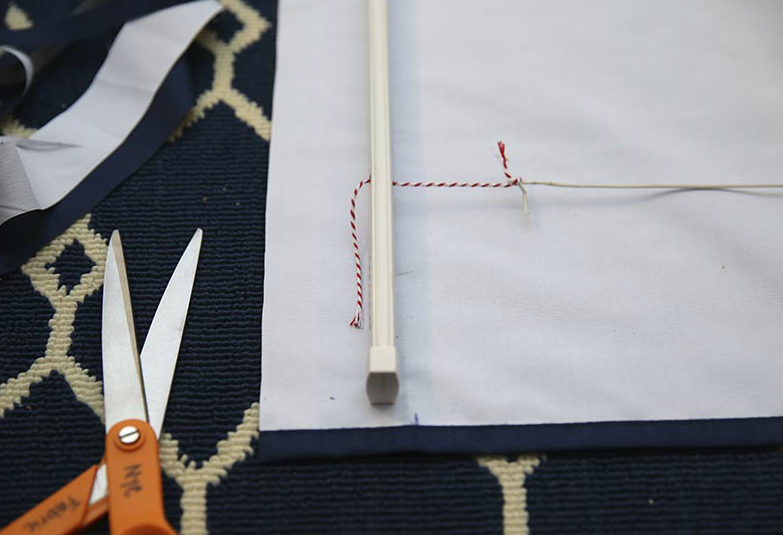
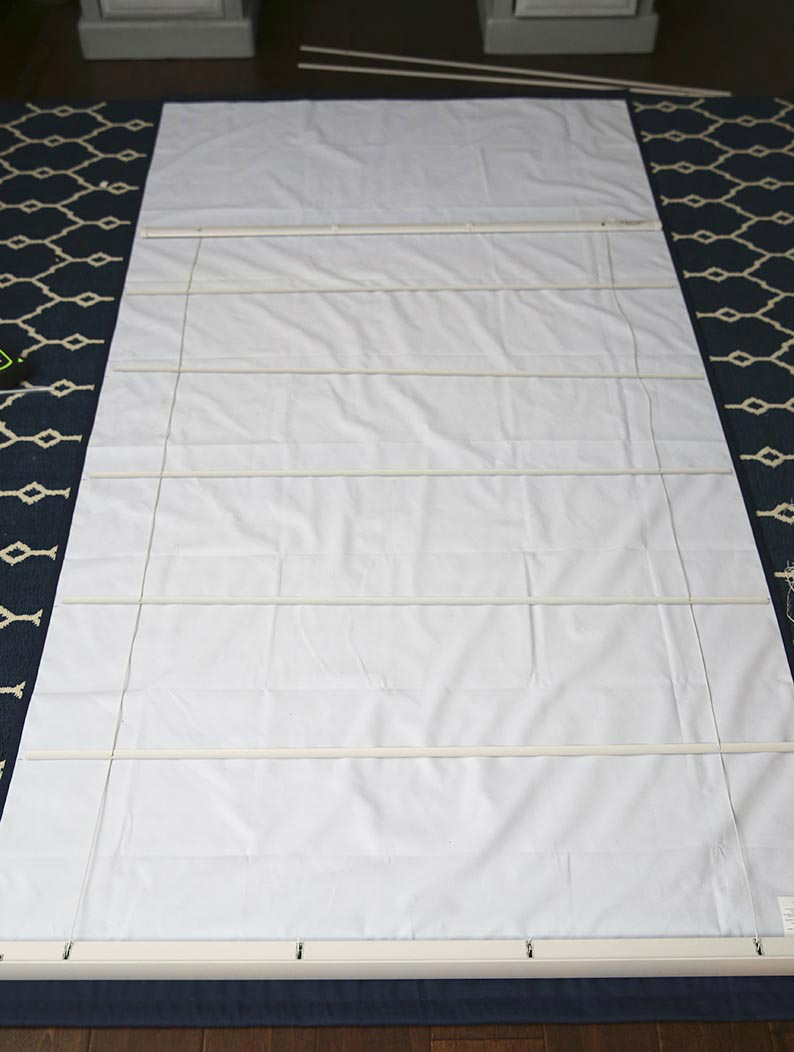
Photo: iheartnaptime.net
- Mark out the attachment points of the slats, lubricate them with fabric glue, and glue to the curtain. Align the edges with clothespins.
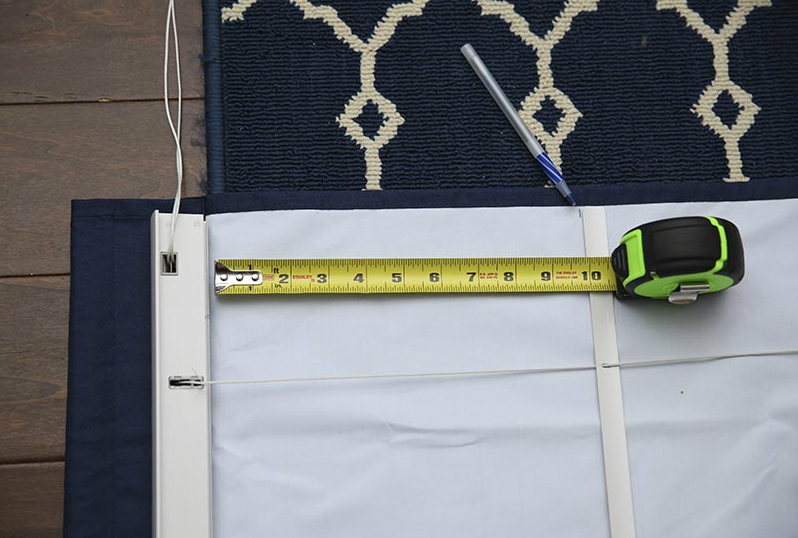
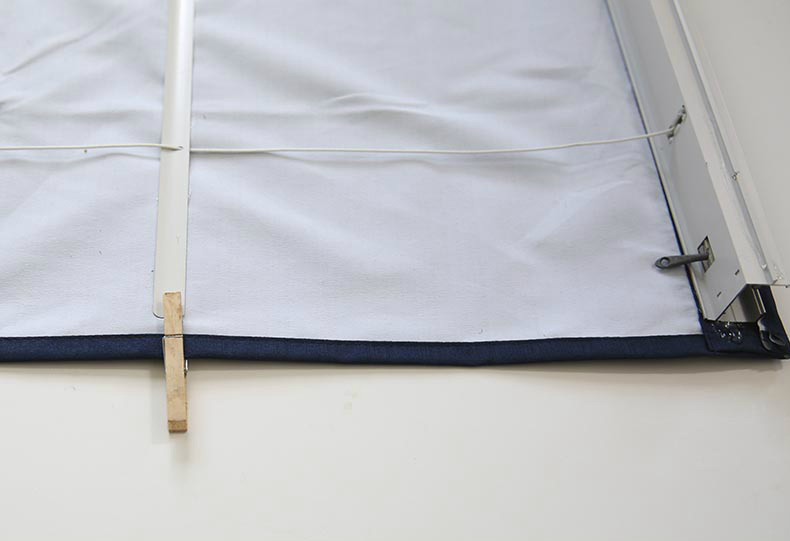
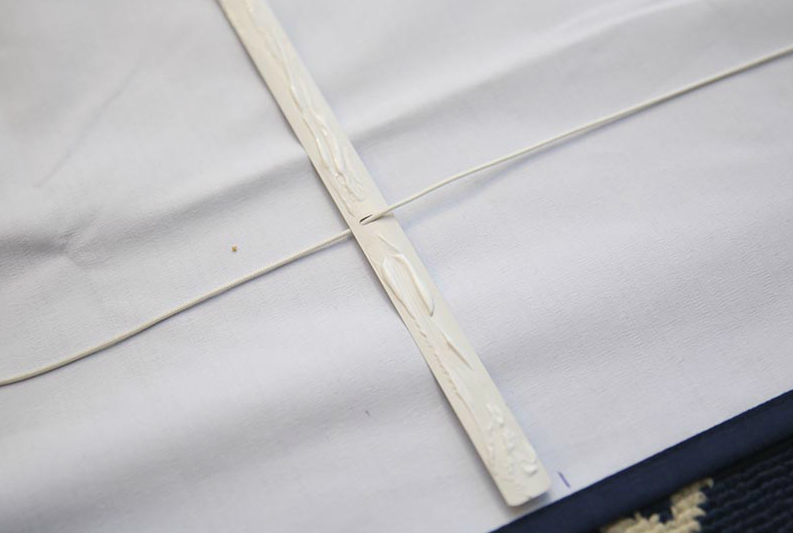
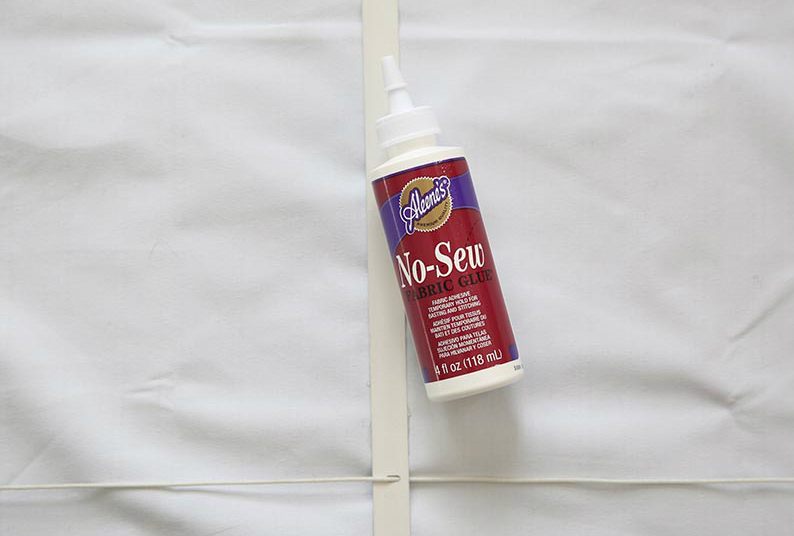
Photo: iheartnaptime.net
- When the glue dries, you can hang the curtain – it is ready.
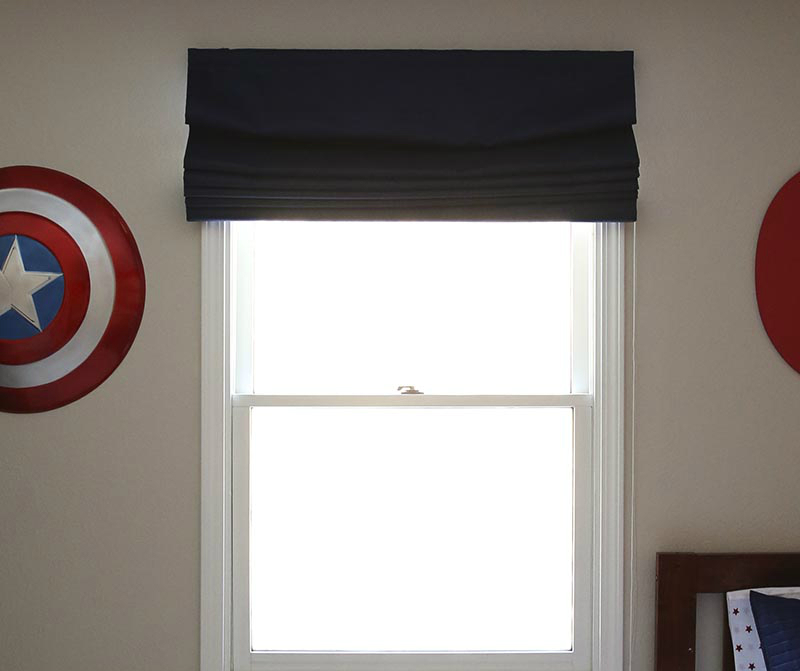
Photo: iheartnaptime.net
Single-layer Roman Curtains without Planks
Such curtains are a little harder to make than the previous ones. Blinds are also used as a mechanism for them, but already without slats – they are replaced by carpet rings. The folds on such curtains are softer.
You will need:
- fabric for curtains,
- blinds,
- carpet rings,
- a wooden plank equal in length to the width of the future curtain, and bolts with a ring (2, 3, 4 pieces – depends on the number of cords on the blinds),
- glue for fabric,
- sewing machine, thread, and fishing line.
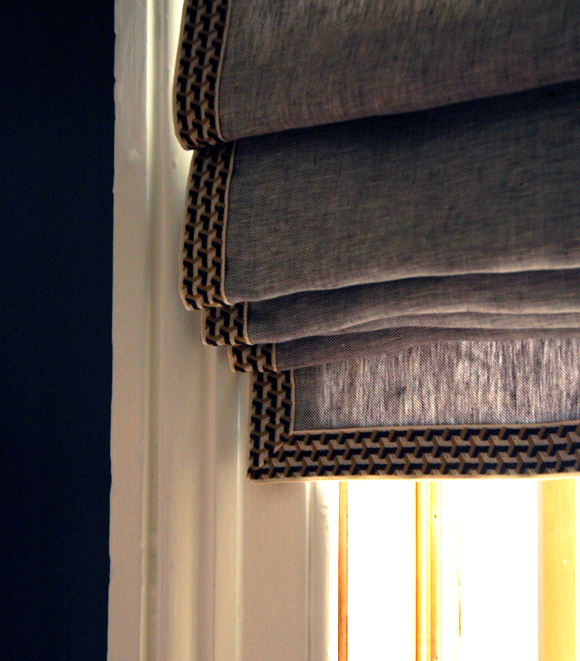
Photo: littlegreennotebook.com
- Decide on the size of the curtains. Cut the fabric, not forgetting the hem allowances. Handle the edges of the curtains on the machine. If desired, sew a decorative band around the outside.
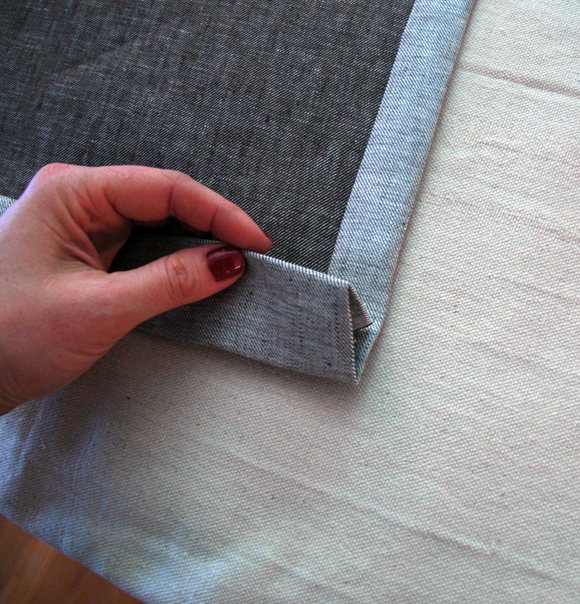
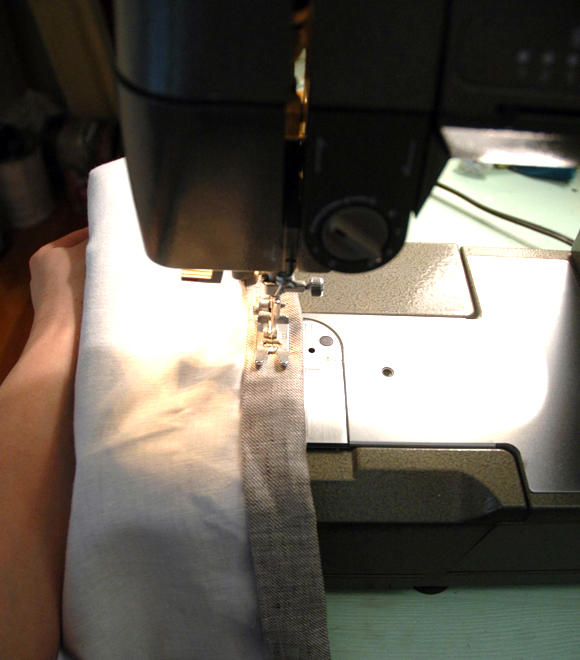
Photo: littlegreennotebook.com
- Prepare the mechanism of the blinds. Gently cut the thin lace, also cut the bottom mount. Remove all the jaws so that you only have the upper mounting mechanism and thick cords.
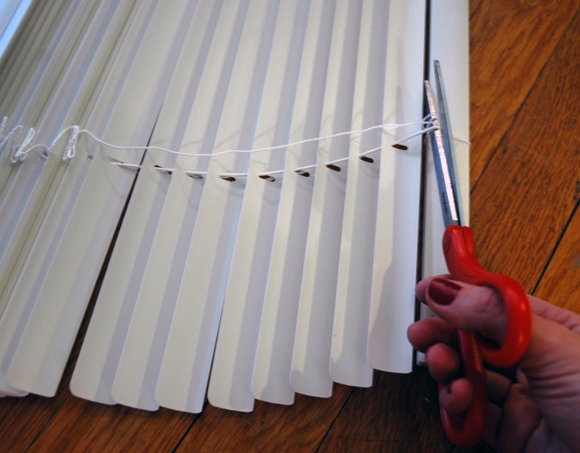
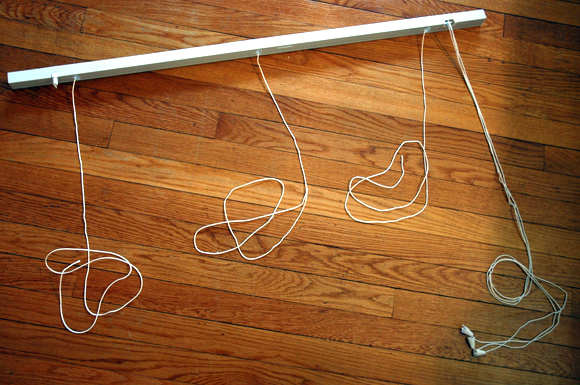
Photo: littlegreennotebook.com
- Layout the fabric of the future curtains on a flat surface (for example, on the floor) face down. Зut the mechanism of blinds above, having arranged the top plate at the edge of a curtain. Glue the mechanism to the top edge of the curtains. Pull the laces down and, guided by them, use the ruler to mark the attachment points of the rings. To determine the optimal distances between the rings, see the table above.
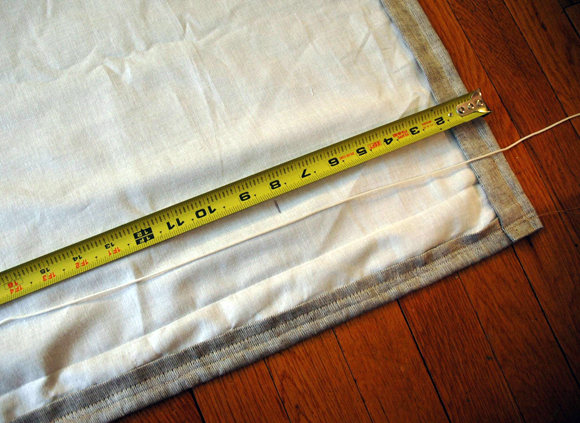
Photo: littlegreennotebook.com
- Sew the rings, focusing on the tags. It is better to sew with a thin fishing line, it is stronger than the thread, plus it will be less visible from the outside.
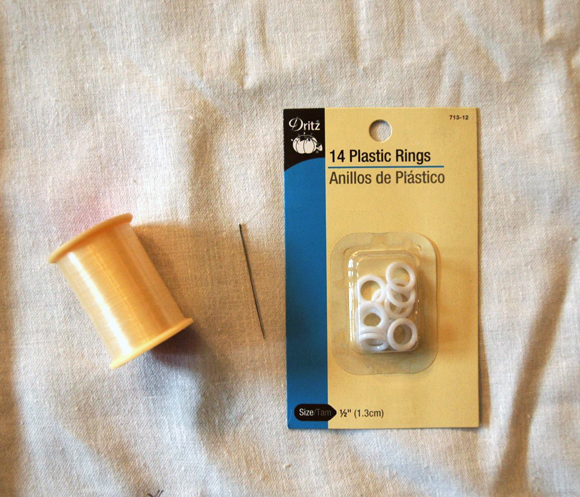

Photo: littlegreennotebook.com
- Screw bolts with rings into the edge of the wooden plank. Glue the strap to the bottom of the curtains.
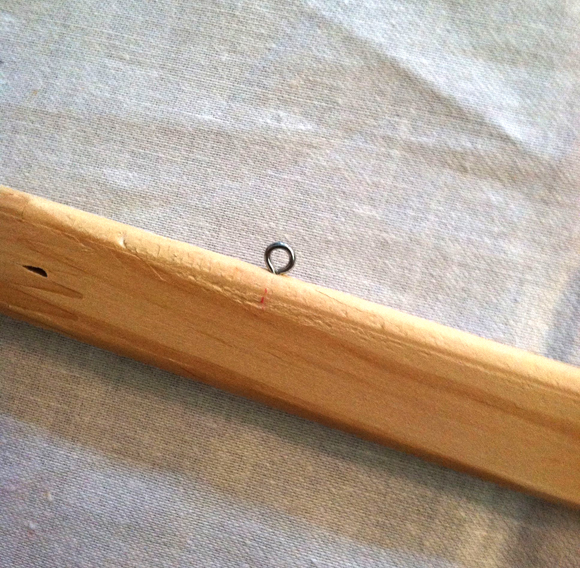

Photo: littlegreennotebook.com
- Thread the cords through the rings sewn to the curtain and fasten them to the bottom of the strap rings. Curtain can be hung.

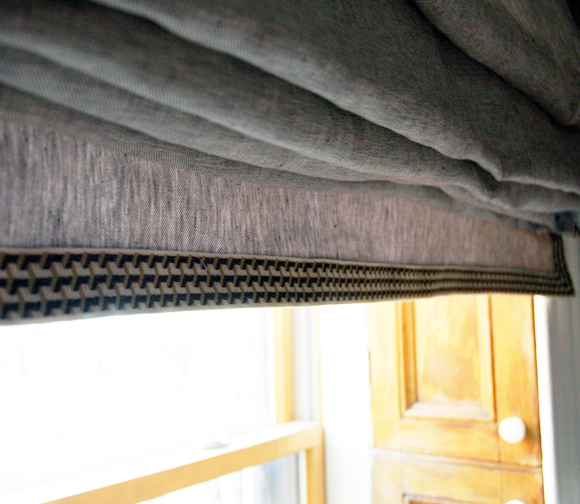
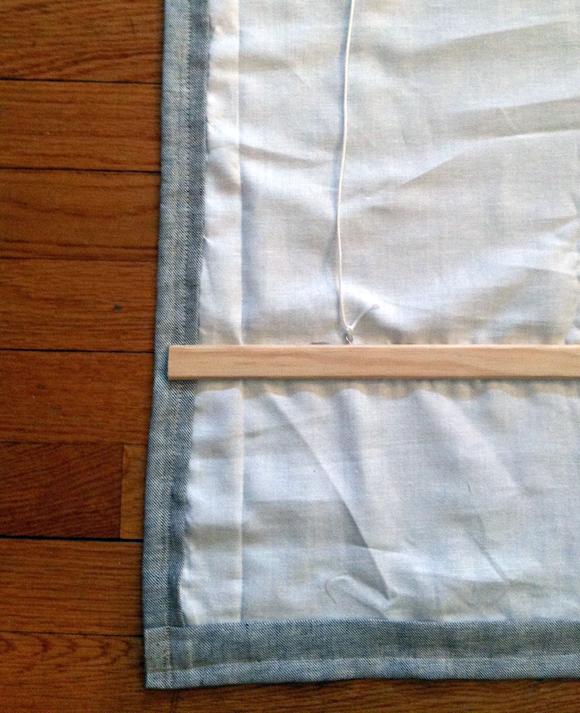
Photo: littlegreennotebook.com